Showing posts with label how-to. Show all posts

Saturday, March 22, 2014

Pretty, Easy: Love and KISSES Manicure

Nail Art / Tutorial


   This is a nail art look that immediately came to mind when I opened my last Influenster VoxBox and saw the bag of cutely colored Hershey's KISSES candy.  So, I've created a pictorial explaining how you can create this look, and I'm sure you'll want to check it out.  This may be one of the only nail art looks that requires you to eat chocolate as the first step!

Friday, January 24, 2014

Pretty, Easy: Pond Scum Manicure

Nail Art / Tutorial

   Here is a very quick and easy manicure!  Last spring pond manicures exploded onto the scene, no doubt thanks to the prevalence of jelly polishes and the fact that nail art creators everywhere were loving the effects those sheer washes of color can give.  A true pond manicure involves a dotting tool and a bit of skill as you create small white designs (usually flowers, hearts, dots, etc) between layers of juicy transparent polish.  I set out to create something even easier!


Wednesday, December 18, 2013

Pretty, Easy: Tape Manicure with Zoya Kristen & Skylar

Nail Art / Mini Tutorial


   I was swatching Zoya Kristen a few days ago when inspiration struck.  Actually, a piece of fuzz struck.  Necessity is the mother of invention, right?  As soon as I was adding topcoat I noticed a very fine piece of red fuzz glossed into my index nail, like so:

Thursday, August 8, 2013

Color Club: Beyond and Harp On It with Tape Lightning Bolt Nail Art

Nail Art / Swatch & Review

   I was about to swatch Color Club Beyond when I realized that I never shared Harp On It on my blog, and realized they would pair very well.  Here they are swatched together, with a bit of nail art!


   I'm wearing these polishes without any base or top coat, so you can see how they have a smooth finish and nice shine all on their own.  Harp On It is Color Club's silver linear holographic polish from their first Halo Hues collection.  It took 2 coats for opacity, but the formula is very good.  So long as you keep your brush movements gentle and wait a little while in between coats you won't have any issues with dragging.  Beyond, the linear black holo, is fantastic.  I can't say enough good things about this polish!  I only needed 1 coat and it was totally opaque!  The formula is super-smooth and the rainbow effect is very strong.  I definitely recommend this polish if you're hunting for the ever-elusive perfect black holo, and don't want to spend a fortune.

   The lightning bolt accent nail makes me feel like my nails should be super-powered, haha.  My husband liked it and it was really easy to do!  All you need is a bit of tape and a pair of scissors.  First, start with your completely-dry base color.  This is important, otherwise your polish could be pulled off by your tape.


   Cut a zigzag into a piece of tape and place each piece on your nail to create your desired bolt shape.  Make sure the edges are smoothed down so no polish will seep under.  I'm using painter's tape.


   Paint the open area, and quickly but gently peel the tape off before your polish dries.  That's it!  Enjoy your snazzy nail design!


Monday, July 1, 2013

Tutorial: Gumball Machine Nail Art


   Hello, dear readers!  I'm so excited to share this post with you!  Not only am I sharing some cute original nail art I did, I'm teaching you how to do it with a tutorial!  This is my first time creating a how-to collage (it took some trial and error), so please give me your feedback!  First off, some information about the polishes I used.

For the gumballs: 
China Glaze Happy-Go-Lucky, Grape Pop, Four Leaf Clover, Suger High; Sally Hansen Sun Kissed and Zoya Breezi

For the gumball machines: 
Zoya Elisa and Pure Ice Silver Mercedes

   Obviously gumballs and their dispensers have a lot of room for creativity with colors, and you could pick pretty much anything you want.  I wanted something easily recognizable so I reached for the classic candy and dispenser colors.  This design works really well on squared nails, and takes advantage of your natural nail shape to create the glass dome of the gumball machine.  All you need are your nail polishes, some dotting tools, and french tip guides.  On to the tutorial!


   Yay, it's easy!  And fun - I had a blast wearing this manicure.  All kinds of people wanted to check these colorful nails out, and they could tell what they were!  To me, that's nail art success.  What do you think?  If you try this please leave a link in the comments below so I can check it out!  =)

Monday, January 14, 2013

My Nail Care Routine!


   Hello, everyone!  I'm really glad to be getting this post done because of the increasing "how do you get your nails that long?" and "what do you use?" questions.  So, I'm sharing my nail care routine.  I've broken it down into what I do every morning, every manicure, every night, and every time I possibly can.  Well, almost every time, anyway.


Every Morning:


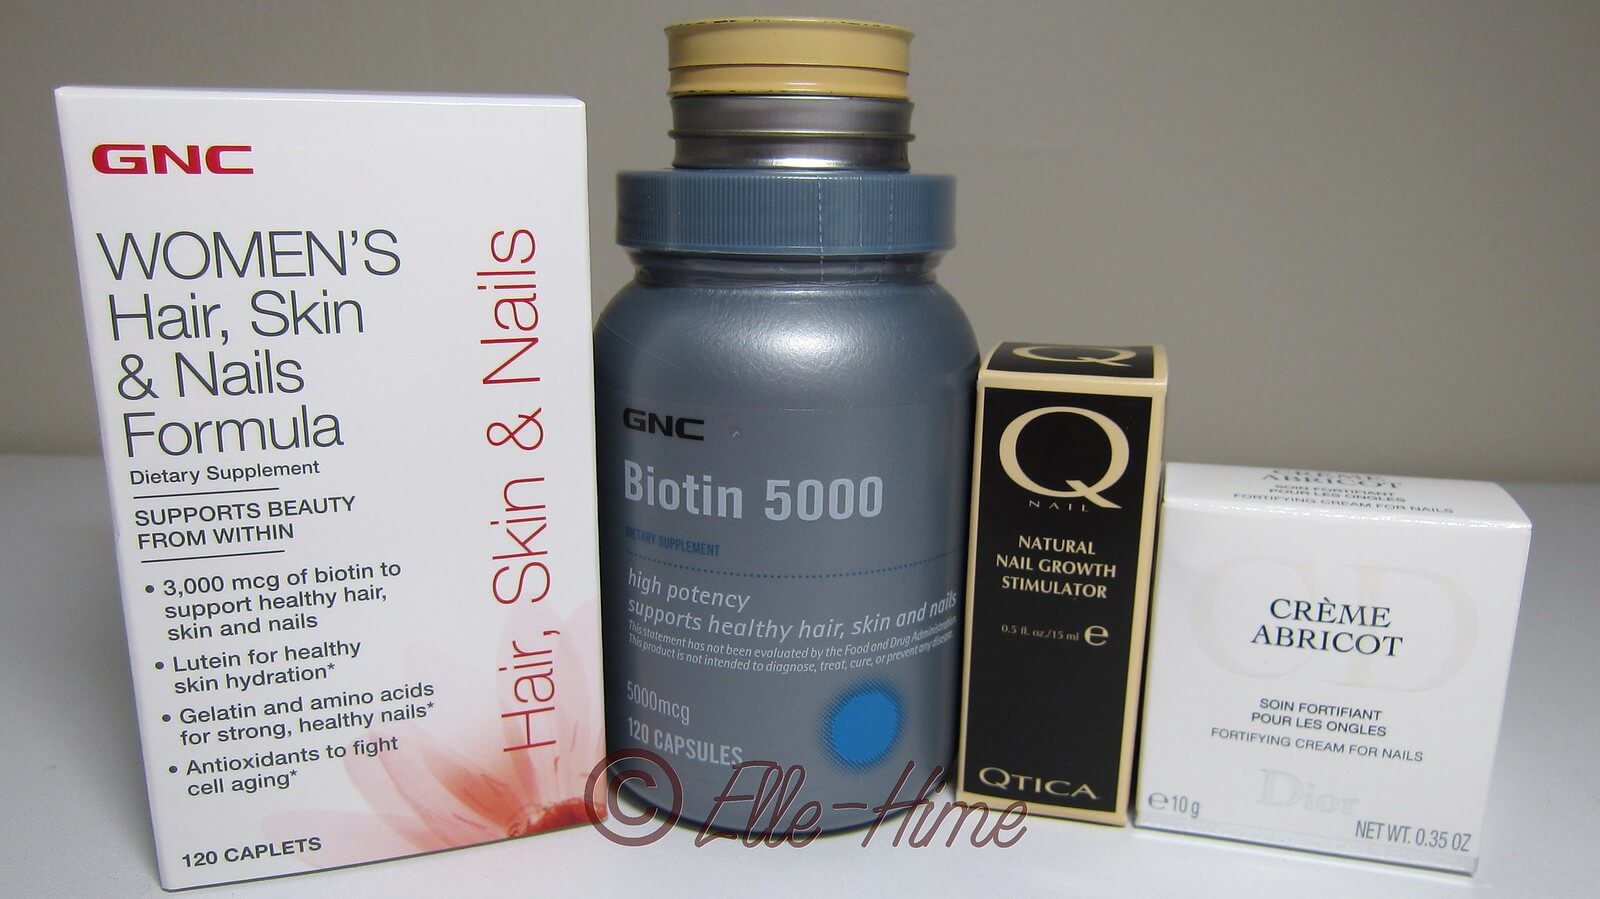
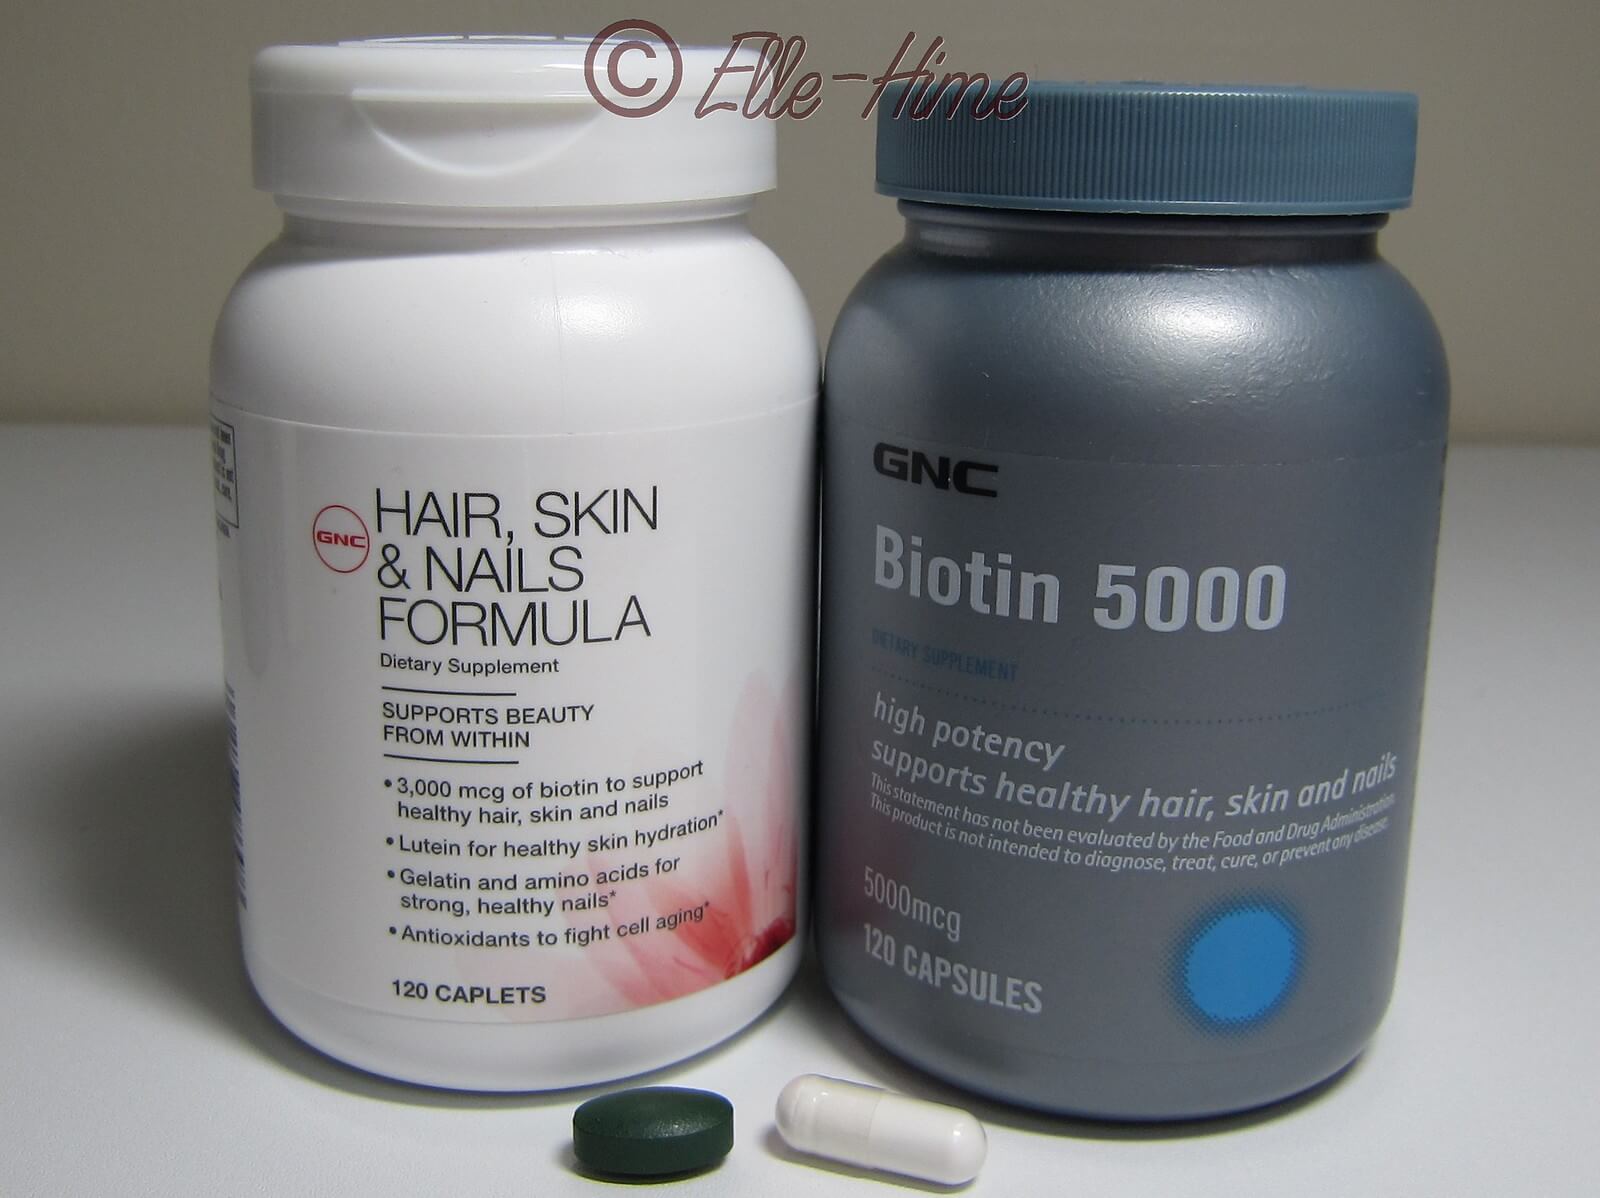
   I pop pills!  I started taking these GNC supplements in either late 2011 or early 2012, I don't exactly remember.  I was actually never a daily-vitamin girl before finding these.  (In fact, I had tried 1-a-day multivitamins and I can't stomach them!)  Even now if I forget a day I just skip it.  There are 120 pills in each bottle, and while the dosage for the Hair, Skin, & Nails formula is 2 caplets, I only take 1.  This way I buy both bottles together and they run out together in 4 months.  I buy them from Drugstore.com and stock up during sales.
   I estimate this ends up costing about $8.75 per month.  If you're considering taking supplements to boost your nail health and growth keep in mind that it takes 6 months to see results, and everyone handles vitamins differently.  Personally: these work for me!


Every Manicure:


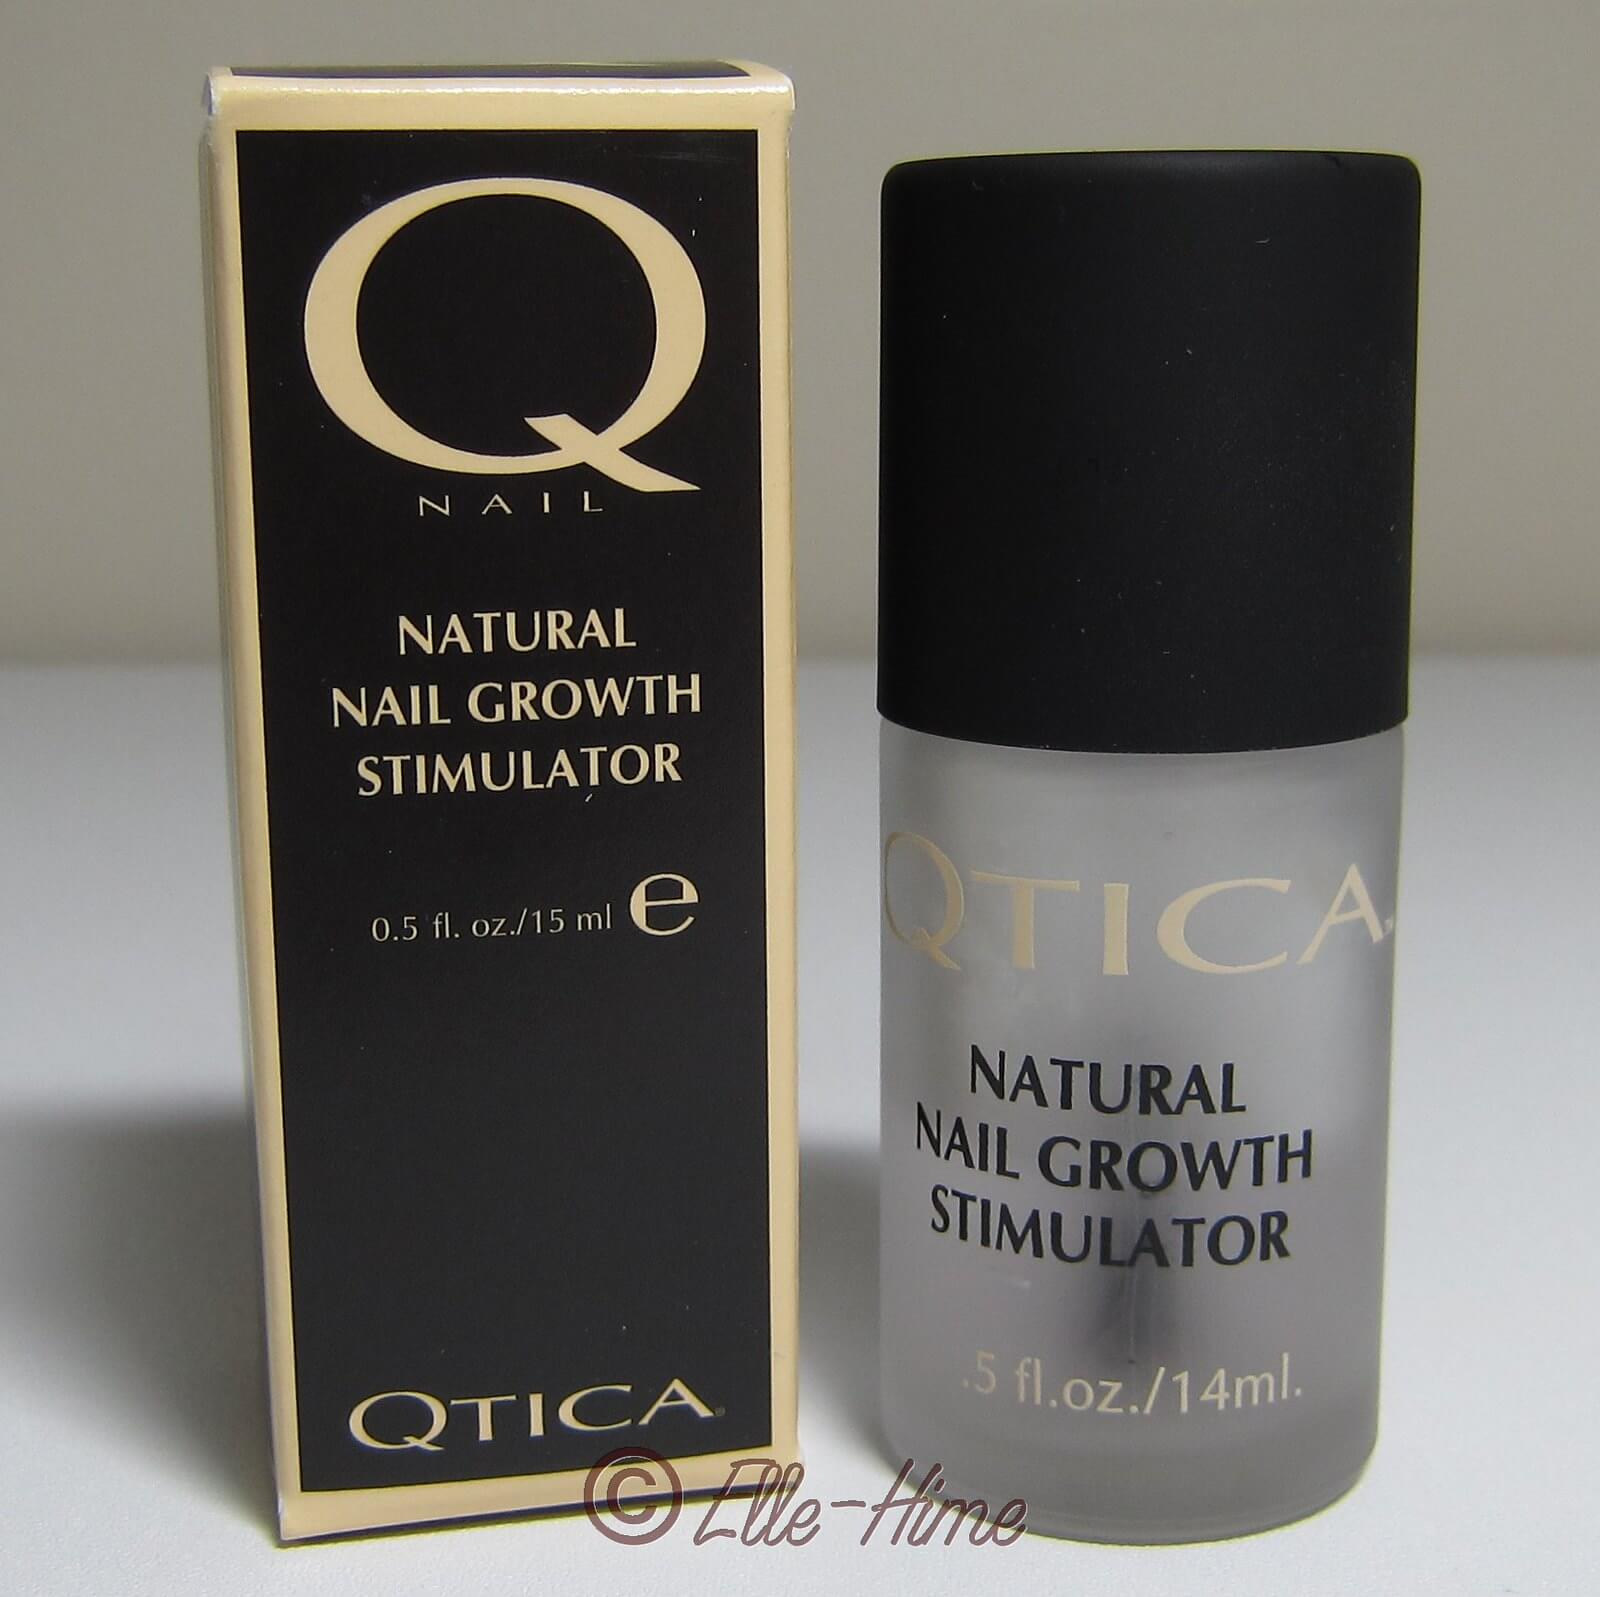
   This is my favorite base coat!  Qtica Natural Nail Growth Stimulator.  I don't actually use it for every manicure (sometimes a girl needs her peel-off basecoat), but even if I have no color on my nails they will be protected by this.  While I haven't seen phenomenal growth using this I also don't use it as often as instructed.  I have seen stronger nails, no longer splitting and peeling like they were two summers ago.  And it works with all my other polishes, which is important.
   This is on the pricey side of what I indulge my nails in, but I also believe in time being money saved.  Once again it takes weeks to see results, and I wouldn't want to switch to using something else for 3 months just to find out that I have 3 months worth of so-so nail growth.  So I stick with Qtica!


Every Night:


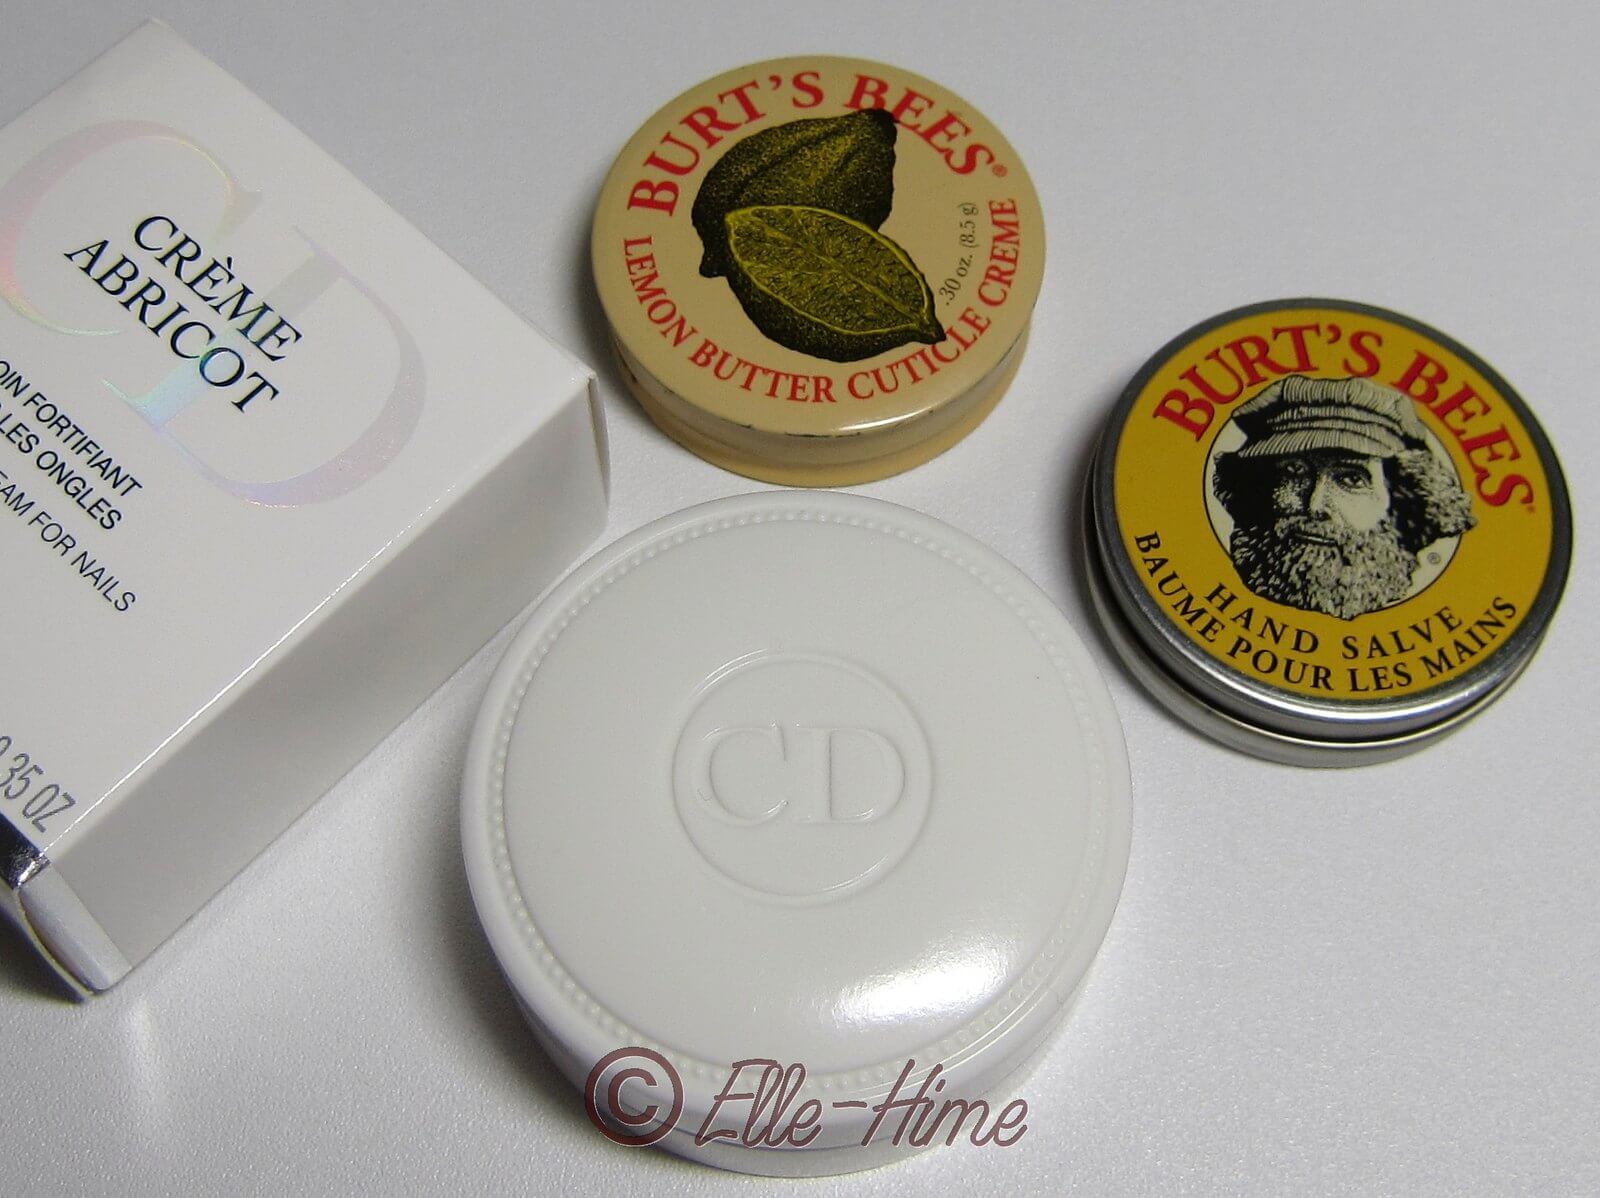
   I moisturize my cuticles and around my nails!  This has been a huge help.  Healthy cuticles and nail beds are so vital to growing your nails long and strong.  The most effective way to do it is overnight, and I even have soft gloves to wear while I sleep.  I started off using Burt's Bees Lemon Butter Cuticle Creme, which smells yummy and moisturizes without being greasy.  I feel that Burt's Bees Hand Salve deserves a shout-out, too.  While not specifically for nails it is great to wear overnight, as well.  I especially notice it heals cuts!
   I'm a Burt's Bees product junkie, and must admit that I haven't had to buy full-sizes of these yet because I'm constantly picking up travel sample packs or earning them for free...  I would gladly buy full-size if it weren't for all the minis I accumulate!

   Last month I treated myself to Dior's Crème Abricot, which I bought from Sephora.  The reviews were way too good to not try it, and I knew it would be easy to return if it wasn't my thing.  Well, it is so my thing!  It deserves it's own separate review on my blog...  All I'm going to say here is that I only use a little bit and it goes a long way.  I've only been using it for about a month and have already noticed faster nail growth, and it keeps my cuticles in perfect condition.
   I thought the price was a little steep but realistically this is going to last me ages.  If I manage to use it all in a year it will only cost $2 per month.  Awesome!


Every Possible Opportunity:
 
   No picture for this one, but...  Moisturize!  I could barely stand lotion until I got used to actually using it.  I'm still picky about my hands being greasy but now I can't stand to let myself "go dry".   I keep lotion at work where I especially need it, and pay attention to moisturize around my nails.  It definitely helps.  And not to be forgotten - I drink water!  And tea.  Staying hydrated helps a lot more than just nail health.  In fact, I need to go get more water right now!


   I hope you found my post helpful, any questions?  Just ask!  And let me know what you use or your tricks in the comments below, thanks!

Monday, December 17, 2012

Zoya - Zuza with Glitter Gradient!

NotD / Swatch

   Really loving the manicure that I have on today!  It gathered compliments from little girls to little old ladies.  Definitely feels like I have a fairy-princess nail thing going on.  And it was super easy!

   I started off with 2 coats of Zoya Zuza.  This is a very pretty aqua/turquoise polish with silver shimmer.  The formula was excellent, and could even be a one coater if I used thick coats, but doing two thinner coats was easier to control.


   Next I grabbed one of my most favorite purple glitters, That Is So Fetch! by Different Dimension.  (Full review here!)  Because my nails are long I started out just painting the free edge.


   I did a second coat starting at about the mid point of my nail to the tip...


   And tada, it's done!  Finished with a topcoat and ready to enjoy.


   What are some of your favorite glitters to use in gradients?  =)

Wednesday, November 14, 2012

Peel-Off Aqua Base Coat: My DiY Tips

DiY/How-to & Review

   Something wonderful happened in the world of nail polish this summer.  A polish brand started selling an innovative base coat to help with the often tedious and "what was I thinking?!"-inducing matter of glitter nail polish removal.  So far it is only available overseas, but fear not!  Bloggers around the globe snatched up the product, tested it, and realized...  Hey, it's just craft glue!

   So word went out and nail enthusiasts bottled their own peel-off base at home.  Who doesn't love a project that you can complete in no time for mere pennies and will end up working the way you intended?  Today I'm sharing this Do-it-Yourself project and talking about my experience using it.  There will be a list of helpful links at the end, as well!

A peeled-off manicure!


DiY Peel-Off Aqua Base Coat Recipe:
  • White glue - PVA "craft glue" or "school glue"
  • An empty polish bottle
  • Polish shaker bead
  • Water, maybe
  • A fingernail - you'll want to try it out!
  • An orange stick for polish removal
   You can either buy empty polish bottles or reuse an empty you have laying around.  I recommend recycling bottles!  Try to use a bottle that held clear polish before, though.  You don't want any traces of color, shimmer, or other pigment in your base coat!  Once your bottle is cleaned out (use acetone) all you need to do is give the bottle and brush a good rinse in water.

   The white glue is water based, so you don't need to wait for your chosen bottle to dry.  Simply squeeze some glue into the bottle and add your shaker beads.  Dip the brush into it and test the consistency.  If it spreads on your nail the way you like your base coat to, you're good.  If it is too thick add water (never thin your aqua base with polish thinner!), recap and shake to mix thoroughly.  Be careful not to over-thin your base coat.

   Place bottle in preheated oven- no wait!  That's it.  Nothing else you need to do now other than try it!

Using Your Base Coat (it does more than just peel!)

   You'll know when the base coat is dry because it will turn matte and clear on your nails.  It is very important to wait until the polish is fully dry before you put anything over it.  Once it is dry you'll need to apply your polish immediately.  It has no durability until you paint regular polish on top.  It will either get dinged and begin to peel or it will come right off the next time your nails touch water.  So, your peely base and regular polish have a symbiotic relationship, you see!

   I suggest having a water-dampened Q-tip ready if you aren't a steady-handed painter.  If you get any of the base coat on your cuticles or skin simply dab it away.  Also, don't wrap your tips with this base if it is your habit.  Continue your manicure as normal, and I highly recommend wrapping your tips with your top coat (nail color, too - but that's more for looks!) to protect the free edge of your nail.

   Did you know that your simple craft glue base gets along with some pretty picky polishes?  If you're a fan of holographic polishes you probably know that certain brands (such as Nfu-Oh, seen here) require the use of an "aqua base" if you desire any hope of decent application.  While those aqua bases don't peel off they are very similar, and sure enough those high-maintenance holos are fooled by this water-based polish.  Your new peel-off base coat can double-task as an aqua base, because it is one!

Removal

   Depending on your nails (everyone's chemistry is different) and manicure style this base coat may last days on you or just one day.  If you notice the edge beginning to peel prematurely try pressing it back down into place - this usually works for me!  Otherwise you'll be able to find those free edges and gently peel your polish away.  You should not use your finger or thumbnails as blunt weapons against each other, however.  That is where your orange stick comes in if needed - it has better leverage and is kinder to your nails.

   You will probably have some residue left behind from the glue after removal; simply wash your hands with soapy water.  Any stray polish needs cleaned up with polish remover.  It has been recommended to remove the polish after a hot shower because it helps loosen the glue.  If you're having trouble with it not peeling off or damaging your nails when it does then obviously you should use discretion.  See if there is something you can do differently, and if nothing works realize this base coat is not for you.  Never damage your nails for the sake of saving time!


My Experience:

   I'm still in the trialing stage, I've had mostly very good results with it except for a couple times that the base coat was stubborn and didn't want to peel.  I haven't been able to pinpoint the cause of it for sure, but I think my base coat was too thin those times.  I always wrap my tips with whatever is going over the PVA base, and I haven't had any issues with tipwear or chipping; instead it likes to peel from the sides and cuticle.  My wear time has been 1-2 days before it wants to peel away, so I use this base for manicures that I only want to keep for a day!  (It is especially nice for testing glitter polishes.)  Once I decide for certain how this works best for me I'll do a follow-up post.  ;D  Until then here are the sources I've used in discovering this removal method.  Have fun!

Helpful Links:

Tuesday, September 11, 2012

Review & How-to: Bow Water Decal Manicure!

   Today I'm happy to share a manicure using water decals that were sent to me for review.  I have to apologize, though, it's terribly late.  Two types of decals were sent by KKcenterHk earlier this year, but they showed up during the last-minute cramming for wedding preparations and right before my husband and I got the chicken pox - awful timing!  So they got packed away for later.  Anyway, I was given the chance to try nail decals for the first time ever in this way.  I'm happy with what I came up with using their cute bow design!


   Keep reading to see how I created this mani and my thoughts on the water decal-ing process!

Tuesday, August 30, 2011

How-to: Layer Your Crackle Nail Polishes!

   My current manicure consists of Essie cream colors that are buried by the wonderful China Glaze Crackle nail polishes.  It was fun to do, incredibly easy, and I want to share it with you!  Here is what I created:


   Using Essie Blanc and Licorice, China Glaze Black Mesh, Lightning Bolt and Broken Hearted, and my Poshe base & top coats.  Read more to see the results, how to do it yourself, and a mistake to avoid!