DiY/How-to & Review
Something wonderful happened in the world of nail polish this summer. A polish brand started selling an innovative base coat to help with the often tedious and "what was I thinking?!"-inducing matter of glitter nail polish removal. So far it is only available overseas, but fear not! Bloggers around the globe snatched up the product, tested it, and realized... Hey, it's just craft glue!
So word went out and nail enthusiasts bottled their own peel-off base
at home. Who doesn't love a project that you can complete in no time
for mere pennies and will end up working the way you intended? Today
I'm sharing this Do-it-Yourself project and talking about my experience
using it. There will be a list of helpful links at the end, as well!
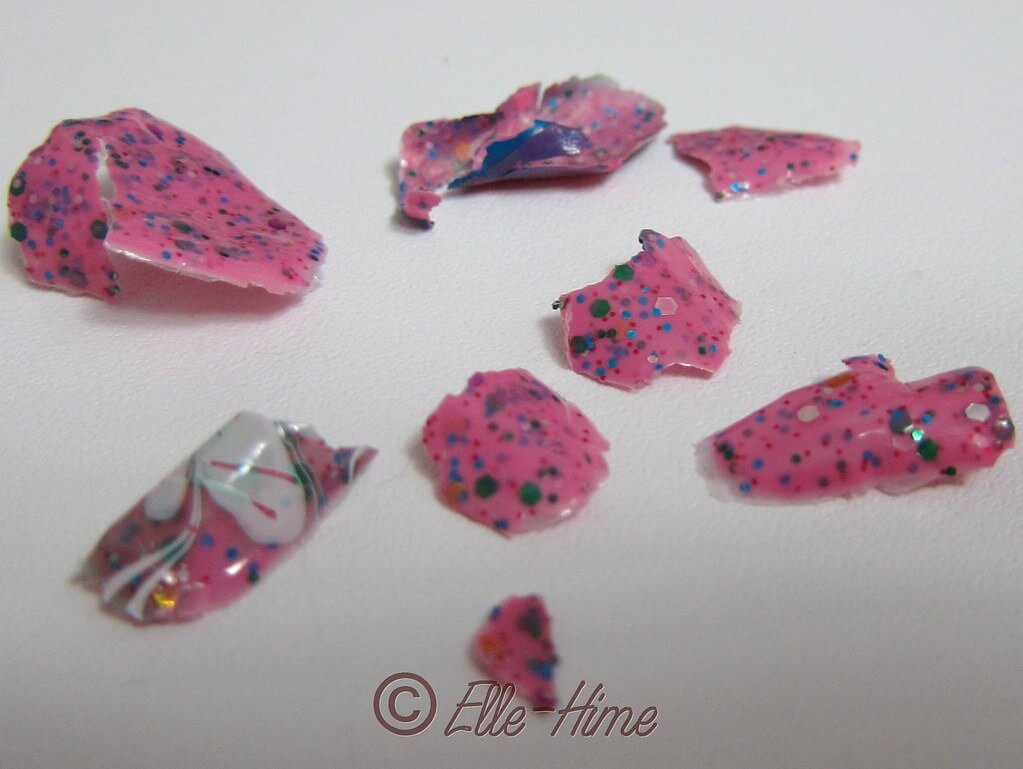
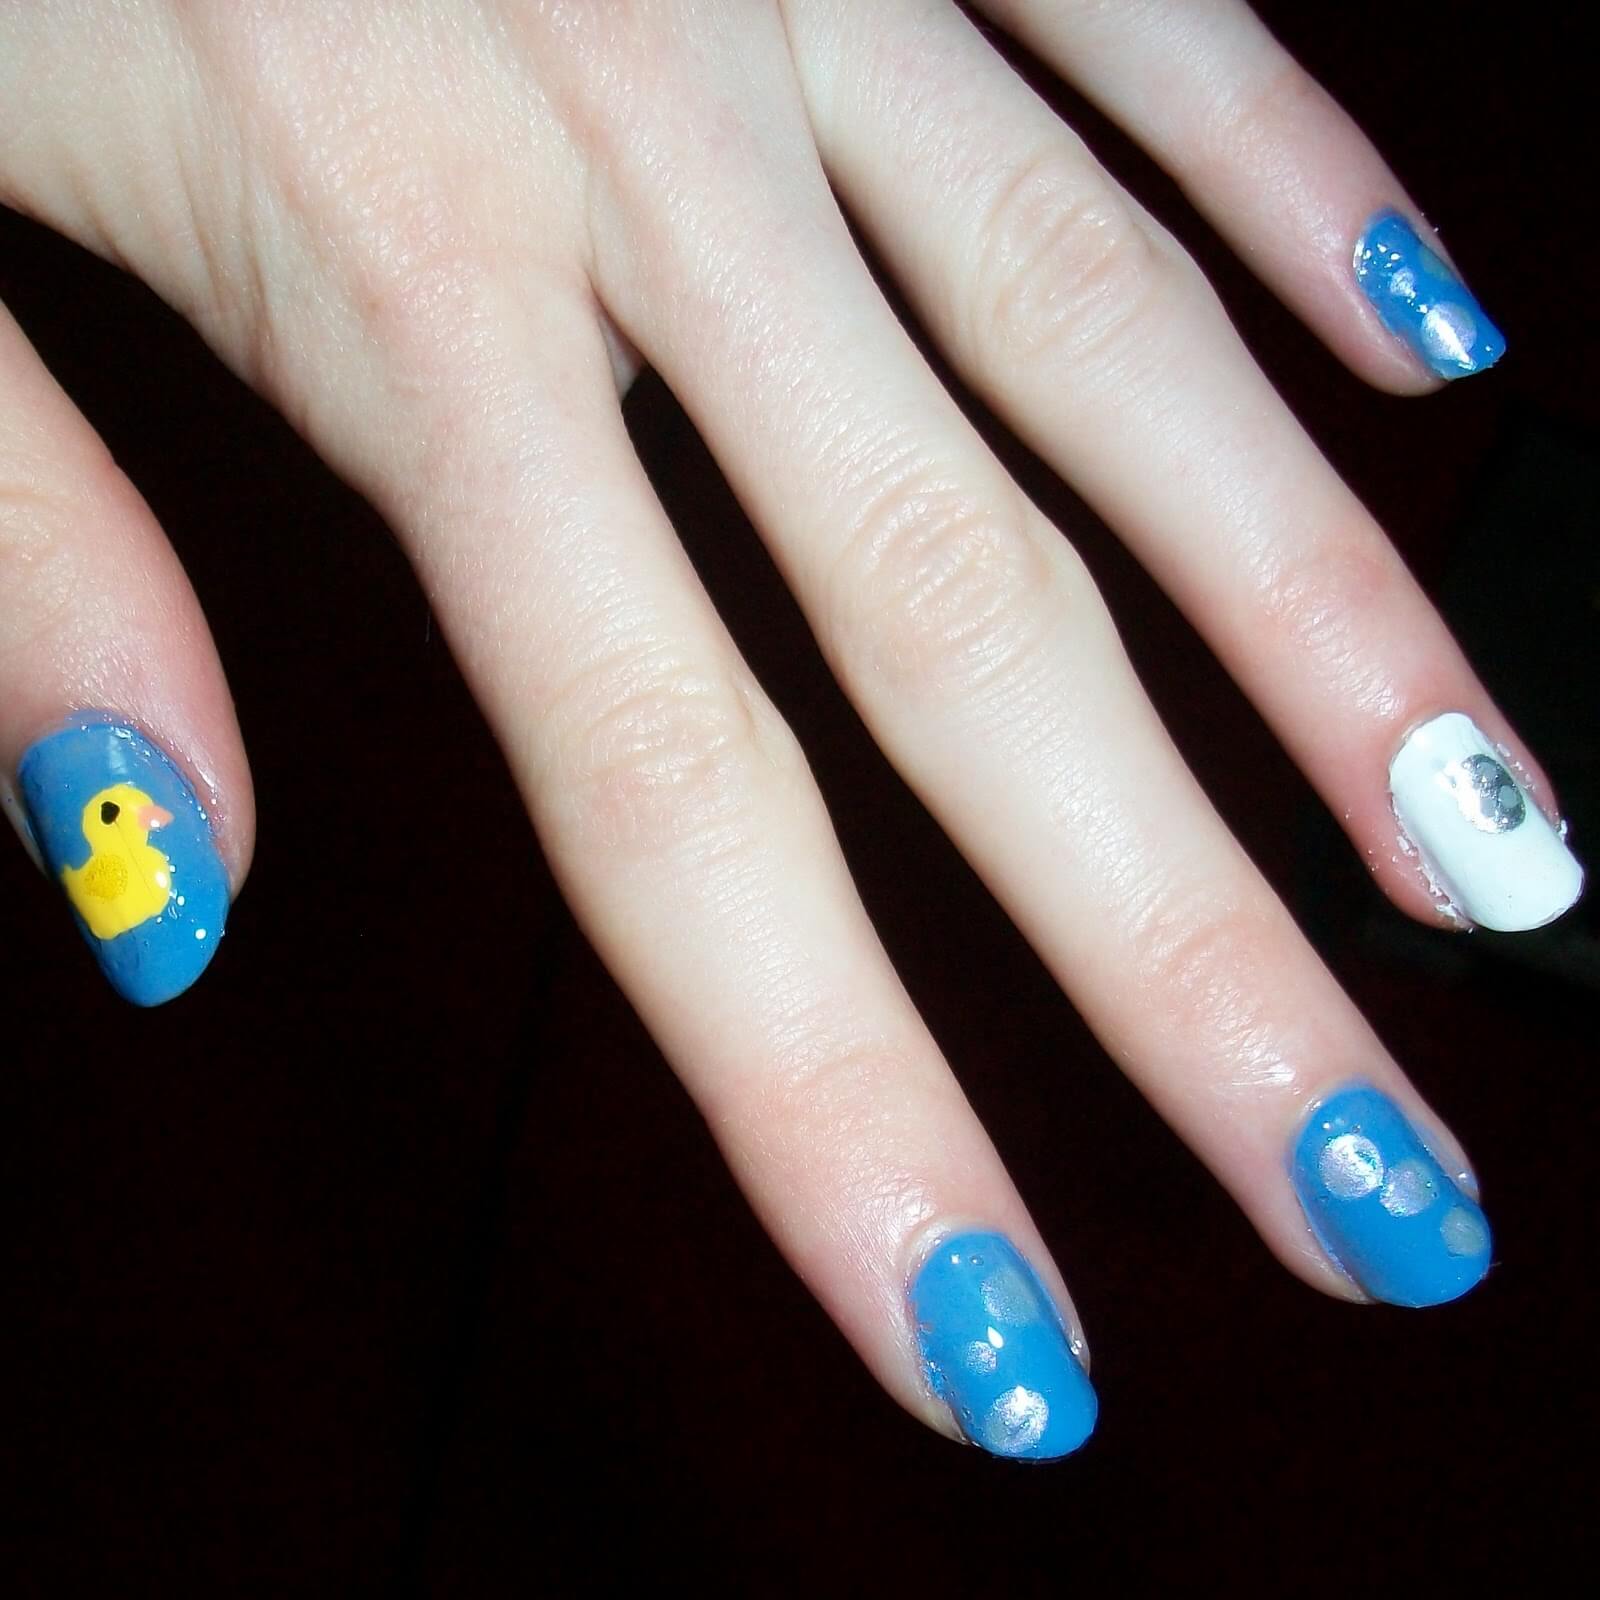
|
| A peeled-off manicure! |
DiY Peel-Off Aqua Base Coat Recipe:
- White glue - PVA "craft glue" or "school glue"
- An empty polish bottle
- Polish shaker bead
- Water, maybe
- A fingernail - you'll want to try it out!
- An orange stick for polish removal
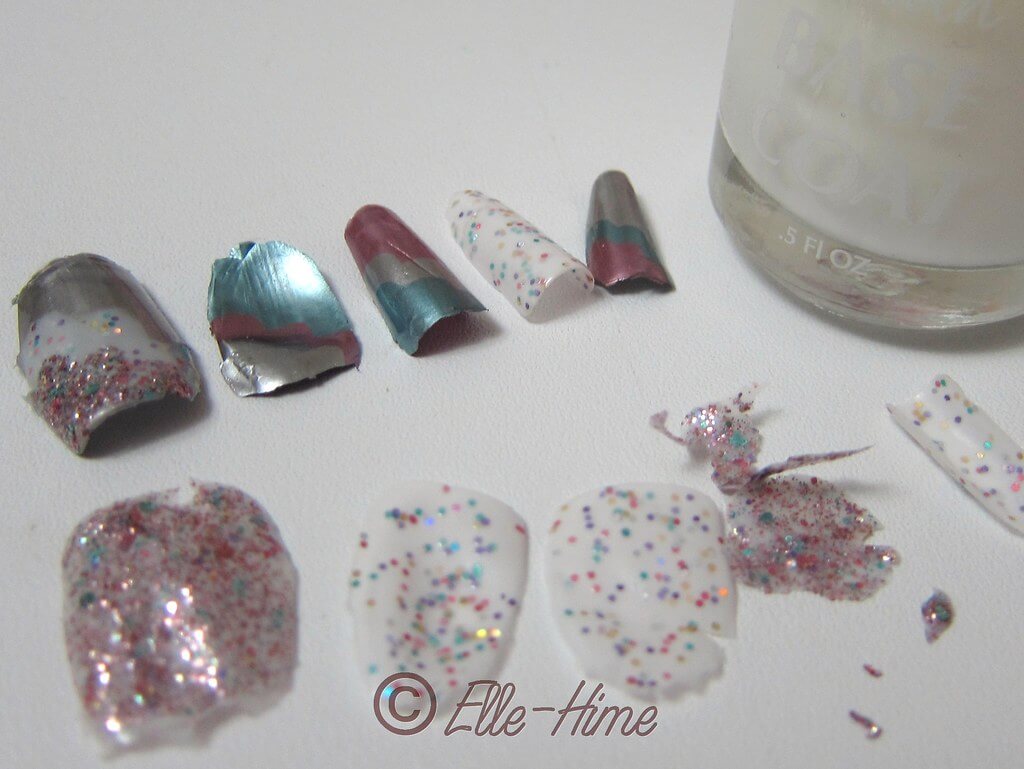
You can either buy empty polish bottles or reuse an empty you have laying around. I recommend recycling bottles! Try to use a bottle that held clear polish before, though. You don't want any traces of color, shimmer, or other pigment in your base coat! Once your bottle is cleaned out (use acetone) all you need to do is give the bottle and brush a good rinse in water.
The white glue is water based, so you don't need to wait for your chosen bottle to dry. Simply squeeze some glue into the bottle and add your shaker beads. Dip the brush into it and test the consistency. If it spreads on your nail the way you like your base coat to, you're good. If it is too thick add water (never thin your aqua base with polish thinner!), recap and shake to mix thoroughly. Be careful not to over-thin your base coat.
Place bottle in preheated oven- no wait! That's it. Nothing else you need to do now other than try it!
Using Your Base Coat (it does more than just peel!)
You'll know when the base coat is dry because it will turn matte and clear on your nails. It is very important to wait until the polish is fully dry before you put anything over it. Once it is dry you'll need to apply your polish immediately. It has no durability until you paint regular polish on top. It will either get dinged and begin to peel or it will come right off the next time your nails touch water. So, your peely base and regular polish have a symbiotic relationship, you see!
I suggest having a water-dampened Q-tip ready if you aren't a steady-handed painter. If you get any of the base coat on your cuticles or skin simply dab it away. Also, don't wrap your tips with this base if it is your habit. Continue your manicure as normal, and I highly recommend wrapping your tips with your top coat (nail color, too - but that's more for looks!) to protect the free edge of your nail.
Did you know that your simple craft glue base gets along with some pretty picky polishes? If you're a fan of holographic polishes you probably know that certain brands (such as
Nfu-Oh, seen here) require the use of an "aqua base" if you desire any hope of decent application. While
those aqua bases don't peel off they are very similar, and sure enough those high-maintenance holos are fooled by this water-based polish.
Your new peel-off base coat can double-task as an aqua base, because it is one!
Removal
Depending on your nails (everyone's chemistry is different) and manicure style this base coat may last days on you or just one day. If you notice the edge beginning to peel prematurely try pressing it back down into place - this usually works for me! Otherwise you'll be able to find those free edges and gently peel your polish away. You should not use your finger or thumbnails as blunt weapons against each other, however. That is where your orange stick comes in if needed - it has better leverage and is kinder to your nails.
You will probably have some residue left behind from the glue after removal; simply wash your hands with soapy water. Any stray polish needs cleaned up with polish remover. It has been recommended to remove the polish after a hot shower because it helps loosen the glue. If you're having trouble with it not peeling off or damaging your nails when it does then obviously you should use discretion. See if there is something you can do differently, and if nothing works realize this base coat is not for you. Never damage your nails for the sake of saving time!
My Experience:
I'm still in the trialing stage, I've had mostly very good results with it except for a couple times that the base coat was stubborn and didn't want to peel. I haven't been able to pinpoint the cause of it for sure, but I think my base coat was too thin those times. I always wrap my tips with whatever is going over the PVA base, and I haven't had any issues with tipwear or chipping; instead it likes to peel from the sides and cuticle. My wear time has been 1-2 days before it wants to peel away, so I use this base for manicures that I only want to keep for a day! (It is especially nice for testing glitter polishes.) Once I decide for certain how this works best for me I'll do a follow-up post. ;D Until then here are the sources I've used in discovering this removal method. Have fun!
Helpful Links: