
Today I'm finally revealing my first ever self-made, or "franken", nail polish!! So, prepare for lots of pictures because I had a hard time narrowing things down!
I made this back in January... yes four months ago, and only now got around to trying it because the lack of sunshine made me ignore most of my holographic polishes. It has a little bit of a story behind it, too! I made this nail polish for my mother-in-law-to-be, because she really liked my Nfu-Oh holo'd nails. After its creation I was trying to come up with the right name, and my fianceé, determined that it had to have "hologram" in the name somehow, coined Hologlam. I had to admit it was pretty clever, so I'm going with his name choice.
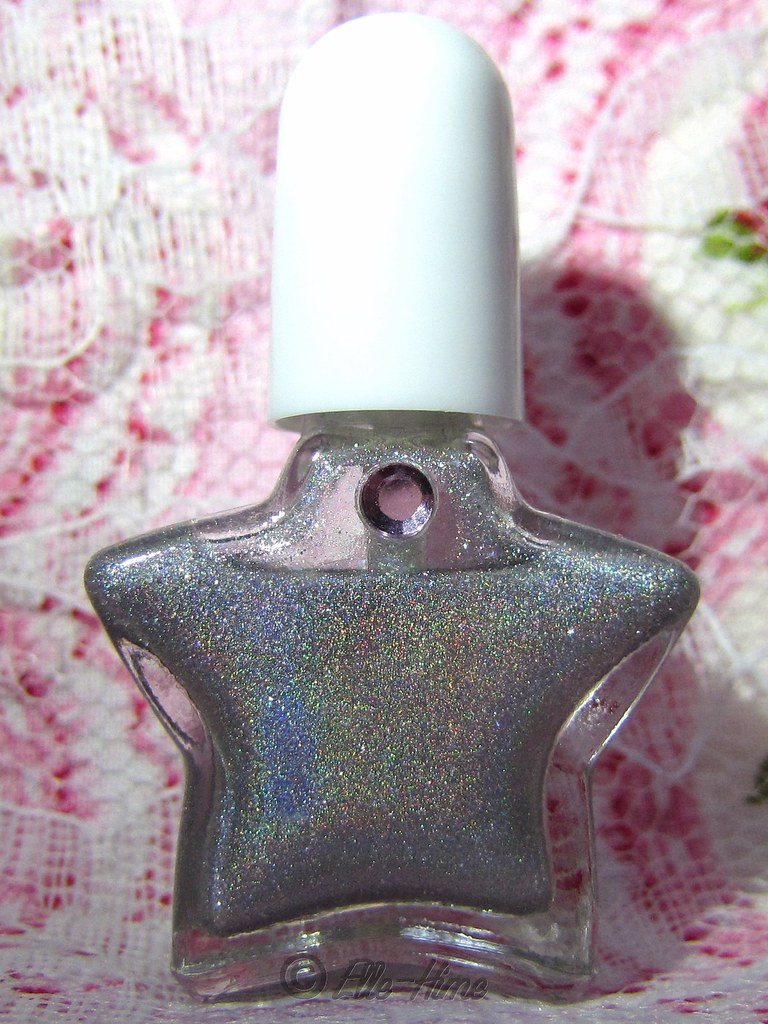
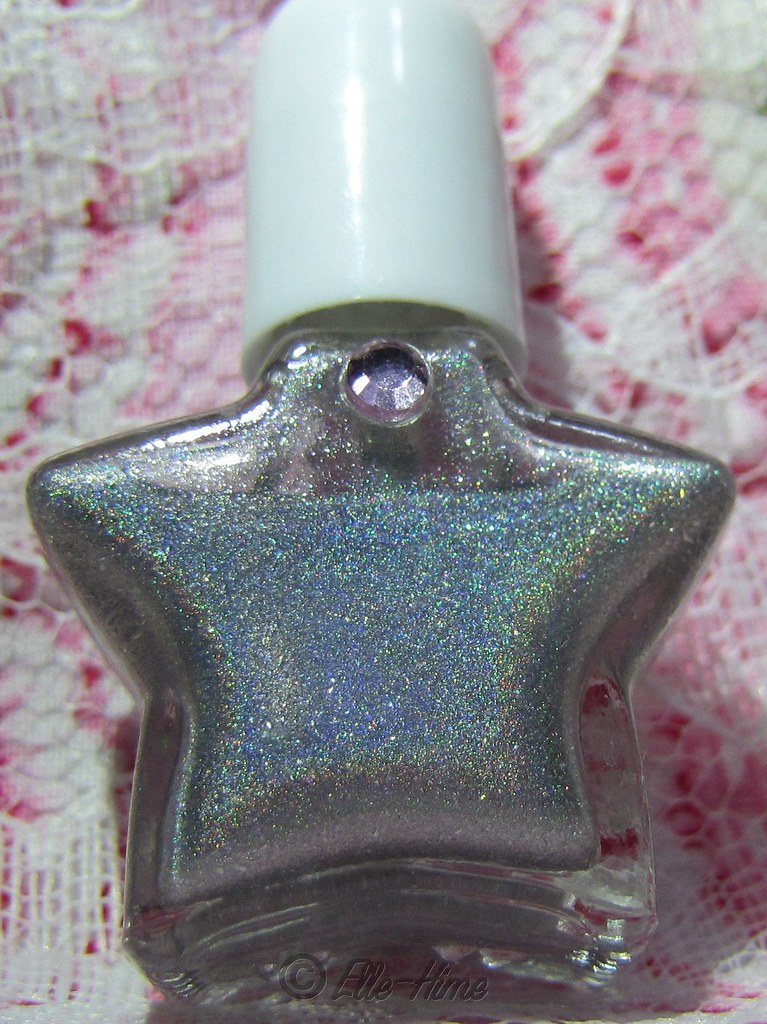
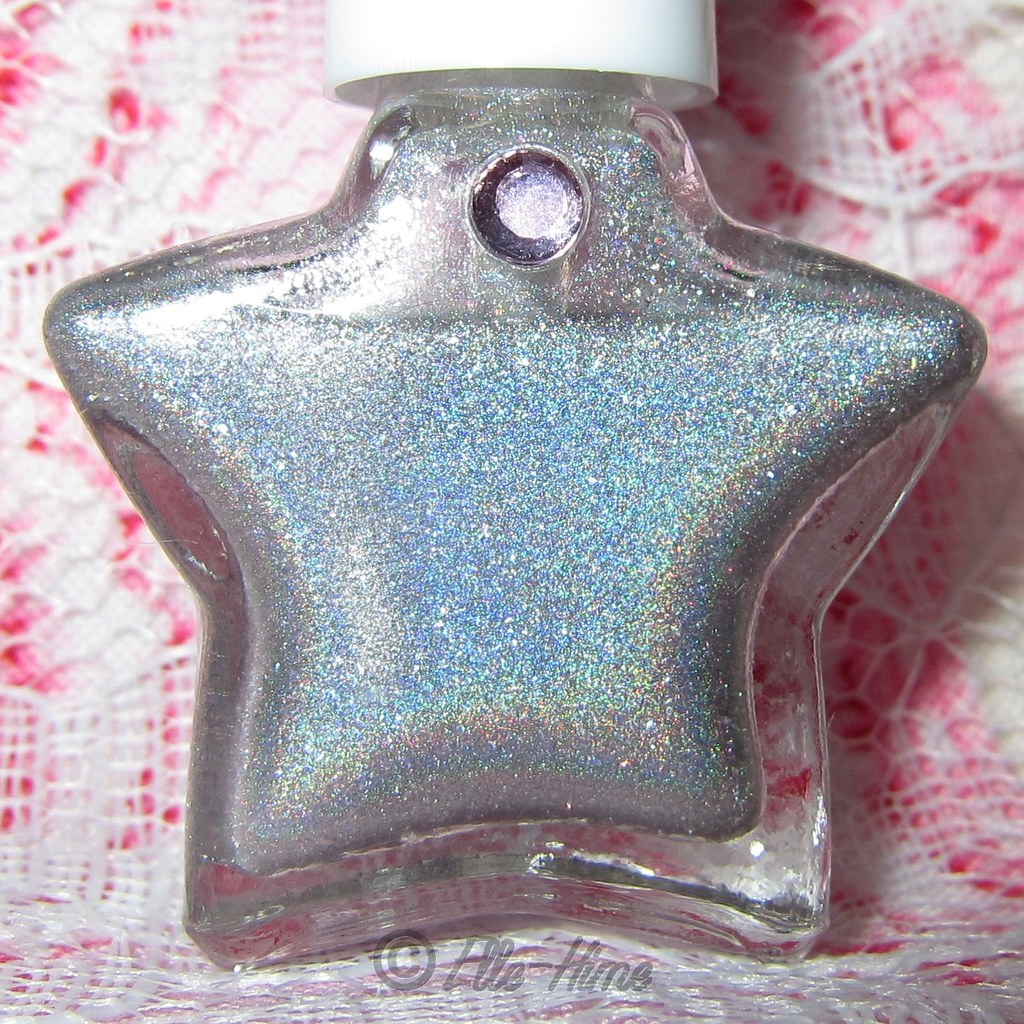
The polish doesn't require and special base coat to use, so it's a stand-alone item. I bottled it in these adorable star-shape bottles, which I accented with a pink rhinestone. A fun fact: these bottle shots are from January, and amongst the very first photos I took of my then-brand-new camera!! (So, I didn't know what I was doing...)
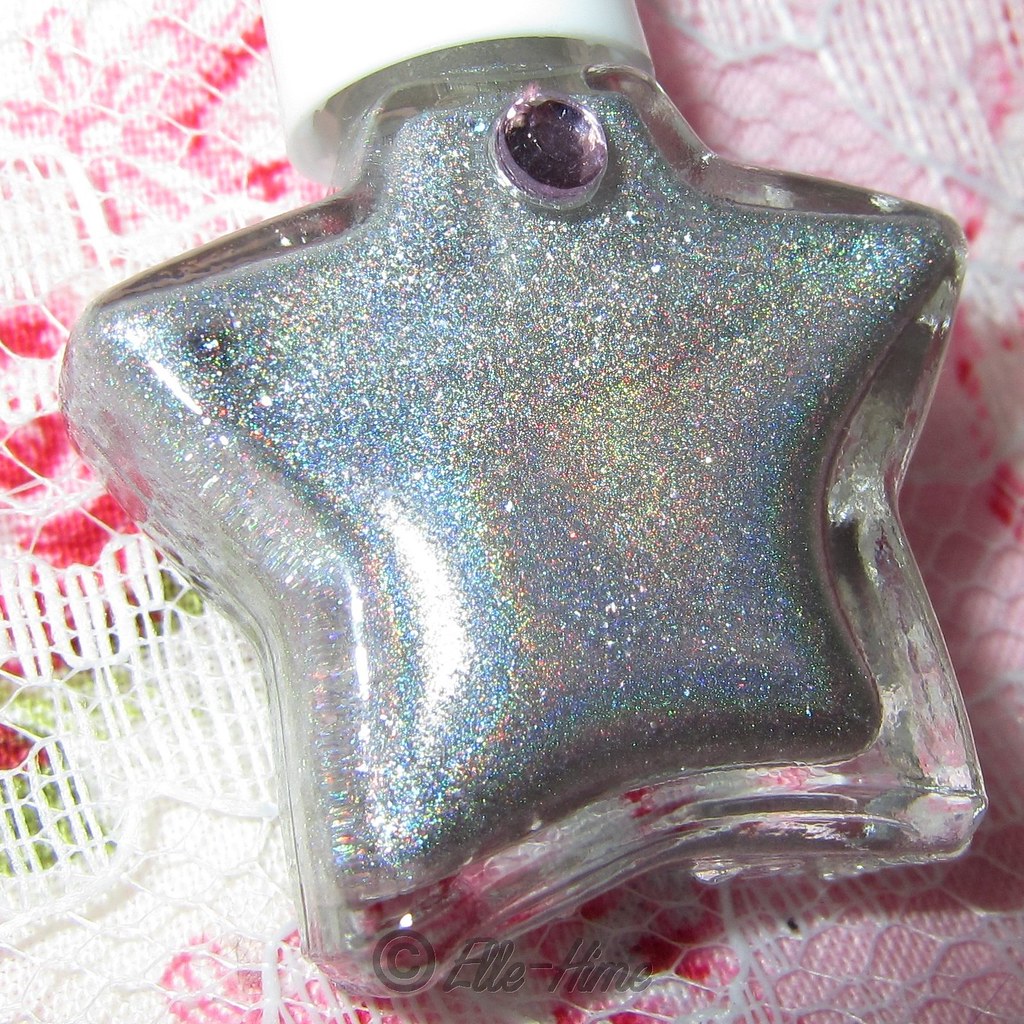
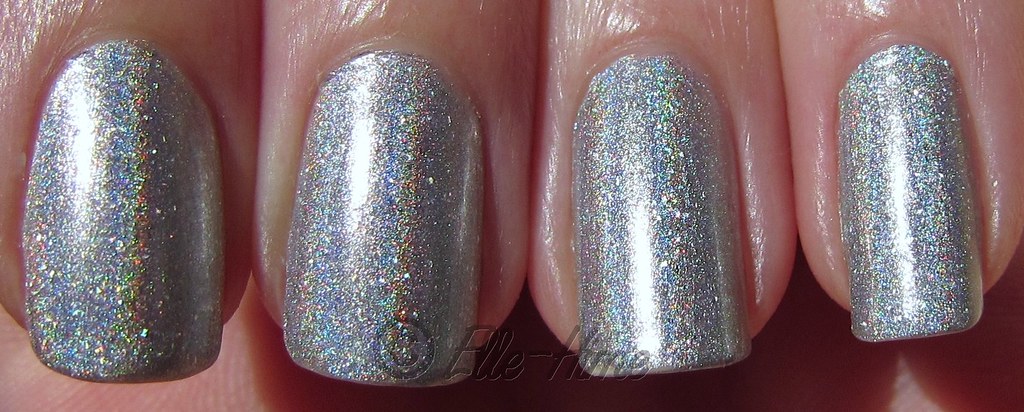
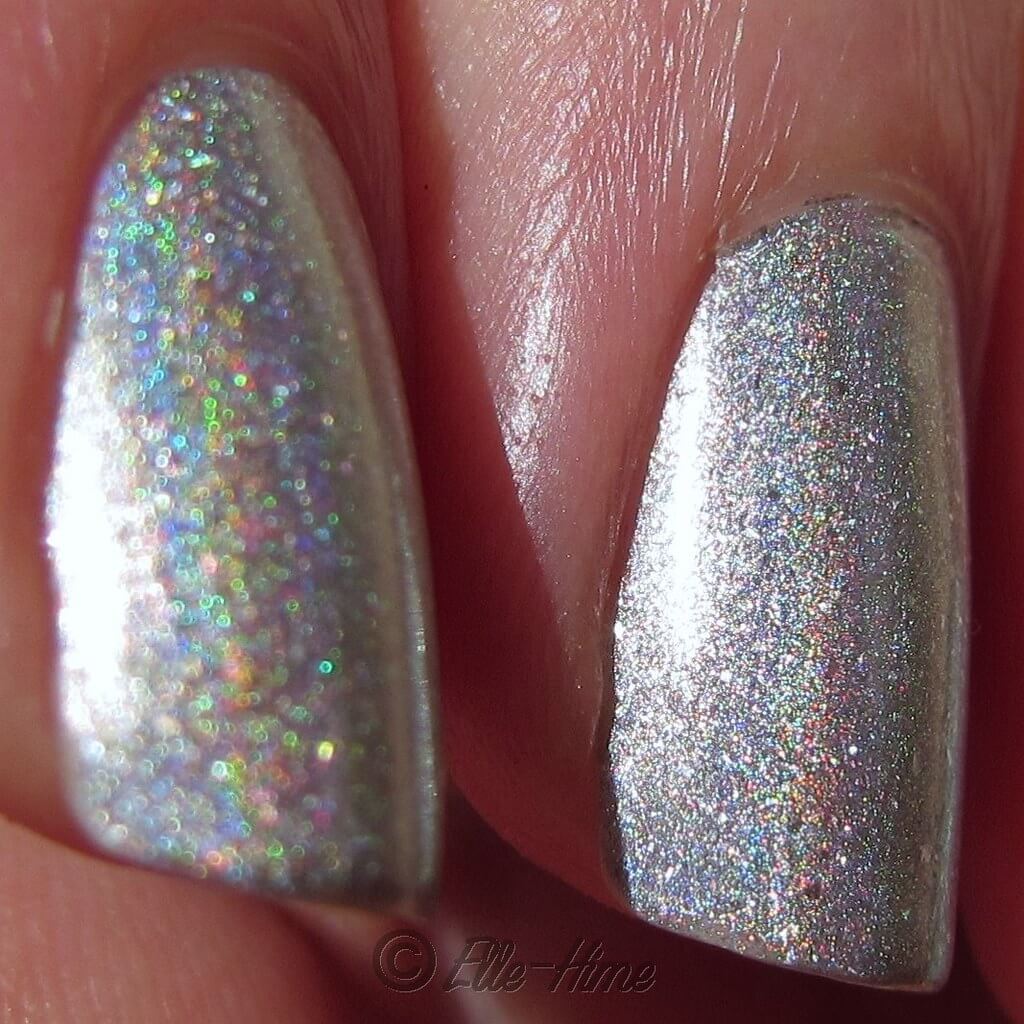
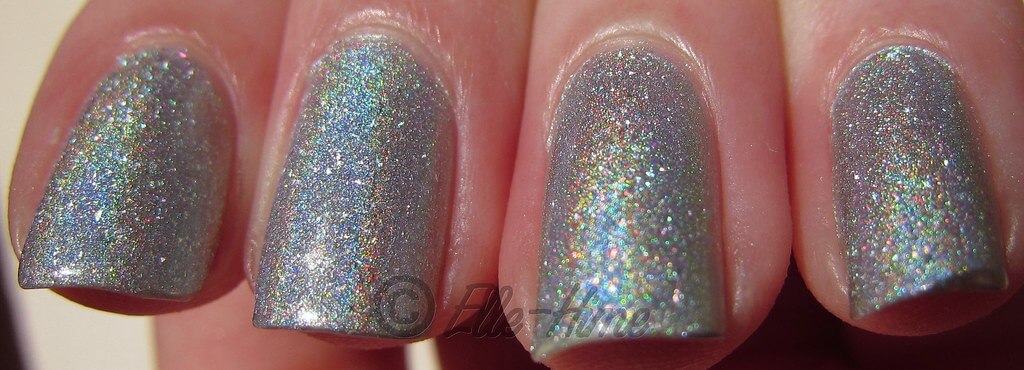
Lots of sparkle in there! But how does it look on the nail? Well...
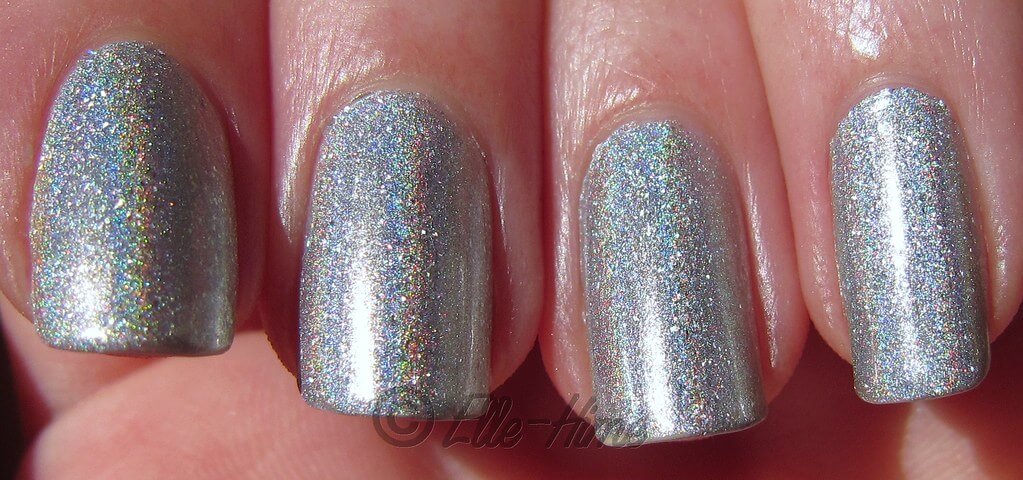
Pretty fantastic, I think! I used two coats, which had even coverage, and I also put a top coat over it. Interestingly enough, this polish was rather slow-drying (see where I smudged my ring finger?), but it was drying glossy... So, the shine didn't kill the linear holographic rainbow at all.
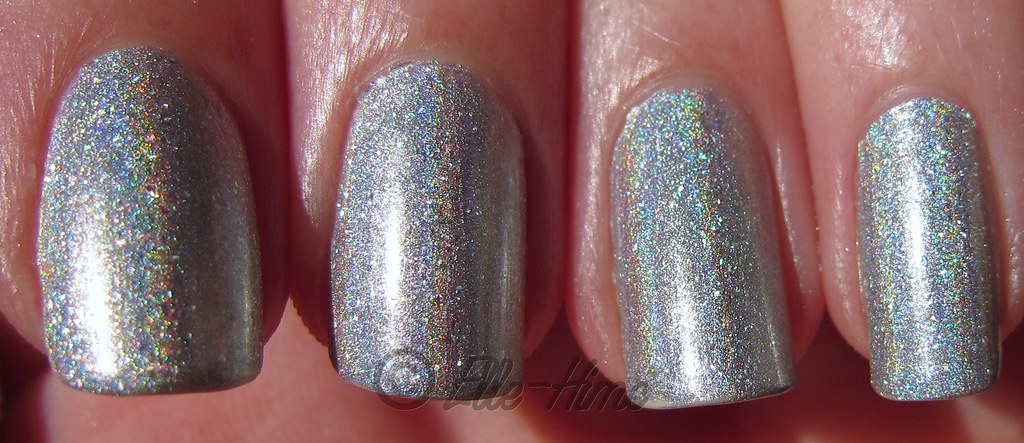
Besides a goodly ammount of SpectraFlair pigment, I mixed in other polish glitters to create a unique finish that I describe as a "comet's tail sparkle". If you've ever watched a meteor shower on a clear night you'll know what I mean - their trails burn out with gorgeous sparks.
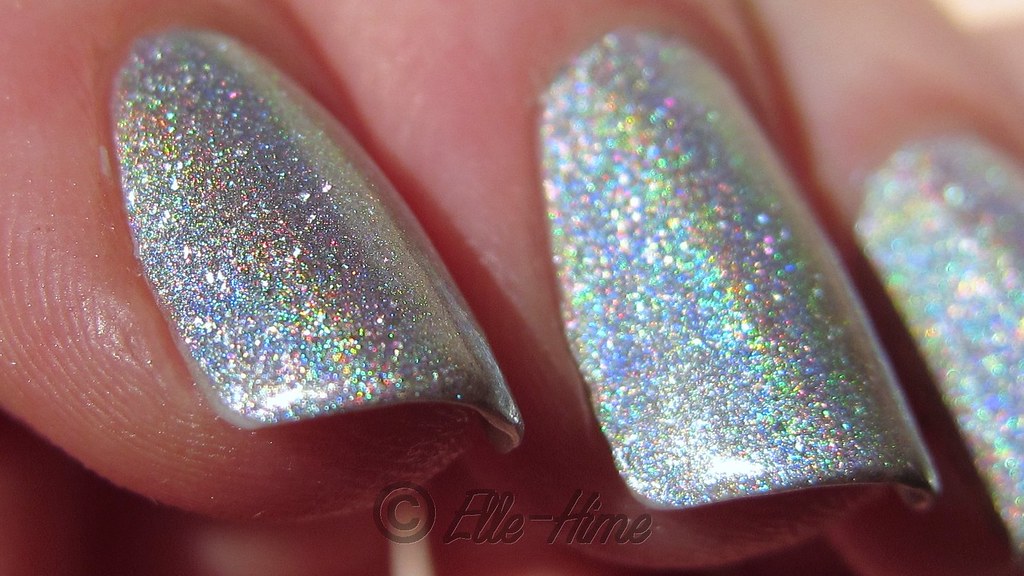
This nail polish is filled with tiny flecks that sparkle in all types of lighting! At other times they may look like a dark spot on the polish - you can see a few of them doing that on my nails above.
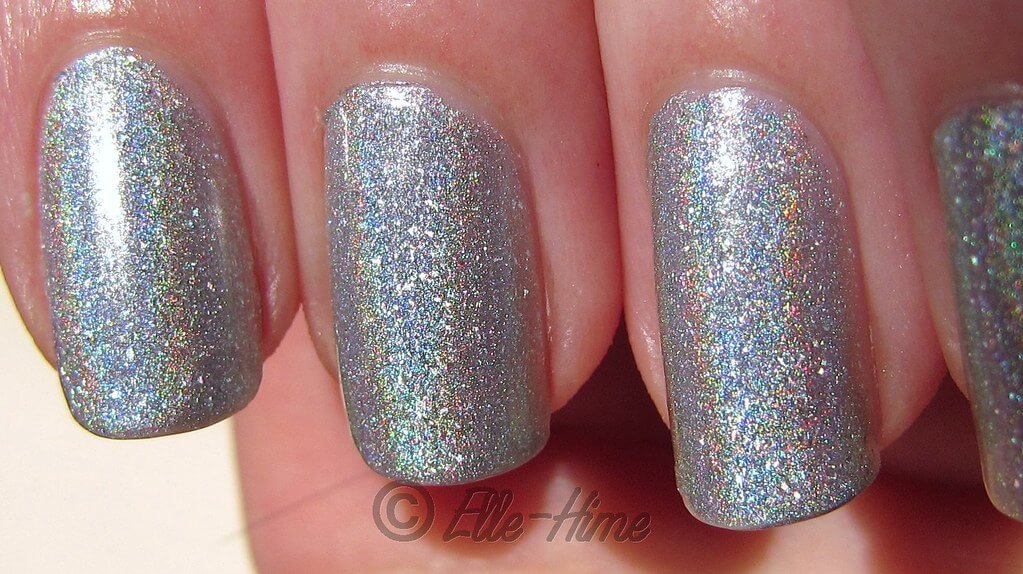
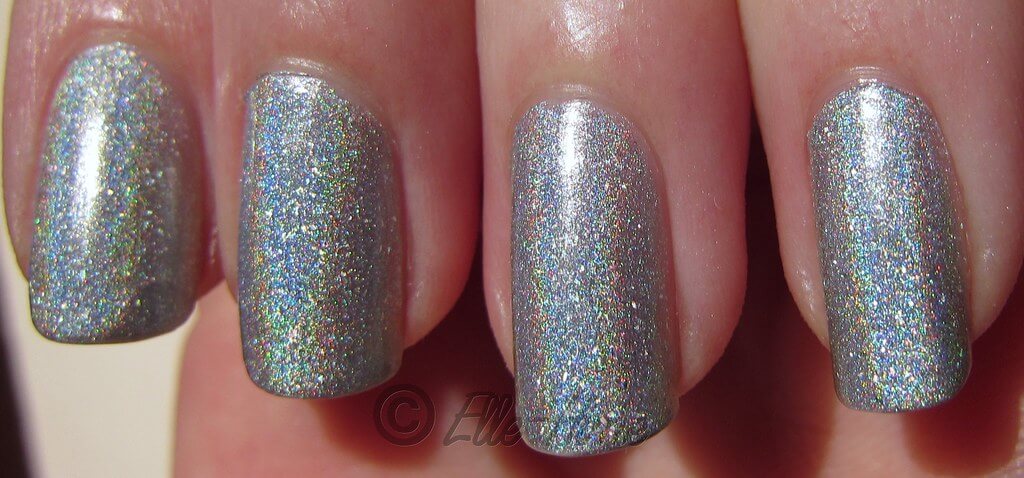
And here's one other thing. I took these photos after a day of work where I was using my hands, and fingernails in particular, all day. It was pretty rough on them, but I didn't have any chipping, scuffing, or tip wear! My nails would have been perfect if I hadn't goofed up my ring finger nail. I was really surprised by this. I just used my regular base and top coat. On my 5th day of wear I had some tiny chips.
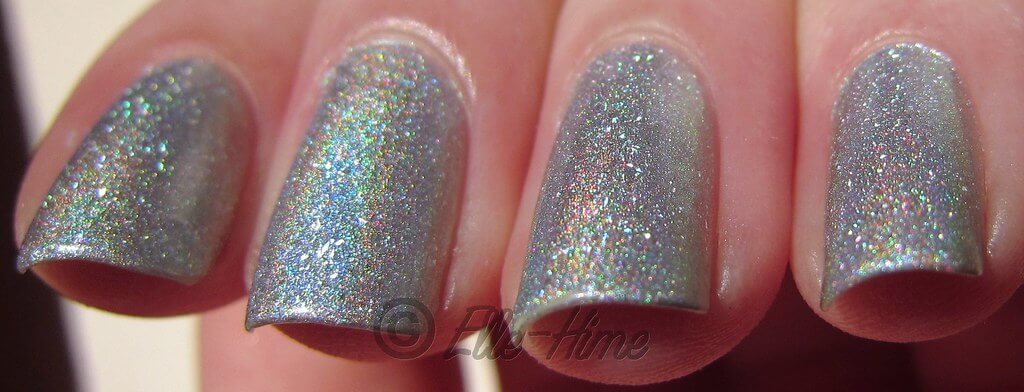
When I thought of how many people mix their own silver holographic polish I thought that maybe it was a bit uninspired, creating this polish. However, after testing it out I'm very pleased. I have a few silver holos but this one does stand as unique in my stash and it's gorgeous to me! Still, it probably needs more tweaking as it seemed a little thick, and maybe that is why it dried so slowly. Besides that... these are the things I love about Hologlam!
- 2 coat coverage
- Has a glossy finish, plays nice with top coat
- No need for a special base coat
- Strong linear rainbow effect
- In dim lighting it is an attractive silver microglittery polish
- Removes easily
- Long-wearing for a holographic
- Cruelty free and B3F formula
- Silver!
- Rainbows!
- Sparkle!
Oh, and in case you're wondering, this is my own bottle. My mom-to-be got hers back in January. I made it for her, after all. ;)
Also, I just recently started using Instagram, since they released it for Android. It's pretty fun and simple to use... If you were following me there (and/or on Twitter) you would have seen a sneak peek of this polish! If you use Instagram, follow ElleHime to keep up with my mobile pictures!

what a perfect name for this polish!
ReplyI'm following your instagram now too! I hope you'll put up deep wedding prep photos :O
Such a gorgeous polish! I really like it! x
ReplyHehe, thanks. I spent half a day trying to come up with something catchy, then showed my guy the little bottle and he said "how about Hologlam?" ..And basically I was like =[ ...yep. Hehe. XD
ReplyYay, thanks for following me there! I will be putting up little photos of my current projects now and then. Maybe I'll tag them with #wedding or #weddingprep, now that you mention it.
Thanks, same here! =D
ReplyThat's really beautiful! :) Love holos that stay put too. :)
Replylovely color!
Replyanyway, Please join my blog giveaway if you haven't yet!
http://starmishie.blogspot.com/2012/04/lbd-and-onesies-x-firmoocom-summer.html
This is absolutely beautiful, well done you!!
Replyxo
Oh, and I'm following you on Instagram now too!
ReplyWow, this is so pretty! I love the rainbow effect, and the name is perfect!
ReplyBeautiful! What an amazing first franken!
ReplySo pretty!
ReplyThank-you! I'll have to let my husband know that. =)
ReplyThanks so much! Sorry my reply is so late... I'm just finally getting back to my blog!
ReplyThanks, it's great to hear that. =)
ReplyWow! That is gorgeous! I love it.
Reply