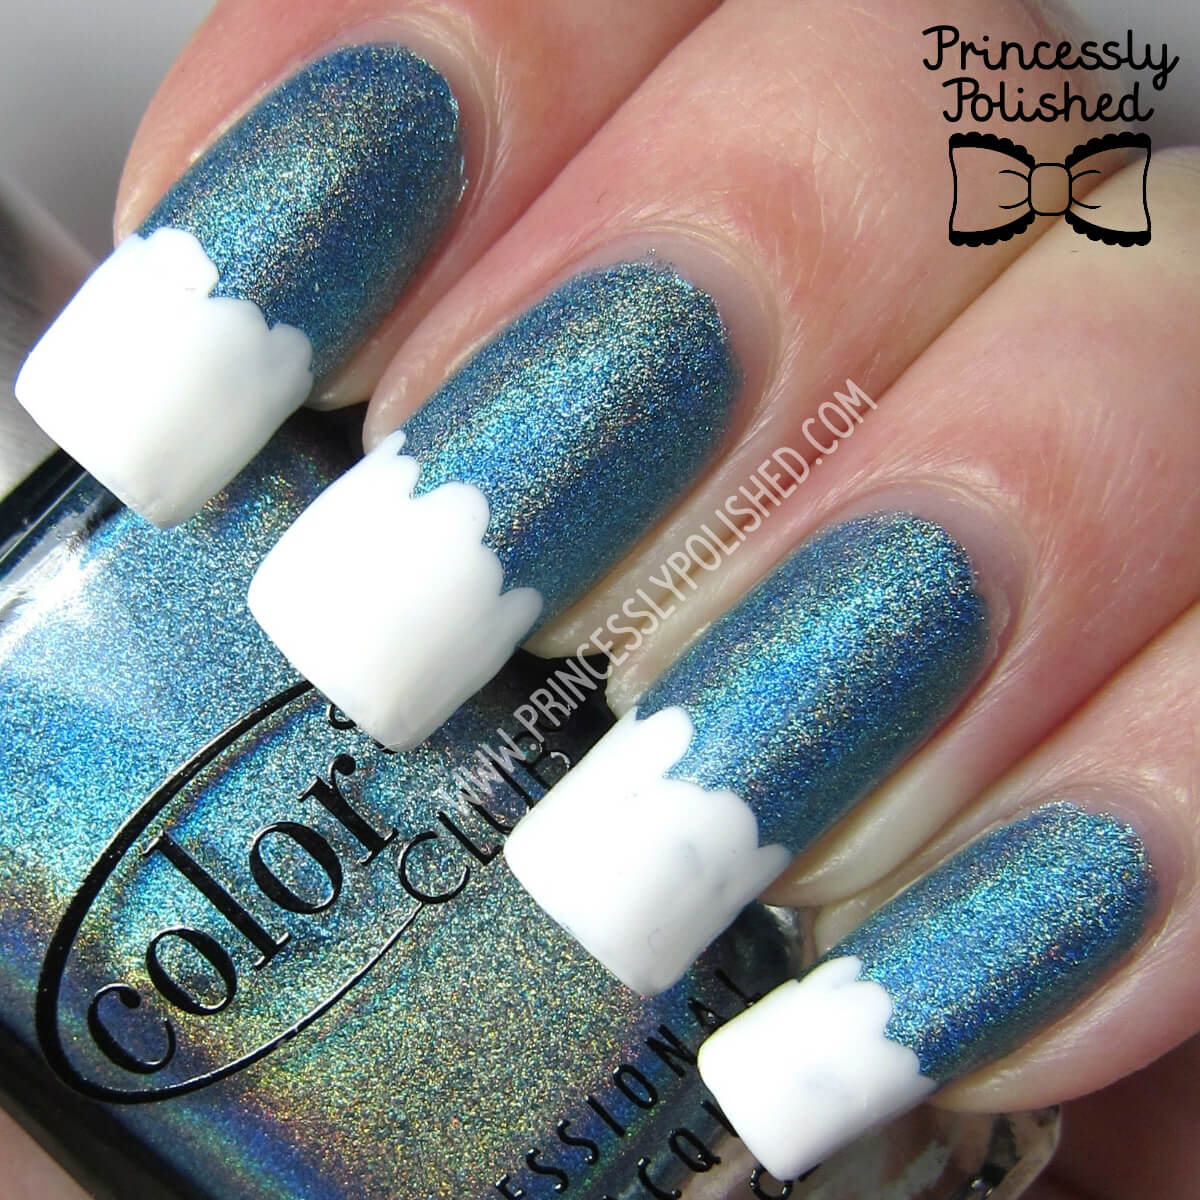
Nail Art / Swatch & Review
Good day, Princesses! Last month when my
Laquerlicous polishes arrived in the mail I was immediately inspired by this one. It was calling out to me from the bottle and I knew I needed to use it in a melon-y manicure ASAP. I wanted to make the glitters pop, so I couldn't do just a regular pink/red watermelon design. I thought of trying a nice cantaloupe color, but there is a funny thing about watermelon...
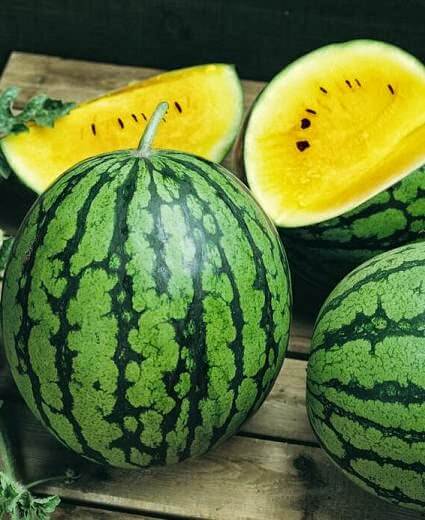
It's a fruit, it's a vegetable. It's not technically a melon. And when it grows without the red pigment-giving antioxidant lycopene... it comes in the most lovely shades of yellow!
I must admit to feeling quite clever about remembering that yellow watermelons are indeed "a thing". You see, I've never actually found one in person. They just aren't common in our area. I'd love to try a slice, though! They sound like they taste fantastic... Anyway, nail polish, yes.
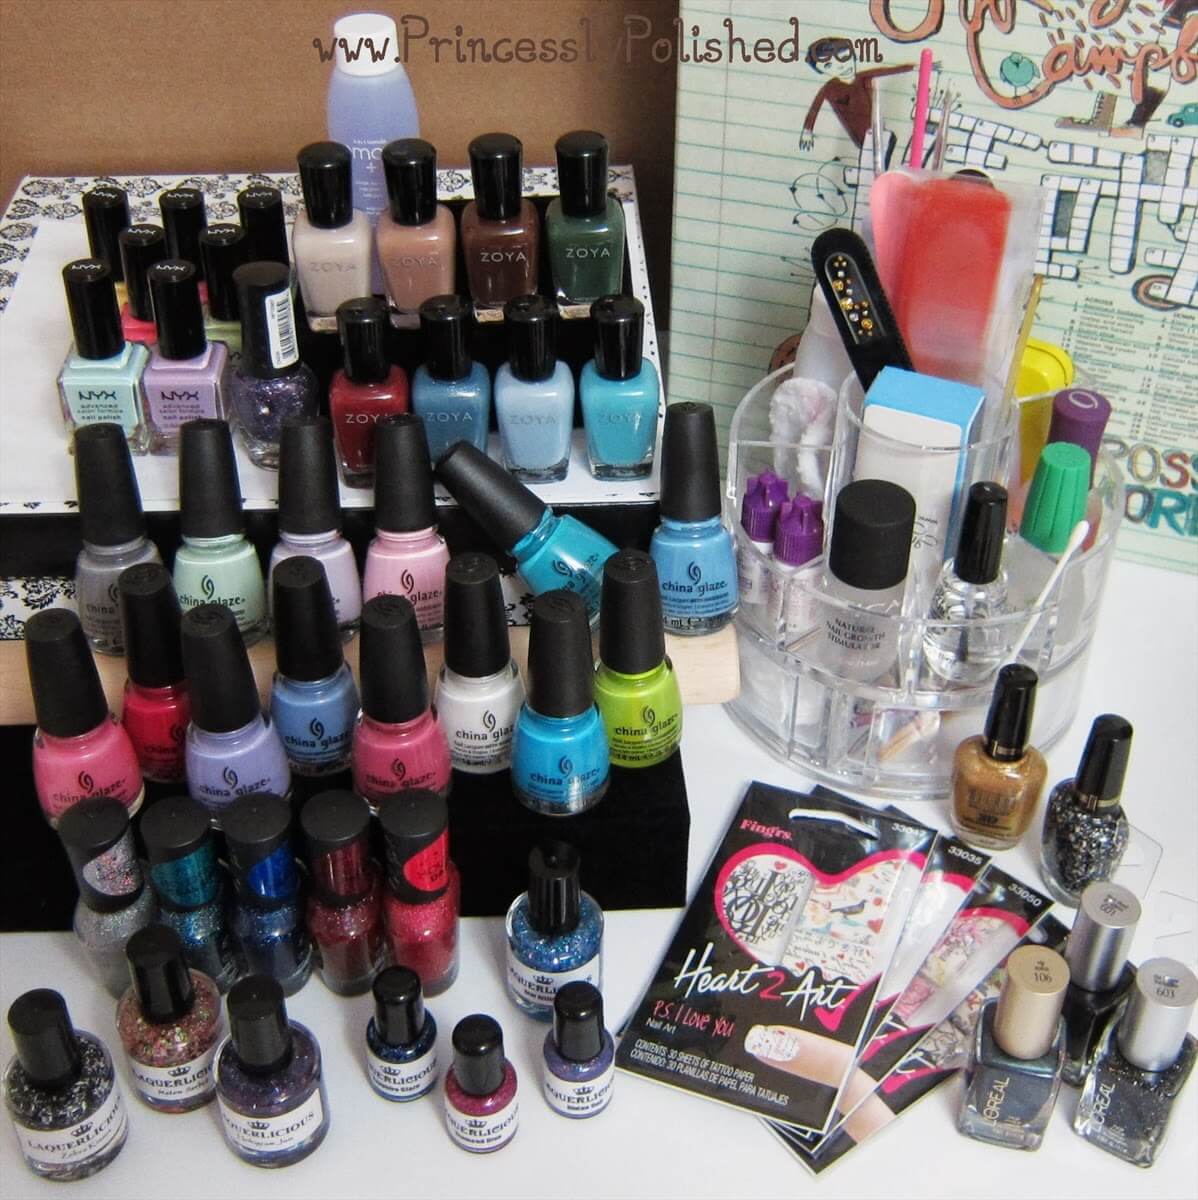
Laquerlicious Melon Sorbet is such a fantastic glitter topper. I mean, just look at this macro! It is full of satin and matte shapes in happy shades of pink and green, along with a dash of black and white. It's the perfect blend of color variety and glitter sizes, easy to work with, and has perfect topper coverage at one coat. Each nail ends up looking totally unique (without looking chaotic) and there is no need to do glitter fishing. Though I did fish out the pastel pink circle for my index nail - I saw it in the bottle and I wanted it! I could go on, but that would probably be cruel. Right now this polish is
on clearance, and there aren't many bottles left. I'll just say that if you missed this one, I feel very sorry for you.
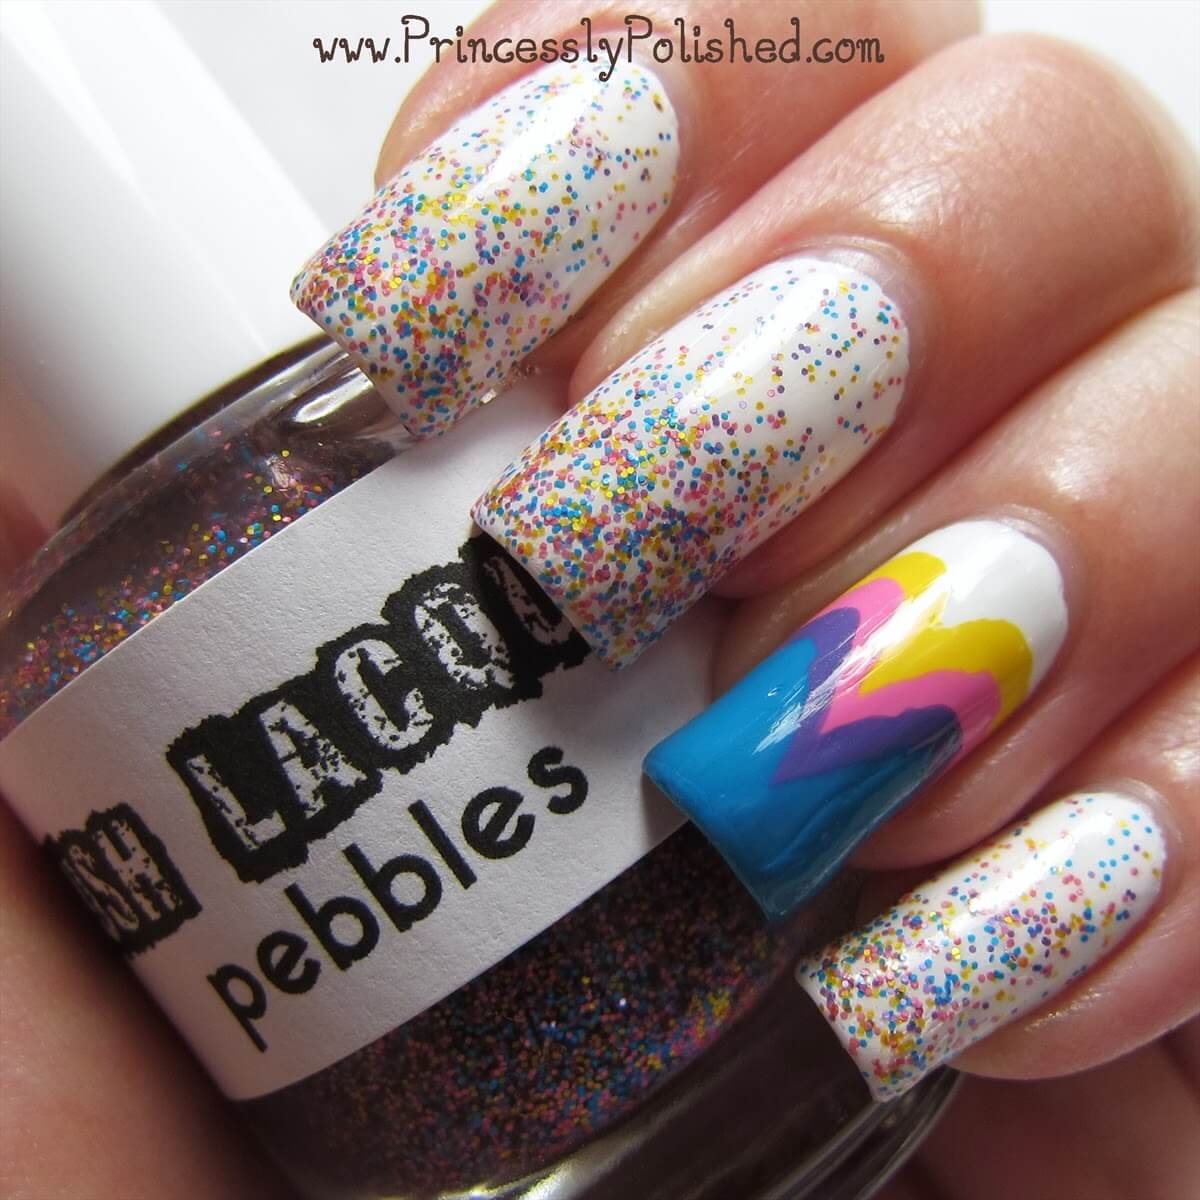
Details on the nail art:
Pastel yellow glitter nails: 3 coats
China Glaze Lemon Fizz and 1 coat
Laquerlicious Melon Sorbet. Topped with 1 coat of Gelous and 1 coat of Poshe. (Only used Poshe for the other nails.)
Melon slice accent nail: Lemon Fizz base with
China Glaze Happy Go Lucky sponged at the cuticle for a riper, sweeter-looking melon, black seeds using a nail art striper (
L.A. Colors Black), and
Zoya Purity sponged at the tip for a realistic fade into the rind..
Melon rinds: Base color is
Zoya Hunter with squiggly lines done with a bright green nail art striper (
L.A. Colors Mint Green).
I'm a nail-art novice, so I am really happy with how these turned out! I actually wore these nails at the end of last month; editing the pictures now and seeing them again made me happy all over again! It's only summer for another week, so it was a perfect time to get my melon on. Haha.
If you'd like to see more about yellow watermelon, check out this article on
wiseGEEK and this recipe for, what else?
Yellow watermelon sorbet! Also, if you've ever had the chance to eat yellow watermelon please leave a comment telling me about your experience! Until I find it myself I'll have to live vicariously through others. =)
This might be my last blog post for a little while. My previous OB appointment revealed that I can basically go into labor at any time (Yay! ...I think?), and if I don't by this weekend I'll probably be induced (having issues with low fluids again, thus the constant monitoring). In fact, as this post is going live I'm heading off to one more appointment, where I guess they could say "we're keeping you now". But I'm hoping that doesn't happen... Either way, I don't know that I will have much of a brain for blogging. Most of my time off this week has been spent cleaning, packing, and napping. ^-^ Until we see you again, hugs and kicks-es from the baby and I! ♥