Monday, December 31, 2012

December 2012 Hauls

   Here is my last haul post for 2012!  I'm looking forward to the content I have planned for next month, some of which has to do with what I found this month.  Not very much to show in this Haul post, so here we go...


   I managed to snag some more of the Pure Ice limited edition colors, which sold out at our local Walmart very quickly.  Last month I picked up Treasure Hunt, and I should have grabbed a few more of the pretties that were on the shelf then...  Oh well!
   Top Row: Vintage Glam, Internationally Known, Monte Carlo
   Bottom Row: Blue Midnight, Ruffled Sheets, Get Low, After Hours
   Of course I also snagged a few of these polishes for my giveaway, which will be running until January 11th; did you see that post?


   I picked up Sinful Colors Hazard and Mint Apple, and Salon Perfect Silver Sparkler.


   My Sephora haul was made possible by a coupon given to VIBs.  I picked up Dior Crème Abricot and two of Sephora's glitter liner-and-mascara combos.  I started using the Crème Abricot right away, and will be officially trialling it next year!


   And of course there was my special CosmoVoxBox from Influenster, which I've been having fun with testing and reviewing.  So far I've gotten to post about the Gillette razor and Forever Red perfume.


   Finally, I wrapped up my expenditures at Sally Beauty, where I grabbed a container of Bubble White and Orly polishes Green With Envy and Miss Conduct.  Green Wtih Envy seems to be one of those polishes that doesn't want to photograph accurately.

   With all the awesome end-of-year sales that are happening now I'll probably have a more exciting haul post next month, though for budget's sake I'm trying to resist!  As always thanks for reading and I'll blog to you all next year!  ;P

Friday, December 28, 2012

Pure Ice Matte-allic Giveaway!


   Hello, everyone!  I found some of the limited edition Pure Ice polishes locally and thought I should share the wealth!  I'm keeping this giveaway post short and sweet, so let me tell you about the prize and then you can get on with entering!

   These are from Pure Ice's "velvet" or "suede" finish line.   They made it sound like these had an actual fuzzy texture to them once they dried, but let me assure you that these dry smooth and are easy to work with.  What is special about them is that they dry to a shine-free matte finish, and because they are shimmery metallics it looks textured.  They dry fast and have good coverage at two coats, and you'll be about to give your nails a different look by adding topcoat!  I had to grab my own bottle of the silver and Blue Midnight, so count on seeing some nail inspiration posts before the giveaway is over!

The Prize:

   There will be one winner of the following 3 limited edition polishes from Pure Ice:
Crushed - gold
Ruffled Sheets - silver
Over The Top - copper

The Rules:

   ♥ This giveaway is open to all my followers with a US mailing address, new and old!
   International followers, I'm sorry to exclude you.  However, if you have someone within the states who can receive your prize I'll be happy to mail to them for you!
   You should either be 18 years of age or older, or have the consent of your parents/guardians to enter.
   All entries are recorded using Rafflecopter, and falsified entries will be removed.
   The selected winner will be notified by E-mail and have 24 hours to respond before another winner will be chosen.
   Any questions or clarification needed, let me know!

a Rafflecopter giveaway

Wednesday, December 26, 2012

Fragrance: Forever Red - Exclusively at Bath & Body Works

Review
Source: B&BW Forever Red EDP page

   Time to share another Influenster goodie!  Included in my Cosmo VoxBox was a mini bottle of Bath & Body Works most luxurious new fragrance: Forever Red.  I love trying new perfumes, so I was excited to see the bottle in my box.  As far as reviewing goes perfumes are easy to test, yet they can be tricky to describe - I'll do my best!  Let's start off with the official description from the website:
"Our most luxurious longest lasting fragrance blends opulent notes of fiery red pomegranate and delicate peche de vigne, a rare and fleeting French peach. Soft petals of red osmanthus give way to notes of addictive velvety marshmallow and a surprising finale of rich vanilla rum that leaves an unforgettable impression.
  • Top Notes: Fiery Pomegranate, Rare French Peach, Luminous Apple
  • Mid Notes: Red Peony, Night Marigold, Red Osmanthus
  • Dry Notes: Rich Vanilla Rum, Velvety Marshmallow, Oak Wood"
    Right away I was happy to see that one of the notes is vanilla - I'm a huge fan of vanilla scents and was optimistic that this would be something I'd like, yet different from what I already have in my collection.  I also really like the look of their full-sized bottles.  The dark red glass accented by a flourish of red ribbon is a nice balance of stylish appeal and sturdiness.  My mini bottle does not have the cute little ribbon tie, but I love how easily it stows away!  And I love the atomizer on it.  This perfume sprays an ultrafine mist that exactly covers the decolletage the way a luxurious fragrance should!  I only need one spritz.


   But does it smell any good?  My vote is a big yes!  What does it smell like? is where my answer starts to get fuzzy.  I have a hard time putting my finger on exactly what it smells like, maybe in part from the floral notes which I'm never good at identifying.  Mostly it never has an overpowering, fake perfume smell.  I'm sensitive to chemical odors and will get a splitting headache from anything too strong, but have had no issues with this fragrance.  Forever Red sticks pretty close to the skin.  I don't notice it all day when I wear it, but if I try to smell it I can tell it is still there.

   While I may not be able to place the exact scent, this perfume works well with my chemistry.  It will last all day and sometimes into the next morning.  It never turns powdery, so the floral notes aren't too strong.  It never turns sticky-sweet, meaning the fruity notes don't come across as fake.  It does a have a certain warmth from the dry notes, with the rum vanilla and marshmallow being the most noticeable.  It's like the best aspects of the 'floral fruity' genre combined with a subtle gourmand.

   Here is what I really love about wearing it.  It might just be my chemistry, as a perfume will smell different when sprayed on someone else's skin, but this happens when I wear Forever Red.  When I work hard enough to warm up but not quite break a sweat it develops this fantastic aroma of freshly made cotton candy at the fair.  It must be from the vanilla and marshmallow base notes combining with the fruity ones.  I wasn't expecting that but it is totally me and I love it!  I can't stop sniffing when this happens.

   Importantly, my husband really likes the smell of it.  When I ask him what it smells like his answers have been "sort of fruity?" and "like berries".  Whenever he does notice it he comments positively.  So I also like this fragrance for the fact that he does.

   Honestly I haven't shopped at Bath & Body Works in ages, so when it comes to their claims of creating their most luxurious fragrance ever I don't have much to judge by.  It's more expensive than their usual offerings but Forever Red's price falls into what is usual for me.  This does smell like a quality perfume, but I think the whole idea of what smells rich is totally subjective.  I will wear this and even repurchase it because I genuinely like it, not because of what the ad says.  Have you tried it?

Monday, December 24, 2012

Gillette Venus Embrace & Olay Razor

Review

   When my Influenster Cosmo VoxBox arrived I was happy to see that they included a razor.  My last razor had been serving me faithfully only to have its refill cartridges discontinued.  I knew I was going to have to either hunt down refills for it Online or... be brave and try something else.  So thank-you, Gillette! for giving me a new razor to try!  In fact, I have two razors to test.  A new Venus & Olay blade cartridge was included with the Venus Embrace blade and handle.  So, what did I think of these products?

   First off, the handle.  As you can see in the first image it works very simply - a nice grippy stick with a glittery plastic button that you push forward to pop an old blade off.  Then you can put any new Venus blade on because they are all interchangeable!  As for the overall comfort and ease of use, it's good.  The button stays well out of the way of my hand while using it and the entire handle has a jelly grip.  I've seen a couple other colors this razor comes in, where the jelly grips are purple, blue or pink.  Being the girly-girl that I am I would have chosen one of those colorways instead of green and blue, but that's a small thing.  Razor looks are probably the least important part of shaving, but I love the idea that if you're going to shave with Gillette you can track down whatever handle you like best, and then put your desired blade on that handle.


Venus Embrace


   The Venus Embrace cartridges are 5-bladed and surrounded by moisturizing strips that produce their own sort of shave gel in the shower.  It's actually dubbed "Ribbon of Moisture" by the company.  As soon as the blue ribbon gets wet it starts leaving a slickness on anything it touches and has a stringy consistency.  If you don't rinse your razor off after use this will hold onto any bits of hair or fuzz that land in it.


   I found that this razor gives a very nice shave.  The 5 blades make for a close shave while protecting your skin from nicks.  But I'm not loving the Ribbon of Moisture feature.  It adds a lot of bulk around the blades, and apparently I'm the type of person that would rather have to deal with lathering up before shaving.  Because the moisturizing gel doesn't show up on skin I also had to be extra thorough about rinsing.  When I went to touch up a few spots out of the shower the wet moisture strips left stringies of goo on my skin.  I dry shave with a wet razor, so this doesn't work for me.


Venus & Olay


   On to the head from Olay.  If I thought the Embrace cartridge was bulky this one seems absolutely massive compared to anything else I've used previously!  This is another 5-bladed option, and rather than just a ribbon it has what I would dub "Pads of Moisture", haha.  These are on flexible plastic wings that angle down towards your skin, and you press the razor's head down to get the blades against your skin.  This isn't noticeable while shaving, and it's nice that they designed it in such a way that those moisturizing pads should stay against your skin as they are being used up!


   I like the above photo because it shows how open the blades are from the top side.  The Embrace cartridge is the same way.  This makes it super easy to rinse the razor blades clean!  The Venus & Olay cartridge produces a light lather as you use it which has a faint scent.  Once again this falls into the "not good for dry shaving" boat, but the 5 blades do give a very nice shave in the shower.  Another thing to note about both of these blades is that they need to find a home in your shower where the blades won't rest against anything else.  I've ended up with little chunks of dried gel on whatever happened to be within reach of my Venus razor!


   I will use both of these razor cartridges until they are dulled and actually need replacing, because while I'm not a fan of the "no shave gel needed" feature it isn't horrible.  It does make for a smooth shave and I do believe they left my legs a little softer, so they are fine for use in the shower.  They just aren't cutting it for dry shaving touch-ups.  Gillette included a $2 off refill coupon with this Influenster trial kit so I've used that to pick up some of their basic blades.  Once I get around to trying them I'll post my findings on the blog!  I expect that they will be more to my liking.

   These razors should be perfect for someone who likes their shave gel to come with the razor.  I also think that they would be good for beginners because the 5 blades are gentle to your skin.  I'm loving the fact that everything can be swapped between handles and cartridges.  I'd say that this is an eco-friendly move, and as someone who hates waste and would never go to disposables it's nice to know that I shouldn't ever be left with a handle that I can't get any blades on!  Even though this hasn't become the perfect shaving product for me yet, I have high hopes that it will be.  I'm really glad that I had the opportunity to try something different and hope that you found my review helpful.  Thanks for reading!

Monday, December 17, 2012

Zoya - Zuza with Glitter Gradient!

NotD / Swatch

   Really loving the manicure that I have on today!  It gathered compliments from little girls to little old ladies.  Definitely feels like I have a fairy-princess nail thing going on.  And it was super easy!

   I started off with 2 coats of Zoya Zuza.  This is a very pretty aqua/turquoise polish with silver shimmer.  The formula was excellent, and could even be a one coater if I used thick coats, but doing two thinner coats was easier to control.


   Next I grabbed one of my most favorite purple glitters, That Is So Fetch! by Different Dimension.  (Full review here!)  Because my nails are long I started out just painting the free edge.


   I did a second coat starting at about the mid point of my nail to the tip...


   And tada, it's done!  Finished with a topcoat and ready to enjoy.


   What are some of your favorite glitters to use in gradients?  =)

Friday, December 14, 2012

Jelly Lens Camera Accessory Set

Review

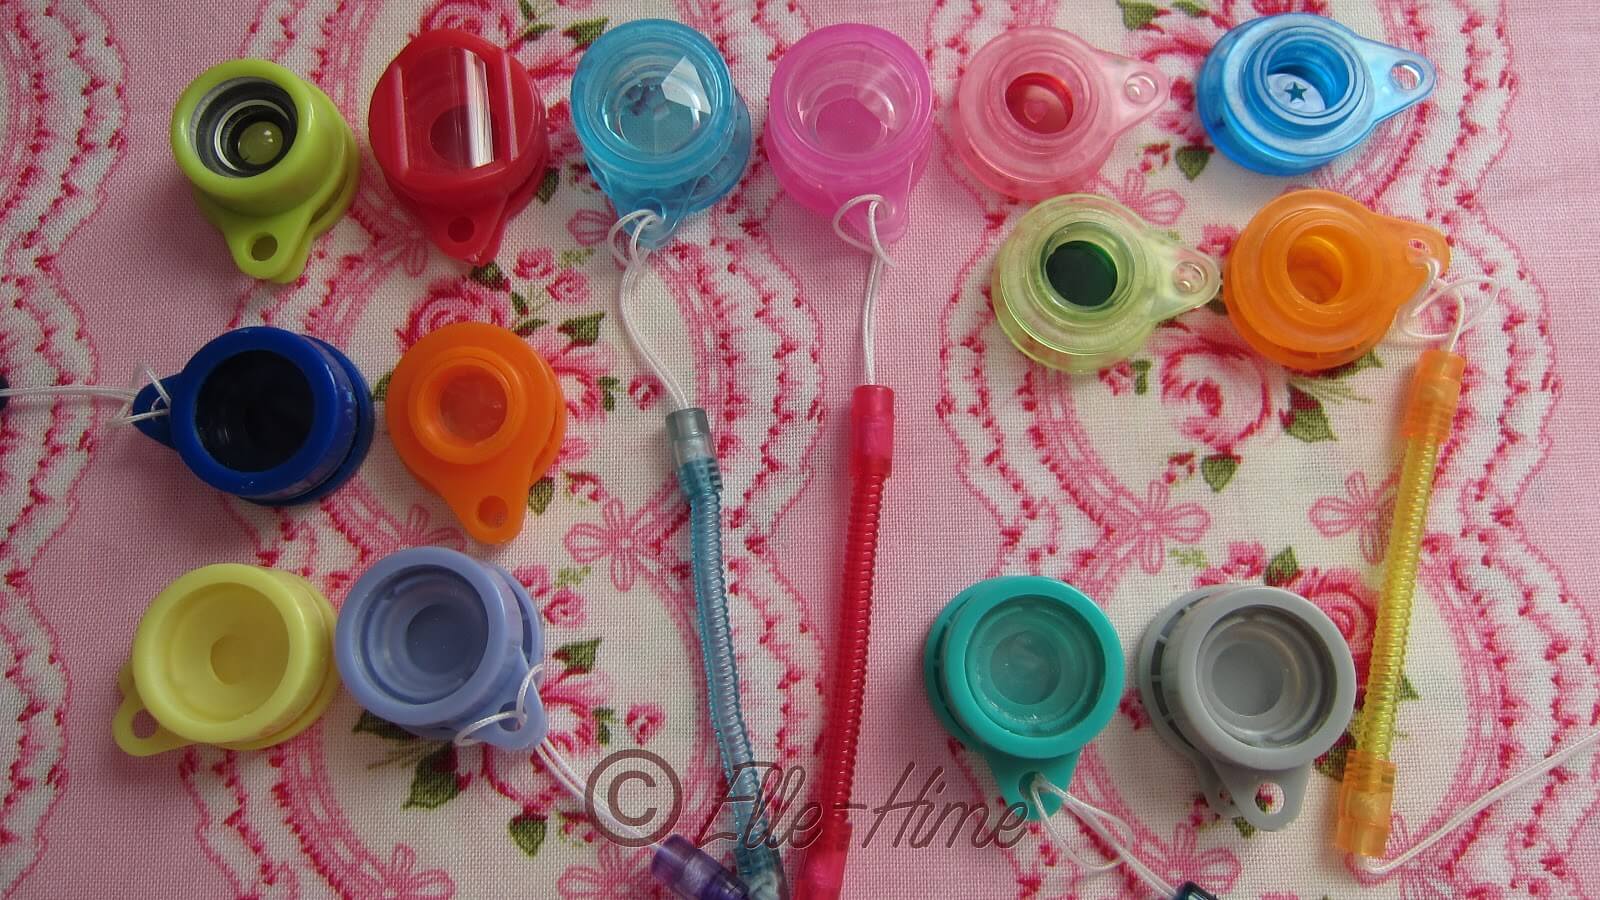
   What are these funny little colorful things?  Camera lenses!  Miniature temporary lenses for your cell phone that simply stick on, remove easily and can be reused.  I've been enjoying Instagram more but have been frustrated by my cell phone's focus limits.  I picked them up because I wanted a macro lens for my smart phone, and these were one of the cheaper options.  So what do I think of them?  How well do they work?  I'll tell you!

   The concept is very simple - each lens or filter has a sticky ring that will fit around your cell phone's lens.  When it isn't in place on your phone it has a round plastic disc cap to place on it.  Each package includes a color-matched leash for attaching to your phone, but I have already removed most of these for my pictures. I would not suggest using the straps as they only wanted to get in the way for me, and the sticky jelly rings will get dirty if they are dangling about.  I store mine strapless in a little tin:


   To help you understand just how these work and stock to your phone, here are two lenses with and without their caps.  Straps have been removed but I left them in the background.


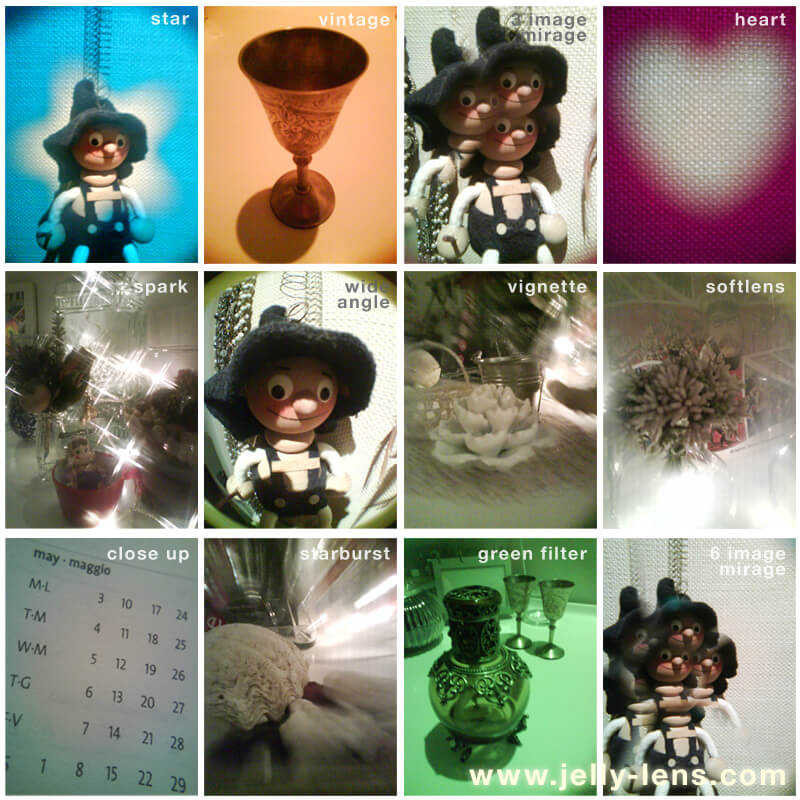
   There are 14 lenses (or 12 sets, 2 packages include 2 instead of 1) that you can find in this style, and as I have not had the opportunity to take pictures with each one of them that I would actually keep, I'm snagging this collage right from the Jelly Lens website with their own examples of the photo effects.

Image source.
   If you browse their Online store each you can click to see a tiny image off what each lens does on it's shop page.  Let's take a look at my group shot one more time I'm I'll list my filters from left to right, pointing them out by color.

Top Row:
Lime Green, Wide Angle Lens - this lens will let your camera lens "see more", or give a fisheye effect for up close shots.  Quite nice and two useful effects in one!
Red, Stretch Lens - by placing the lens vertically or horizontally you can essentially make something (someone) look skinnier or fatter.  I'd like to try this for landscape shots, but morphing people doesn't appeal to me.
Light Blue, 6 Image Mirage - a fun kaleidoscope effect.  Not very practical but fun to try!
Light Pink, 3 Image Mirage  - splits the picture in a triple kaleidoscope effect.
Lighter Pink, Heart Frame - makes a red border around your subject that looks more like a triangle than a heart.  This lens comes with the one directly below in my photo, the:
Pale Green, "Blue Filter"/Green Filter -  It is green and does just that.  Make photos green.
Bright Blue, Star Filter -  this one makes a blurry blue star frame around your subject, and is packed with the filter directly below in my picture, the:
Yellow-orange, Sepia Filter - This is more yellow than any sepia I've ever seen, but it does work as a filter.
Middle-Left Row:
Dark Blue, Polarizing Lens - like having your camera wear sunglasses, this cuts glare.  I'm excited to try it for sky pictures!
Orange, Macro Lens - this lets you get super close, in fact you need to be for it to focus at all!
Bottom Row:
Pale Yellow, Soft Lens - puts a central circle in focus and everything around is blurred.
Lavender, Starburst - puts a central circle in focus and creates radiating lines from there, gives an effect of movement.
Aqua, Vignette - central focus area, but the blurred edges are more of a choppy motion blur.
Grey, Spark - This lens has criss-crossing lines to create Xs at points of light and soft focus, potentially a very pretty effect.


   It is worth nothing that all of these lenses will obliterate your flash.  Using flash with these doesn't work.  You will also see the edges of the lens on the outer corners of your pictures.  This isn't an issue for me as I mainly wanted these for Instagram use, and you always crop photos to square for that.  They are also a joke to stick onto my full-size camera, as they are way too small.

   Let me say that all of the lenses work, but I don't think they are all practical.  The mirage lenses are fun, but this isn't an effect I'll reach for often.  The central-focus lenses work nicely but I'm more likely to add border and vignetting effects in during a photo edit.  And the color filter lenses do work but I'd much rather take a color photo and recolor it afterward.  Some of these lenses can be replicated by a digital camera's built-in settings and options, or done by a photo editing app.

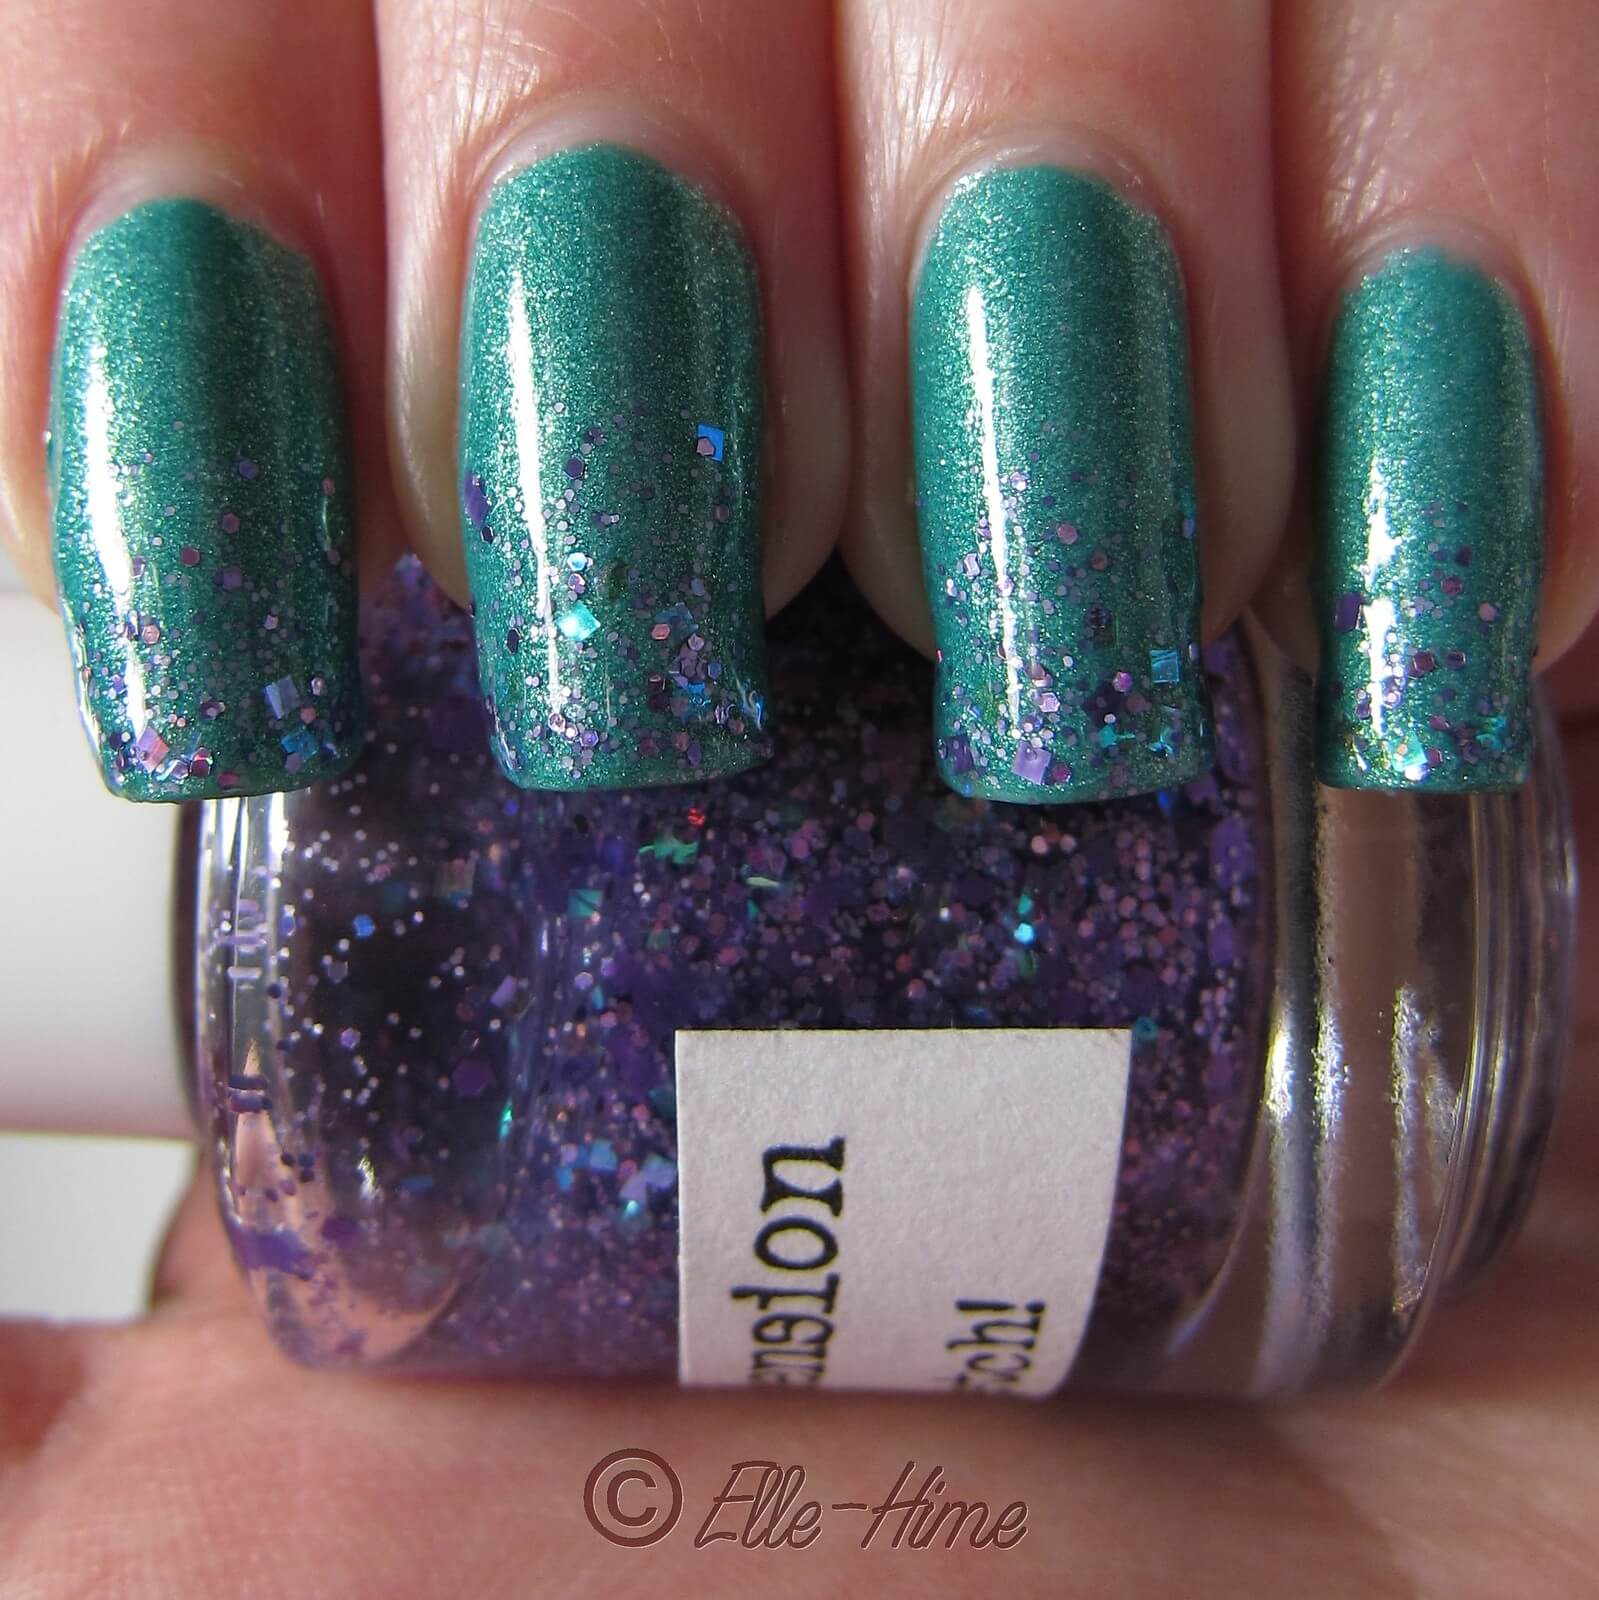
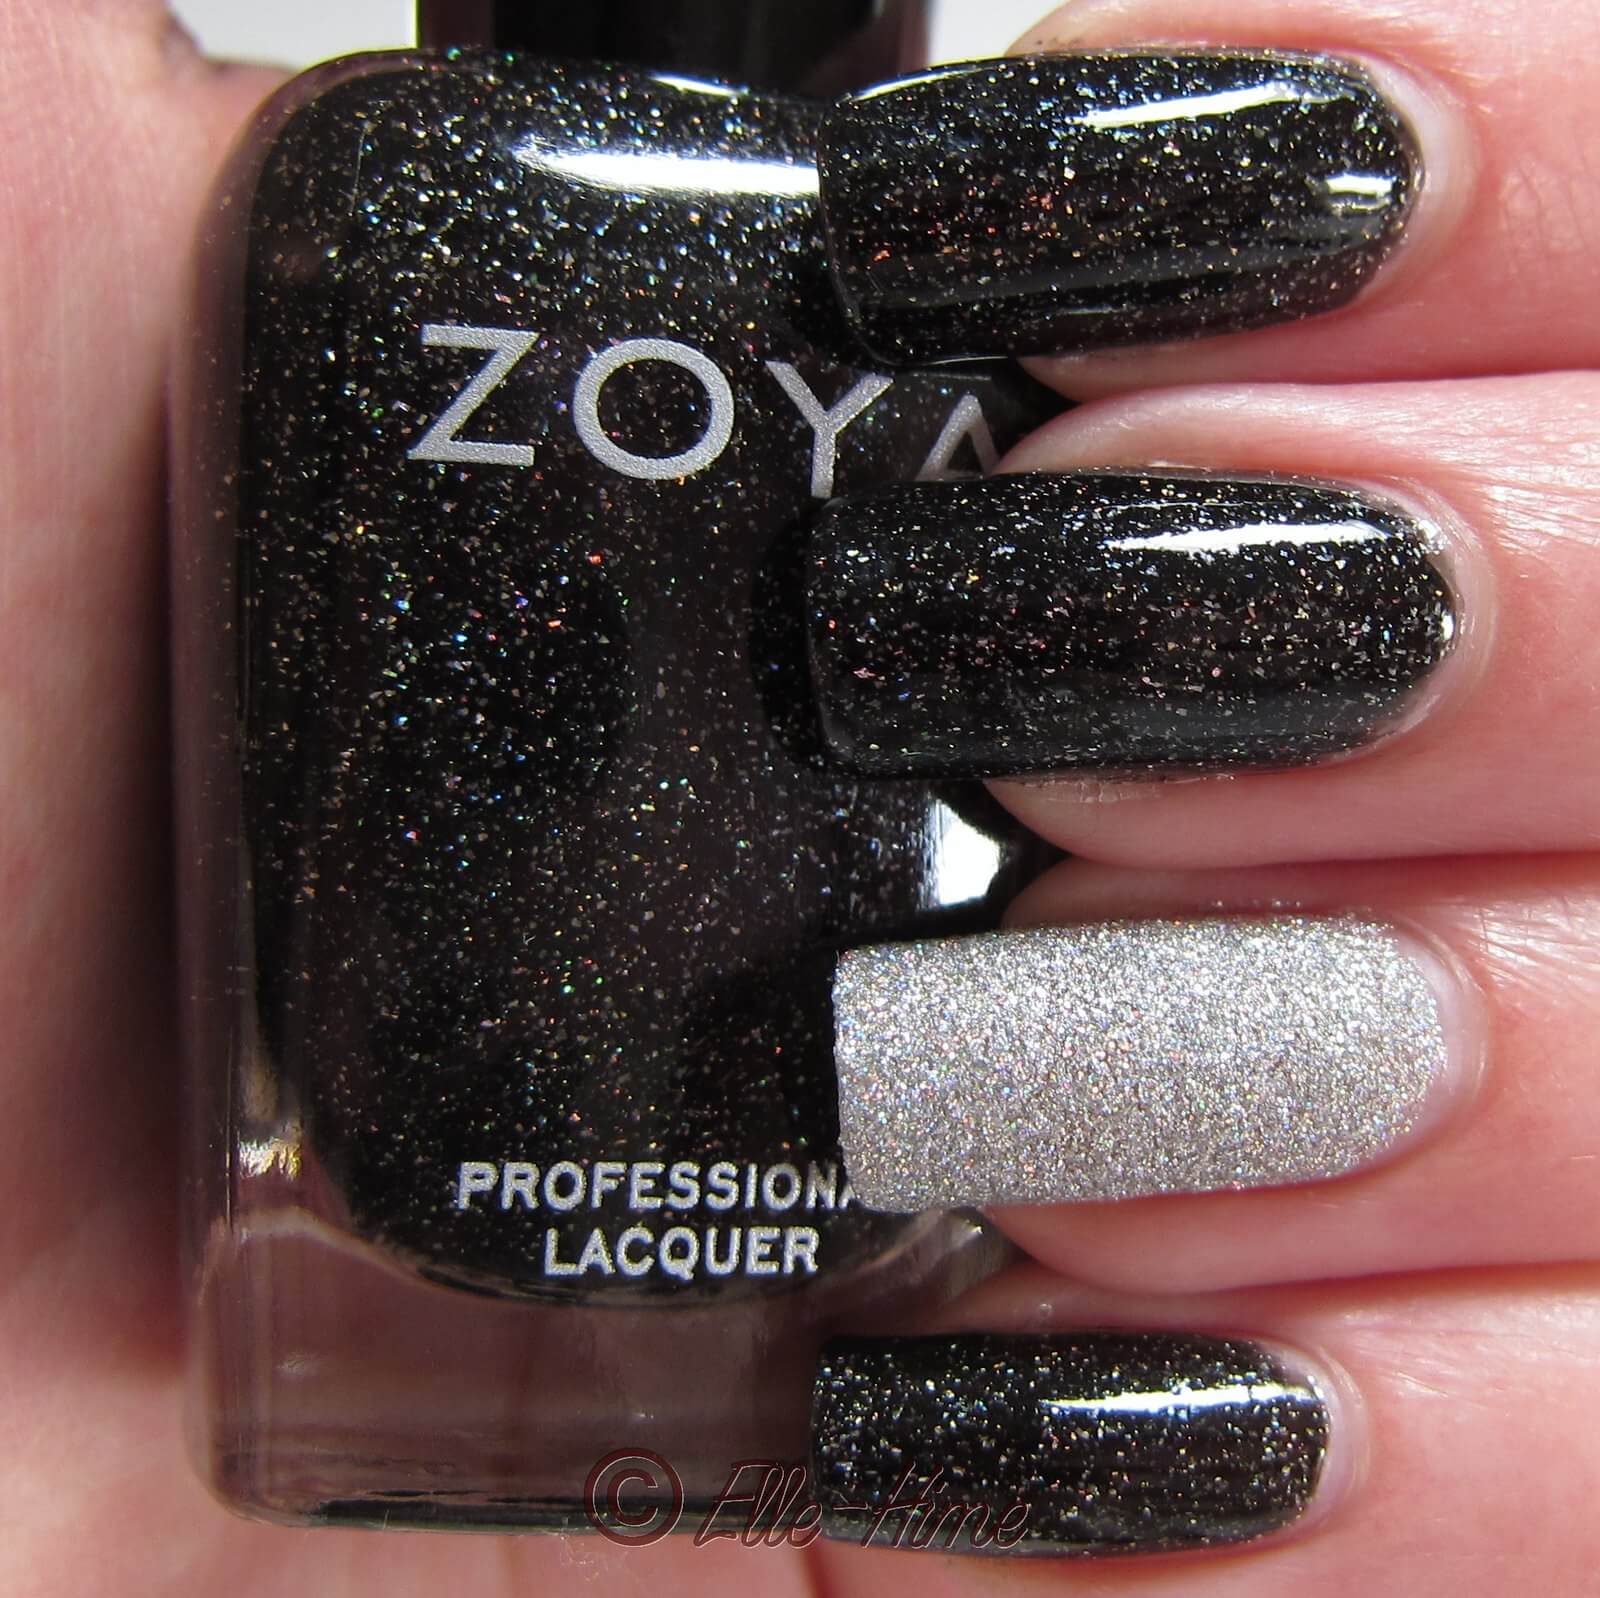
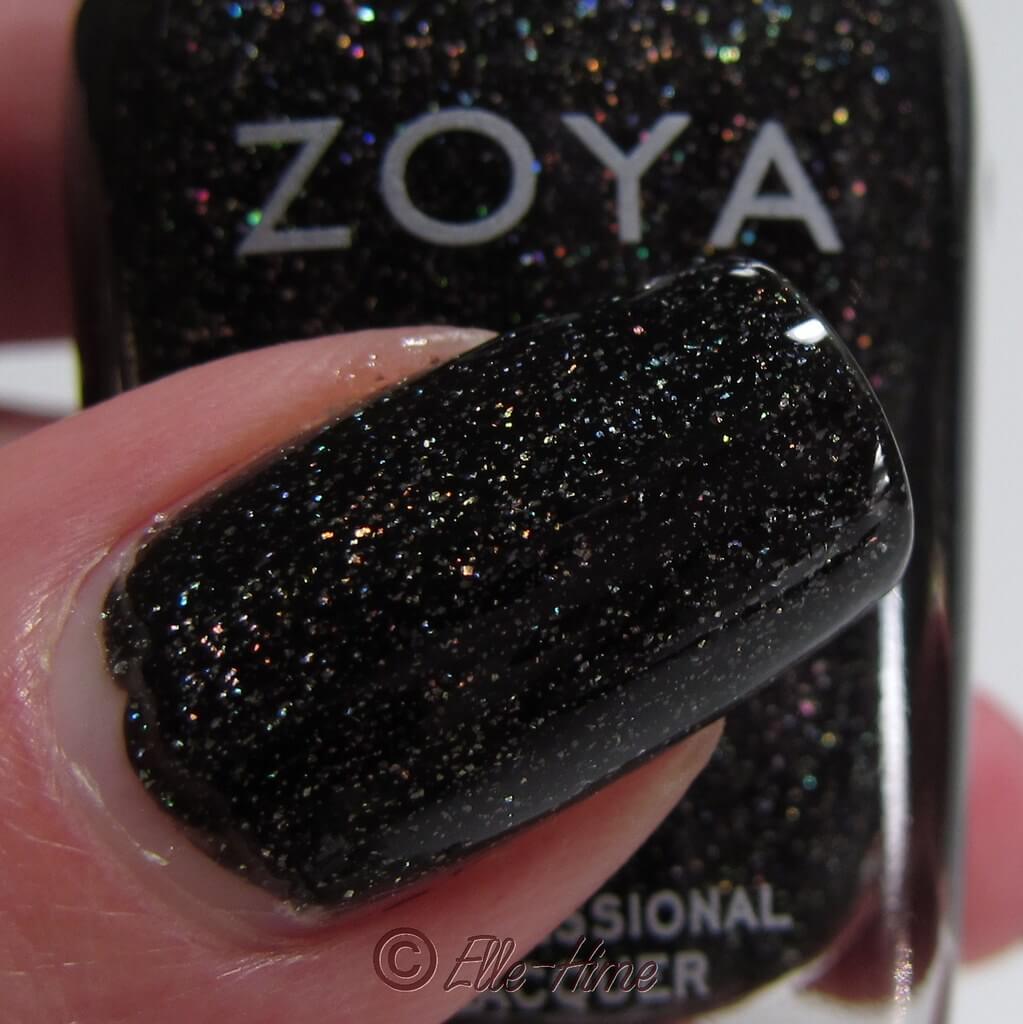
   The winners in this collection for me are the Wide Angle/Fisheye, Macro, Polarizer and Spark effect lenses.  Here are a couple of my favorite shots using these that have made it to Instagram so far:

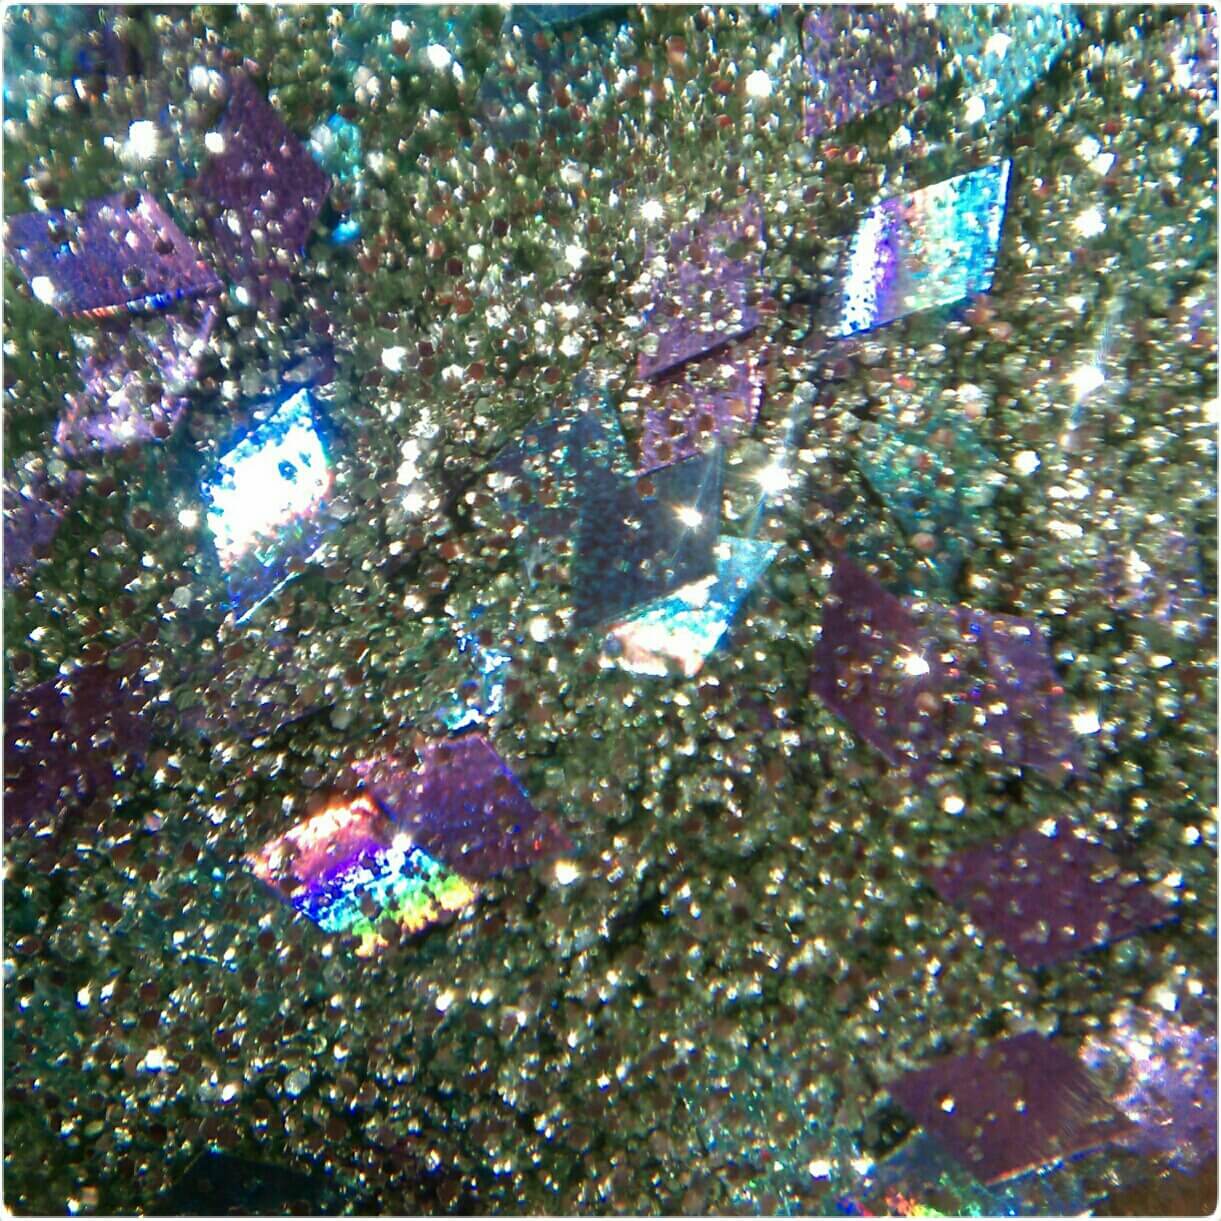
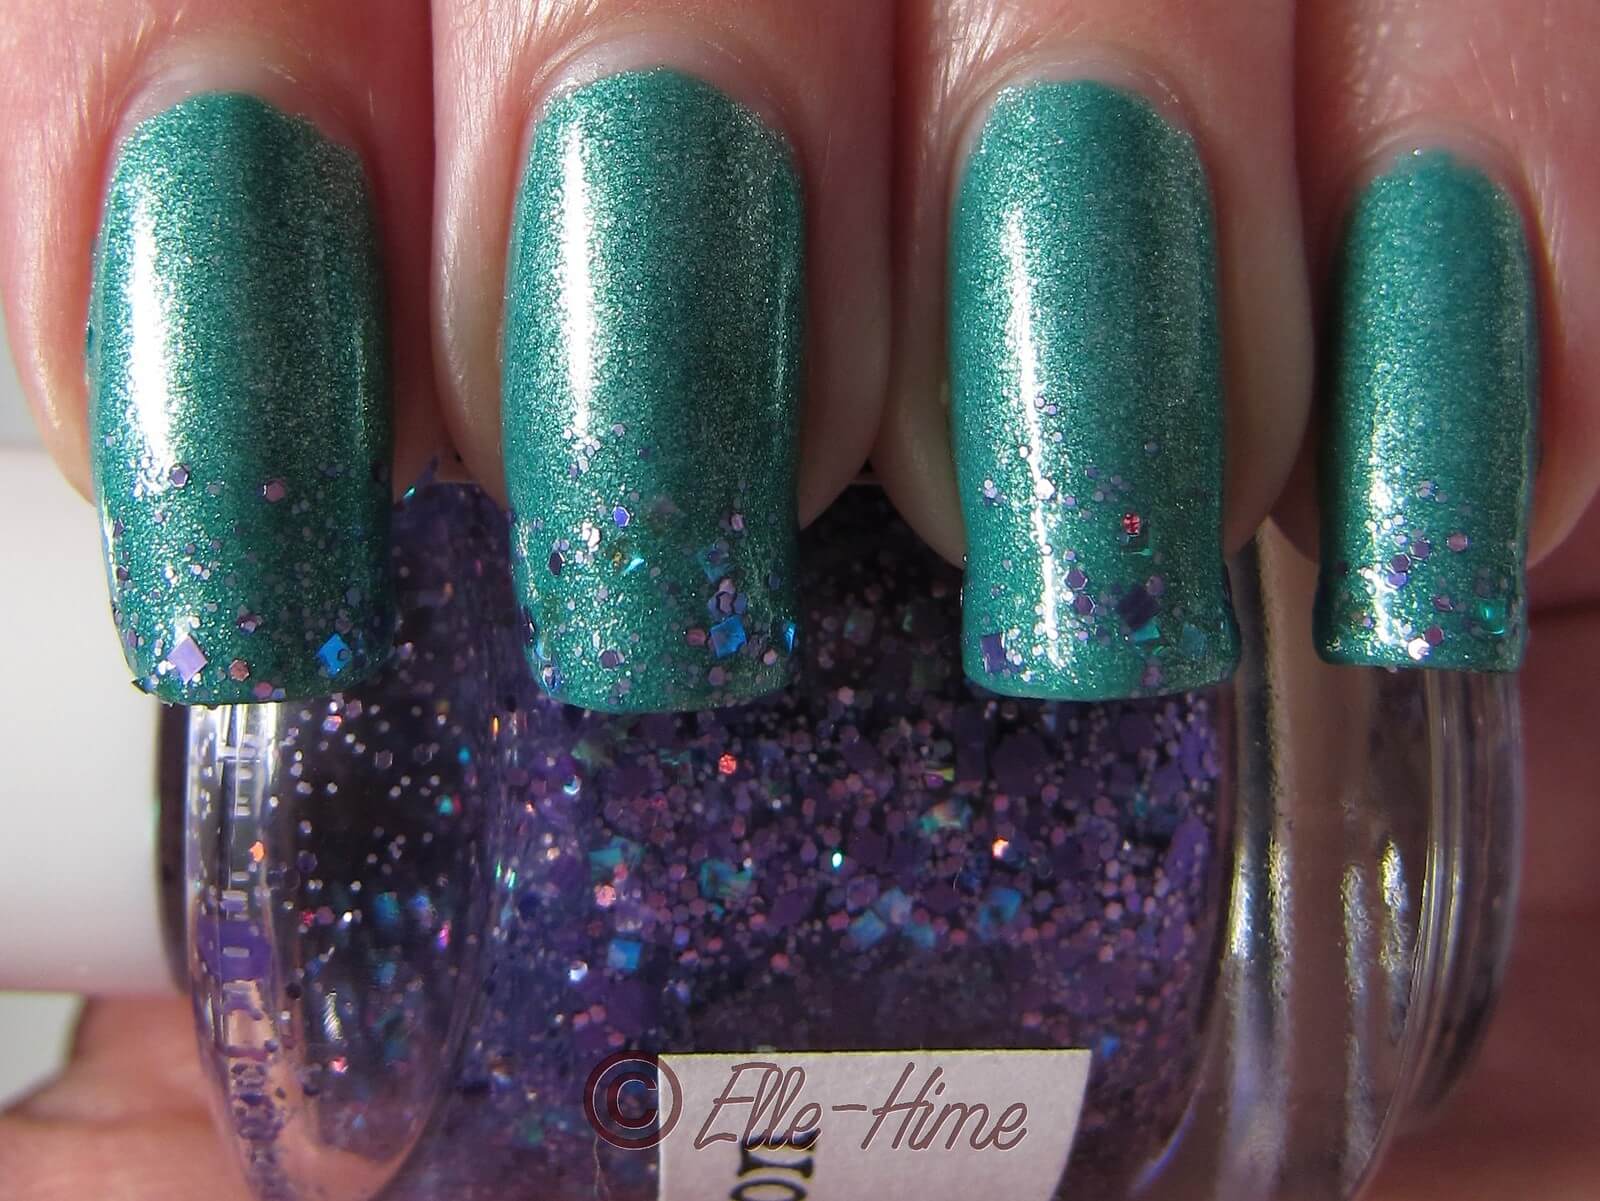
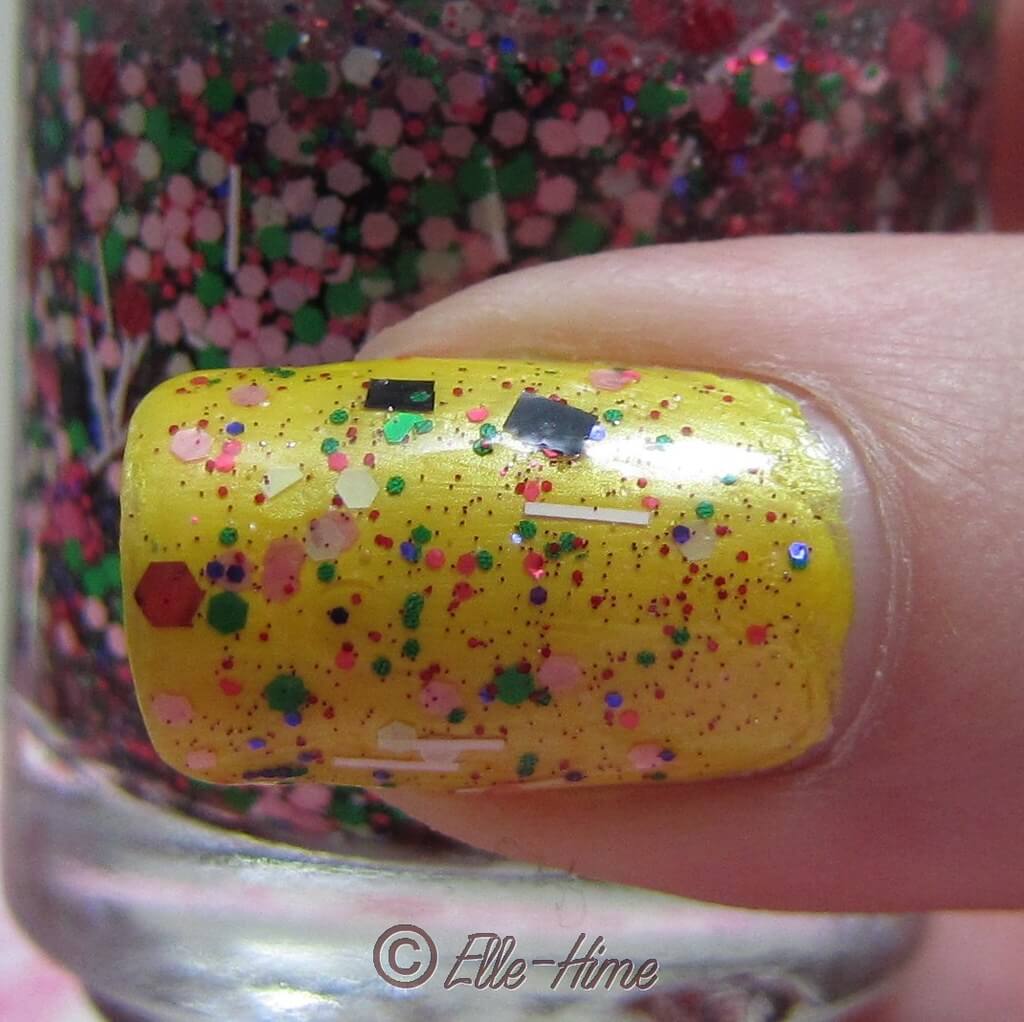
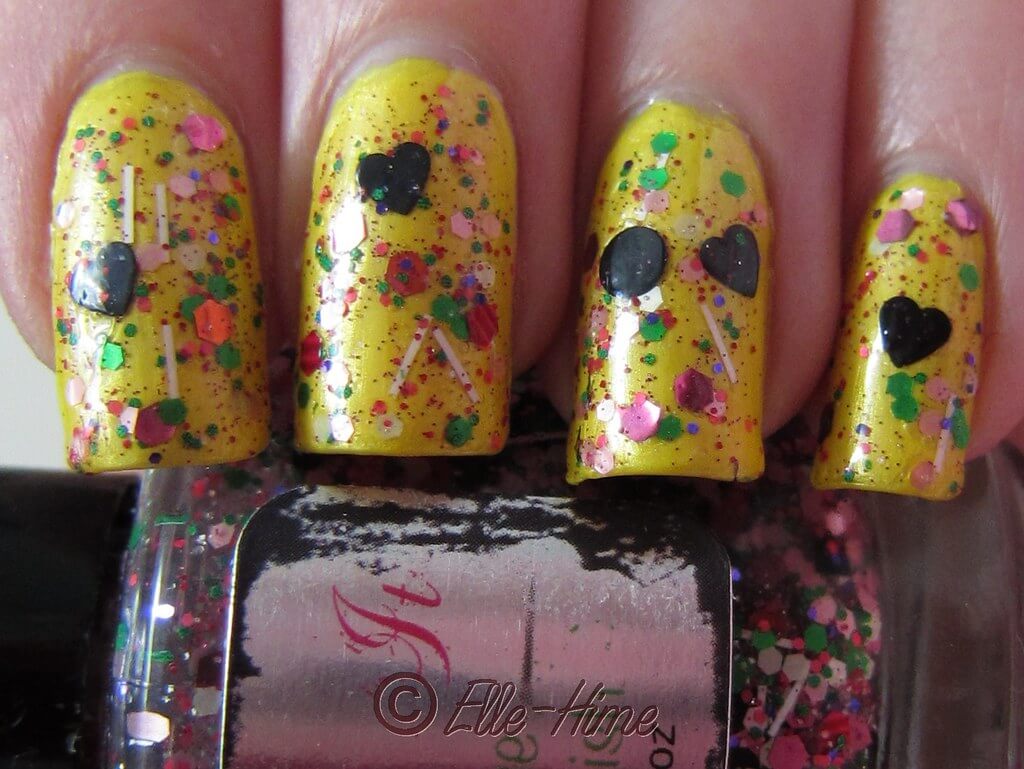
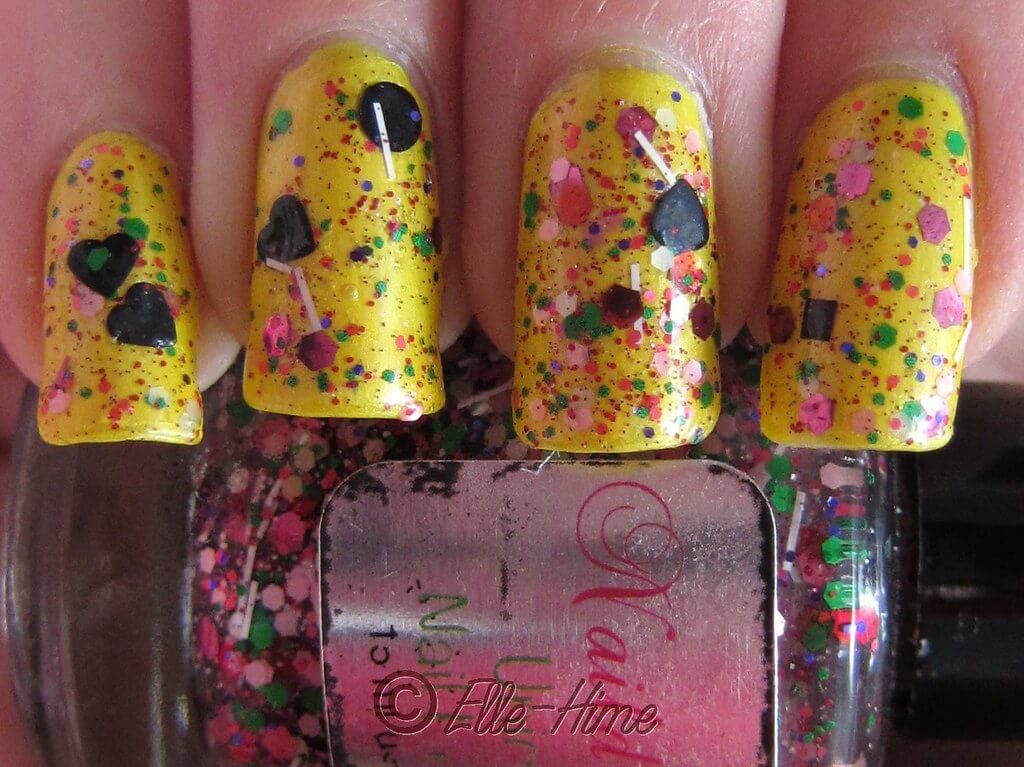
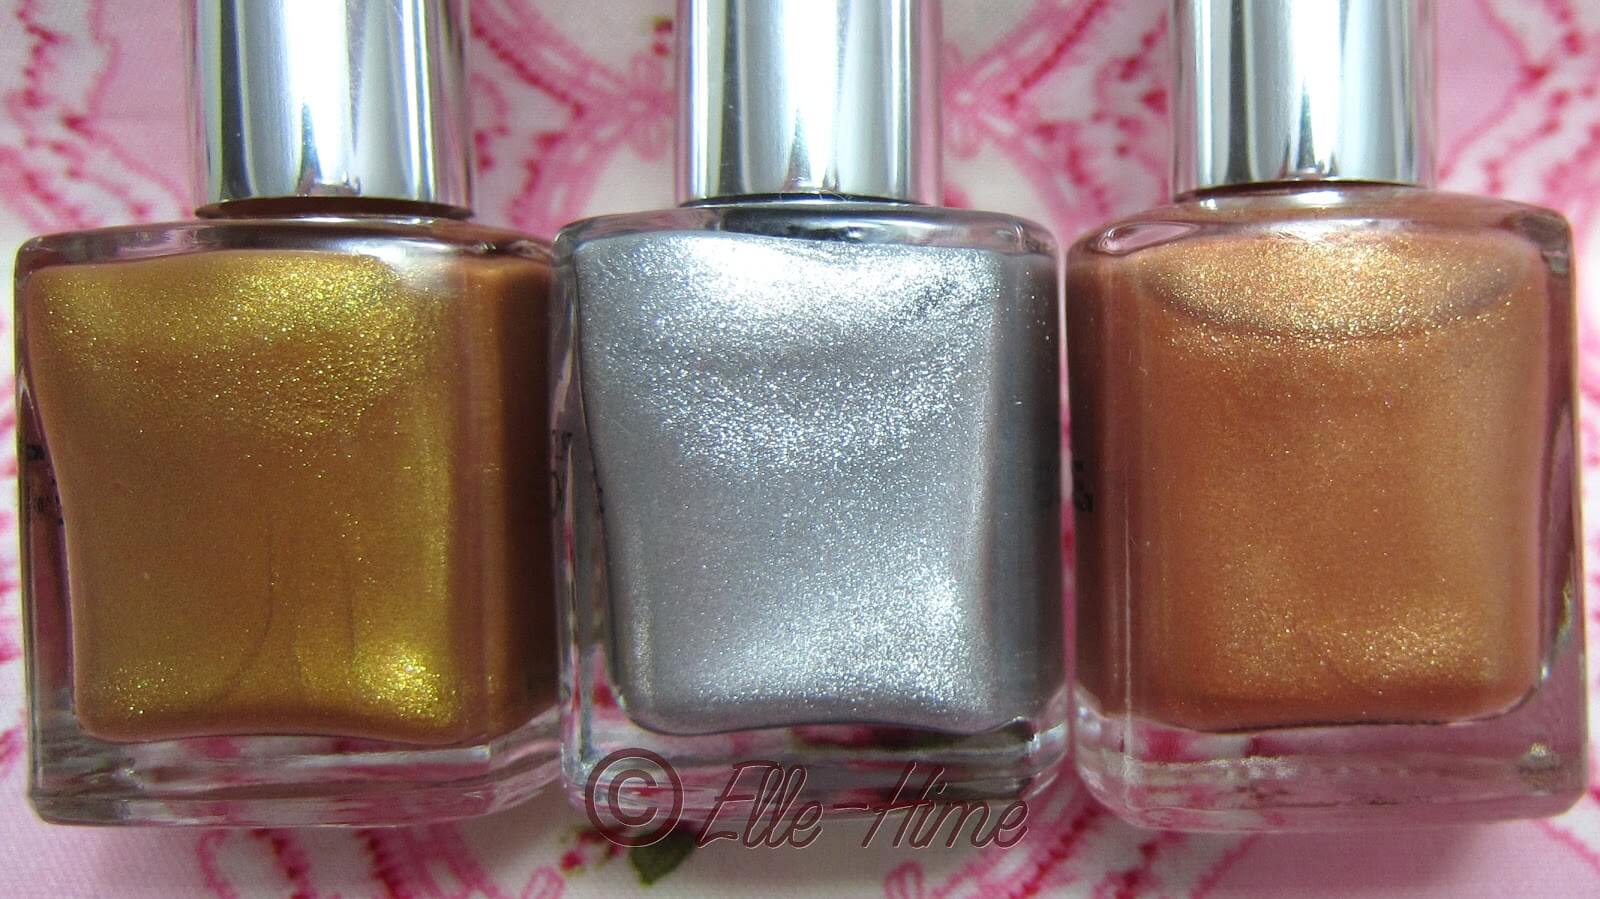
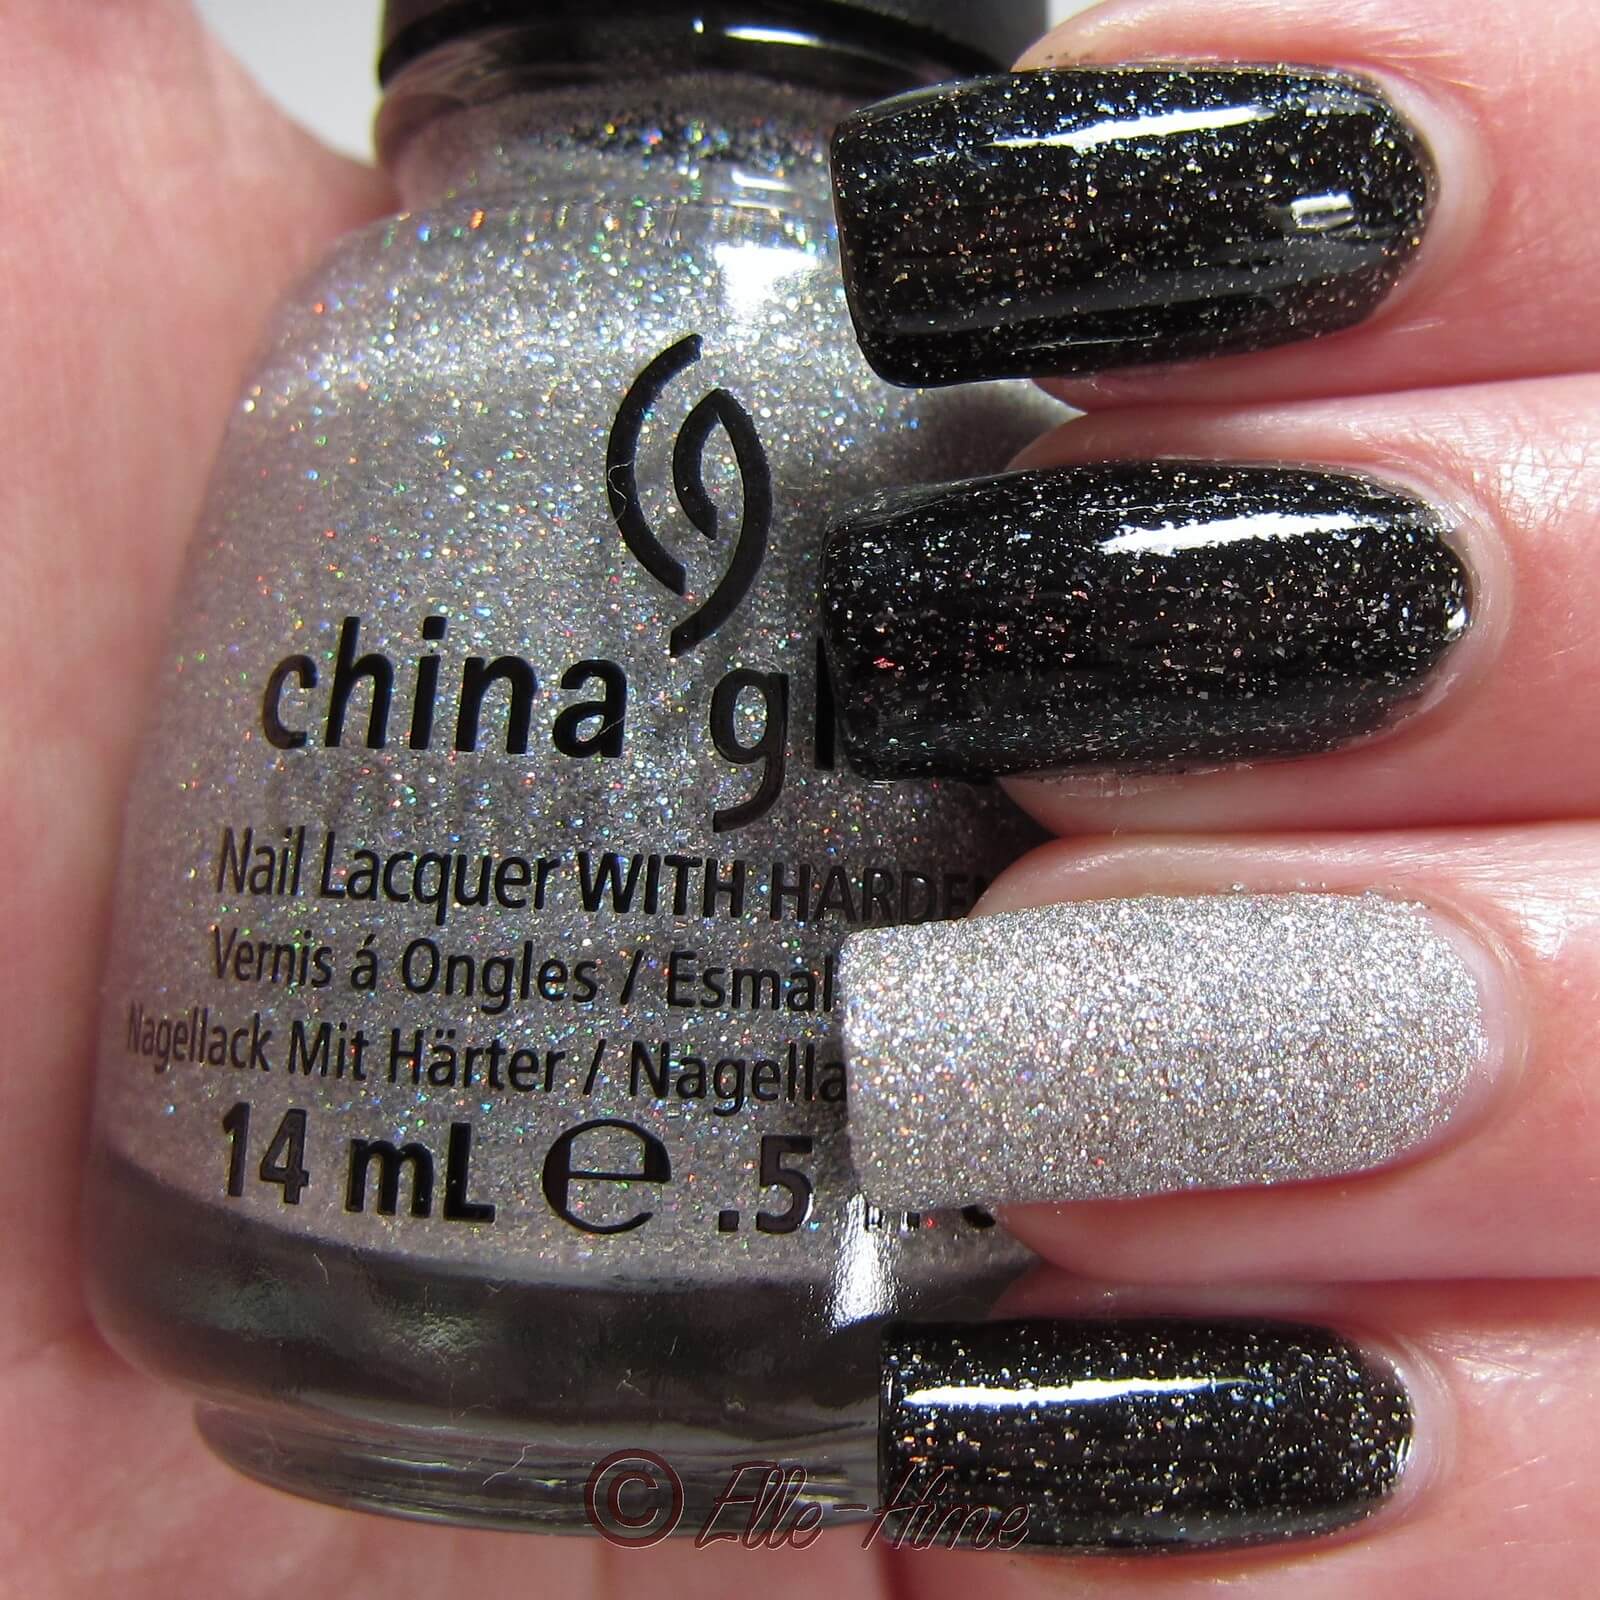
Used the Macro Lens - close up of glitter nail polish.
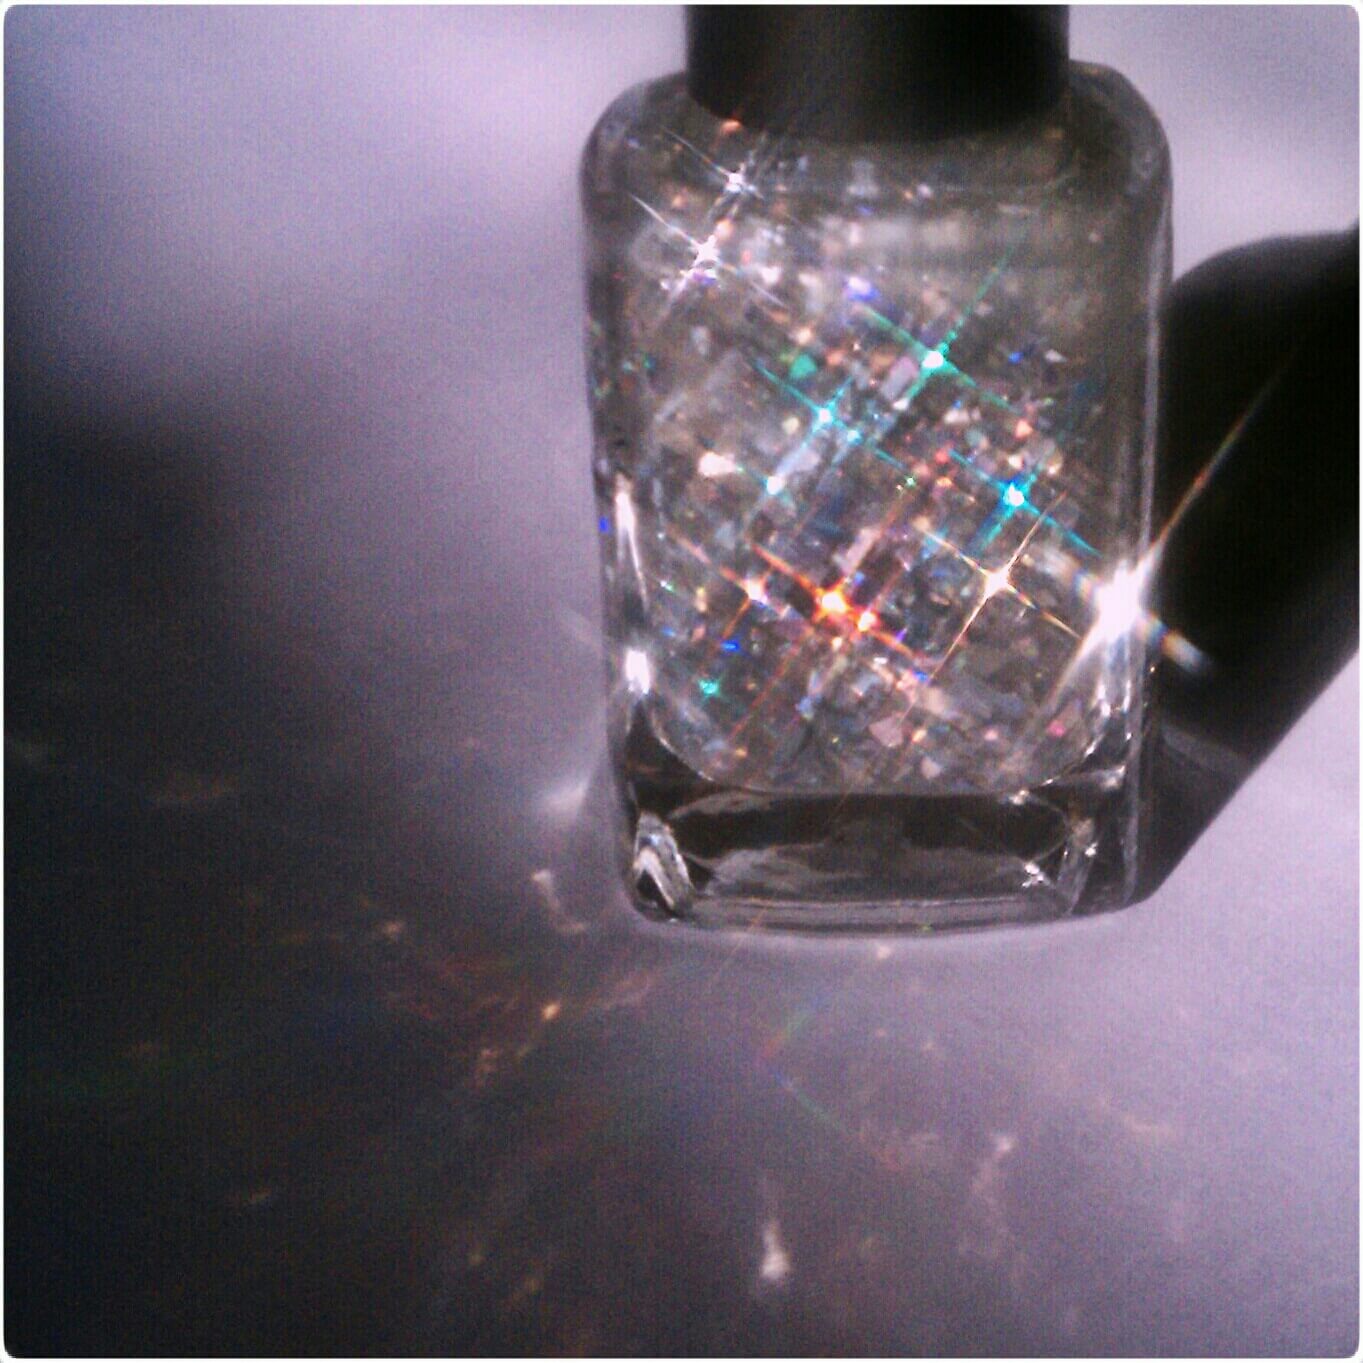
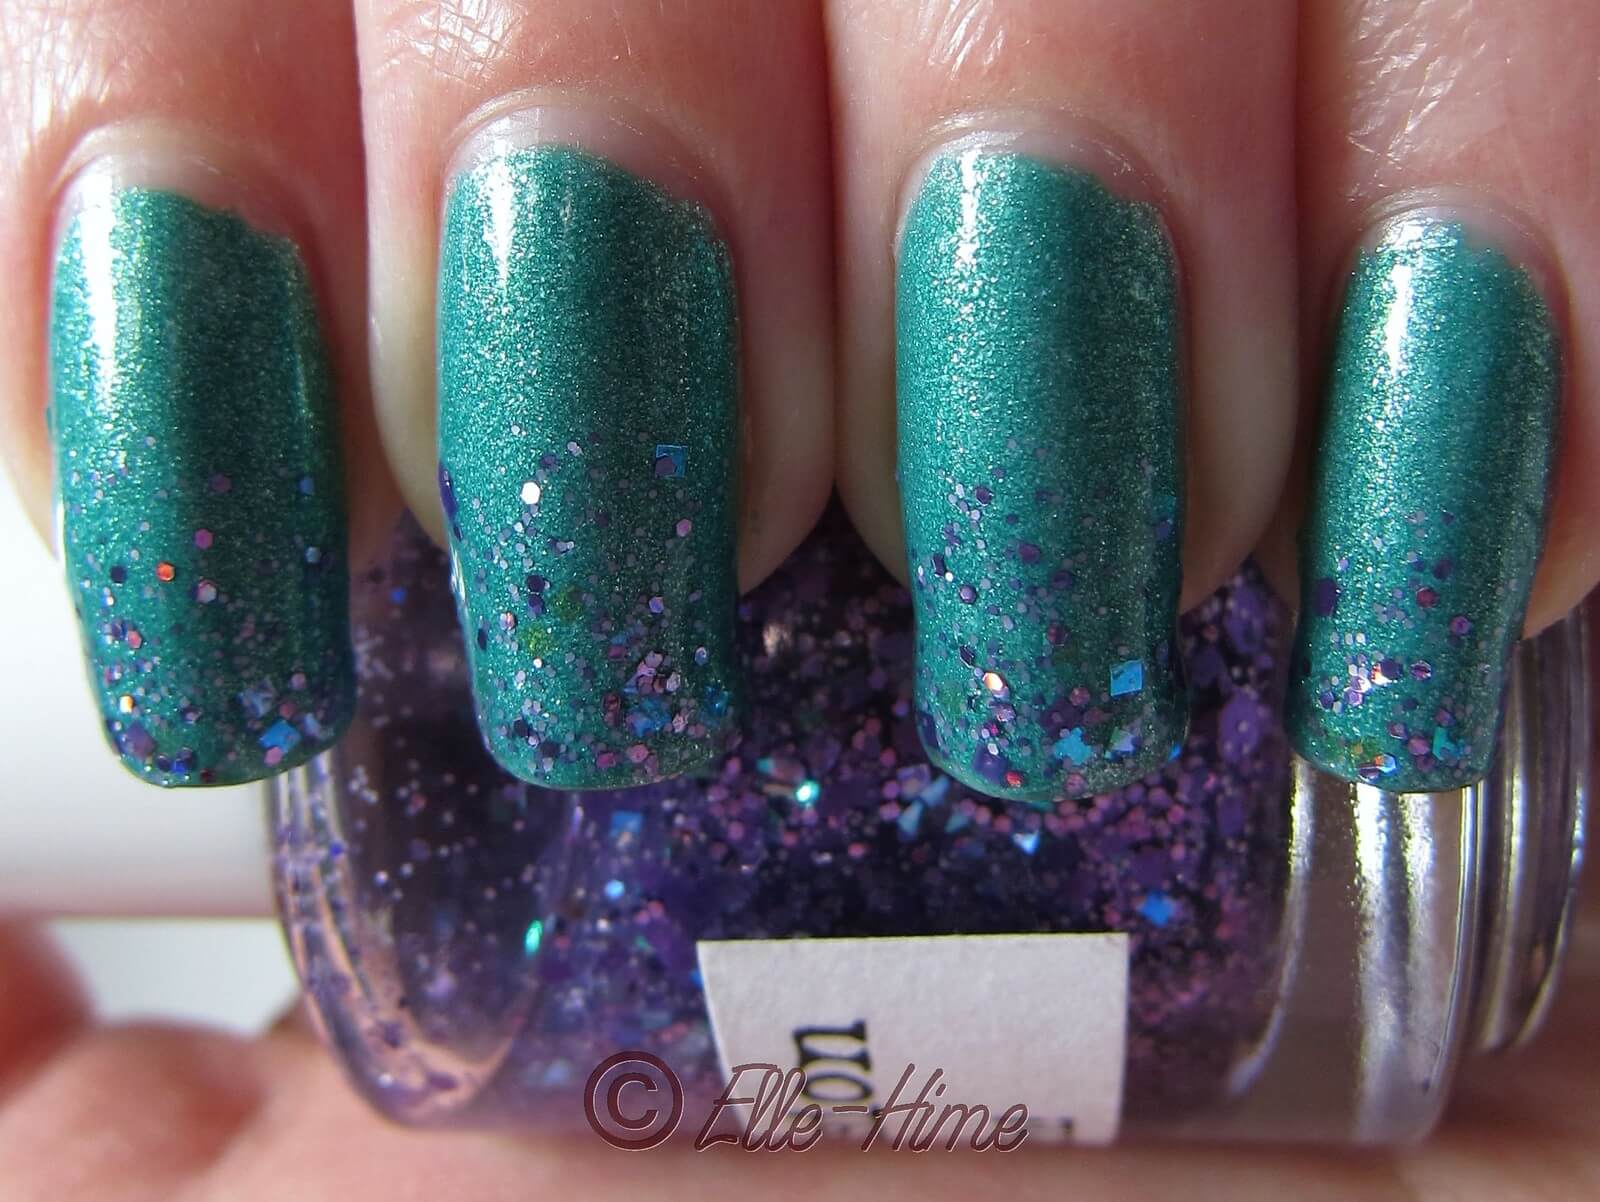
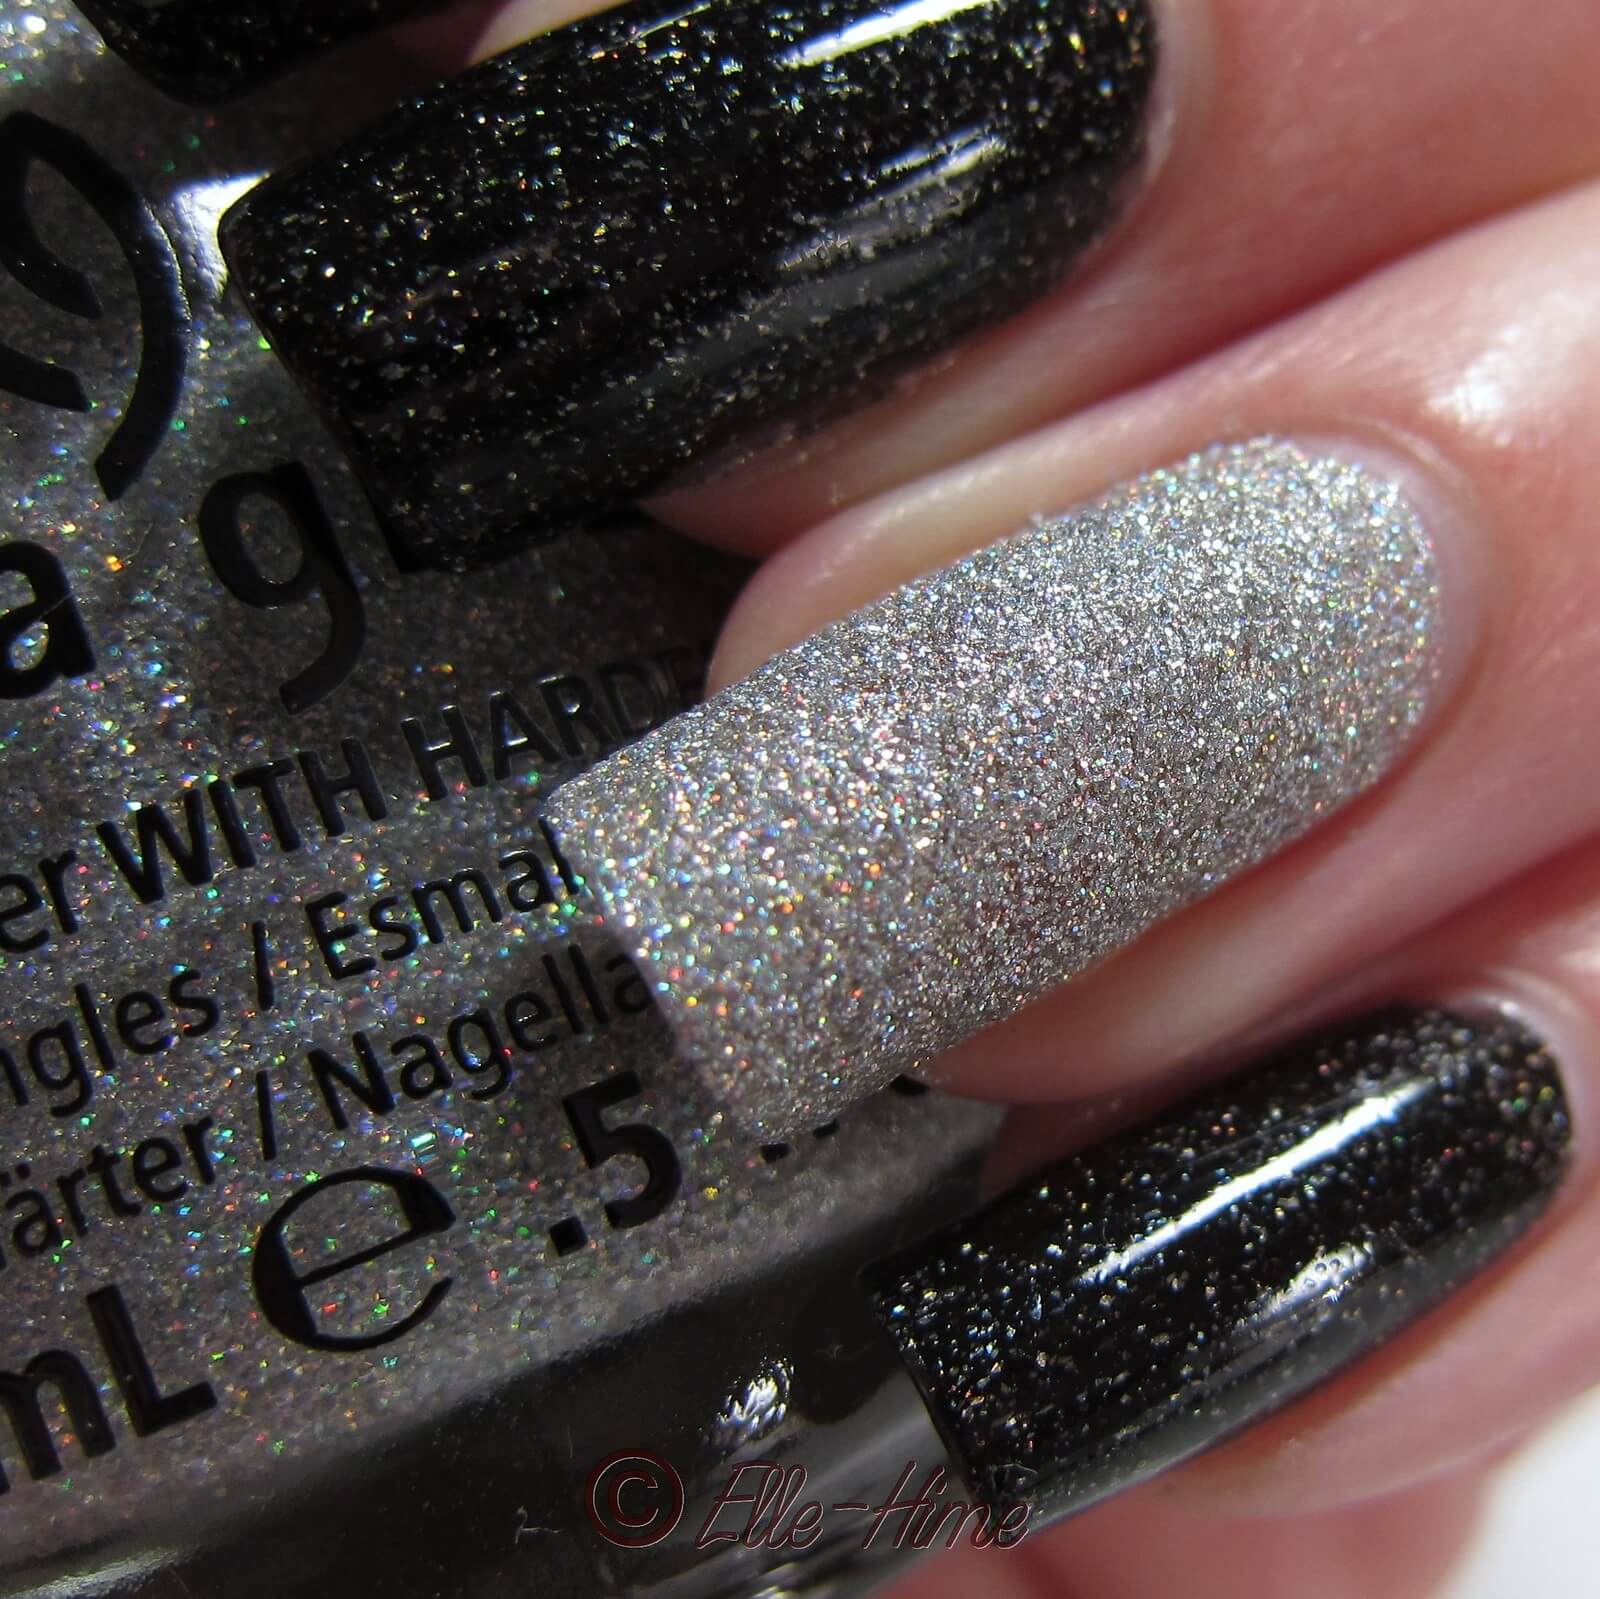
Used the Spark Lens - more glitter nail polish!

   These lenses are just basic plastic pieces but they work surprisingly well.  As for their stickiness, they can be washed in mild soapy water to revive their sticky rings.  I have to use one hand to hold the lens in place on my phone because I use the original HTC Incredible, and it has a larger camera that protrudes slightly.  My phone isn't very sticky-ring friendly.  I'll always need two hands for taking pictures with these lenses, but it is more reassuring for me to keep my chosen lens between two fingers when I don't have a strap on it.  In contrast all the lenses stick firmly to my husband's Sony phone that has a smaller camera, no issue for him!

   These retail in most Online shops for about $5-$7 per lens, but I didn't go that route to buy my set...  The cheapest way I found to buy these was as a complete set on eBay.  If you're comfortable buying that way that is what I recommend.

   In conclusion I am happy with these lenses but now I know that I didn't need to whole set.  Yes I would recommend them, but realize that means carrying something extra along to use, and they can only help cell-phone quality improve so much.  But most of all they are fun to play with, and I think that is their real intention.  Keep an eye out for more of my Instagram pictures using these!

Wednesday, December 12, 2012

Zoya - Storm & China Glaze - Glistening Snow

NotD / Swatch

   I hardly knew what to put on my nails today.  I knew I wanted something sparkly, and I knew I wanted to use some of my untrieds... so I paired Zoya Storm with China Glaze Glistening Snow.  I think they play nicely together!  I suggest clicking the pictures to see them larger!  I recently bought an OttLite, so I used that for lighting today.


   Zoya Storm is a nice glossy black filled with holographic microshards.  I absolutely love this combination!  And I had perfect coverage at 2 coats.  So, this polish is definitely a keeper!


   China Glaze Glistening Snow is very interesting.  I used 3 coats by itself and no topcoat - it has a sand finish!  This might look a little bit like CG Fairy Dust in the bottle, but it is a denser mix of slightly larger (but still micro) glitter in both silver and holo silver.  The multicolor sparkle didn't want to show up in pictures, but it was there!


   This polish looks opaque at 3 coats but my macro shot above reveals some patchiness.  The texture is interesting, matte and gritty, but not sandpaper gritty...  It's different.  This polish dries incredibly fast, being a clear matte.  I had my third coat done after doing my first of Storm on the same hand!

   So, this is my black and silver "rainbow" manicure.  What do you think of it?  =)

Monday, December 10, 2012

Influenster Cosmo VoxBox 2012: First Impressions

   Hiya everyone.  Sorry for the unexplained absence from the blog.  I underestimated how busy I would be last week.  This week should be business as usual but I will be taking another week off for the end of December.  =)

   Today I'm sharing the products I was sent to review from the site Influenster.  They showcase reviews and reward good bloggers with products to test.  And it's way more than just girly beauty products with them, too!  They have pretty much every category covered so any type of blogger can join.  It was exciting to be picked to receive one of their boxes, and then very suspenseful as the contents are a surprise!  Without further ado I present my Cosmo VoxBox!


   Straight off one thing that was both surprising and refreshing: no frou-frou packaging.  Everything arrived in a compact, plain-white box.  They include a card introducing the products they've sent, that is all from their company!


   I was really surprised, and happy! with the variety in this box.  I mean, they sent me chocolate!  To review!  A razor I had been expecting based on past boxes, and it even included a coupon for more refills.  The Forever Red perfume is a mini size, though I will admit I think it should have been wrapped somehow for safety during shipping.  And then there are two pens - FriXion gel pens from Pilot Pen.  I was really happy to see these because I knew just what they were and have almost bought them before.


   I'm not going to list the full descriptions in this post as I will be picking each item apart by itself later on, but I will talk about the razor here a bit.


   Influenster's timing couldn't be better with this product, because I'm down to my last two blades on my current razor, which are no longer being produced.  I had considered a Venus razor in the bast but decided against it due to cost and personal color preference.  I popped this new razor out of the package today and have begun my trial run with the Embrace blade already attached.  I already used the $2 off coupon for a set of their basic blades.  They are closer to what I have been using and I'm curious to see how they compare.


   So, you can look forward to seeing my reviews of these items over the next few weeks.  You can find my profile on Influenster here!  Right now Influenster is invitation-only, and I have a few invites to share with my fellow reviewers.  If you're interested in joining leave a comment or send me a message, I'll help if I can!

Tuesday, December 4, 2012

Naild'It - Summer Lovin' Melon & China Glaze Sunshine Pop

Swatch & Review

   Channeling my inner summertime was very easy yesterday.  I ate lunch outside sitting in sunny 52° weather, completely atypical of December 3rd in any other year of my life.  And with China Glaze Sunshine Pop and Naild'It Summer Lovin' Melon on my tips, it still doesn't feel like winter at all.


   This was my first time using Sunshine Pop.  It is a bright yellow with silver-white shimmer.  Basically China Glaze Happy-Go-Lucky with a slight frost.  The bright yellow isn't the kindest to my skintone but I love it anyway!  My first coat of Sunshine Pop was was a thick, streaky mess.  It had issues with bubbling and I was almost ready to call it quits right there.  I kept my wits about me, dropped some polish thinner into the bottle, shook it again, and was able to continue without bubbles, fortunately.  It still took two more coats to be decently opaque, and then it had more frosty brushstrokes than I liked.  I immediately followed with my fast drying topcoat and that evened it out wonderfully.  In the end I love it!


   What do you think?  It isn't the best formula I've had to work with, but I think it is worth the three coats.  Topcoat made all the difference in my attitude going from "meh, it's so-so" to "wow, candy-colored-sunny-bright-goodness!"  And I knew it would also be a protective barrier between the glitter that was about to go over top.


   I was fortunate to win a bottle of Naild'It polish from Kim at OverallBeauty.  She offered it as a prize in a water marble contest. Summer Lovin' Melon is my first bottle from the brand.  It is full size (15ml) and has silver printed labels, but some words aren't easy to read.  I really like the sturdy bottle shape, but at first the stubby handle looked goofy to me.  The brush and handle are perfectly good, though.  Now I love how the handle is flat on top.  All I had to do was turn the bottle upside down (I think I left it for a half hour?) before using it and I had no issues getting the glitter out!

   In fact, a lot of times I was wiping glitter back in.  The formula is very thick.  This helps the glitters not to slide around when applied but you do need to watch out for brush overload!  Looking at the bottle it can be hard to tell what is hiding in there.  I didn't realize that it includes black circle glitter until one came out on my brush, and then another, and another!


   I used two coats of Summer Lovin' Melon, but would be happy with one, as well.   The glitter is easy to apply and only needs dabbing to cover thin spots.  The large black hearts and circles were often on the brush without me realizing.  There are black squares as well, but these seem more sparse in the formula.  The other colors are large pink and orange hexes, white bars, striped matte red hexes, satin green, purple, light pink and white hexes.  Microglitter comes in red, too.  I chose a yellow base to show everything off, but next time I'll try a watermelon pink to get it's namesake look.


   I had to photograph both of my hands to show how colorfully my nails turned out.  Yes, this is a chaotic polish, but it is fun and eye-catching.  I just wish I would have had sunshine when it came time to do these pictures!


    A word on topcoat.  I used two coats of Gelous and then a coat of my thickened fast-dry top coat.  While not a topcoat-thirsty glitter the larger pieces will stick out.  I sealed them in this way and there are only a couple spots that have a bump.  This doesn't bother me any, but it is worth noting.  This ended up being a very thick manicure but that is what I was going for - my nails have been "tough as nails" since applying it.  (From start to finish I did 10 coats of my nail polishes on each nail...)

  In the end I have been pleasantly surprised by this busy glitter polish.  Judging by other swatches Online I thought it would apply as small glitter with a stray heart here or there, but that wasn't the case.  It was easy to work with, and is my first polish to contain those awesome circles.  Right now the Naild'it etsy shop is closed, but you can buy these from various indie polish e-tailers.  They go for about $10-$11 from what I've seen.  Honestly that is steep for me so I'll probably hold off on these unless I really love the color.

   I hope you found this manicure helpful.  Let me know your thoughts in the comments!  =)