
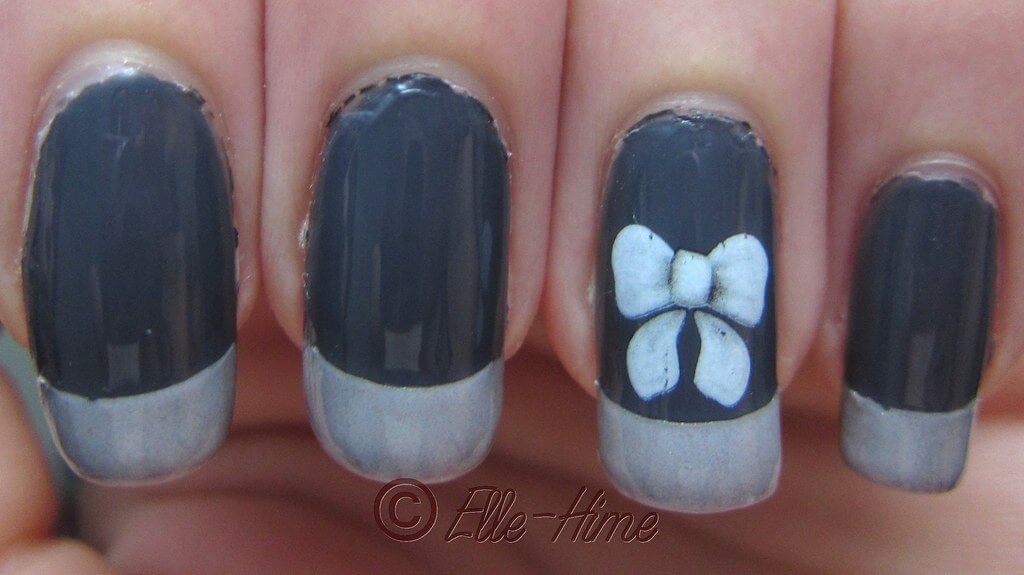
Today I'm happy to share a manicure using water decals that were sent to me for review. I have to apologize, though, it's terribly late. Two types of decals were sent by KKcenterHk earlier this year, but they showed up during the last-minute cramming for wedding preparations and right before my husband and I got the chicken pox - awful timing! So they got packed away for later. Anyway, I was given the chance to try nail decals for the first time ever in this way. I'm happy with what I came up with using their cute bow design!
Product page: N.NAIL Water Decals: WDBLE1345
Keep reading to see how I created this mani and my thoughts on the water decal-ing process!
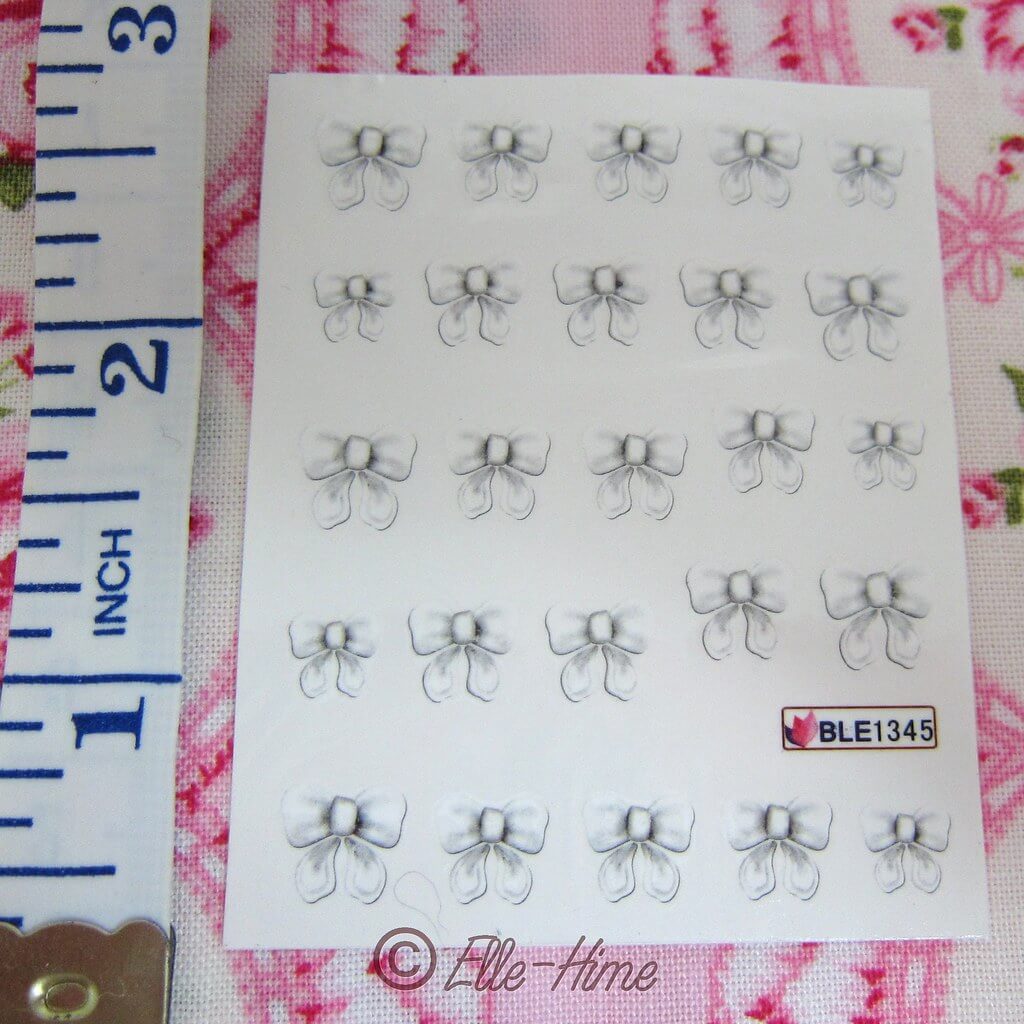
First off, the decals arrive in a little zip bag, and you get one sheet of your chosen design.
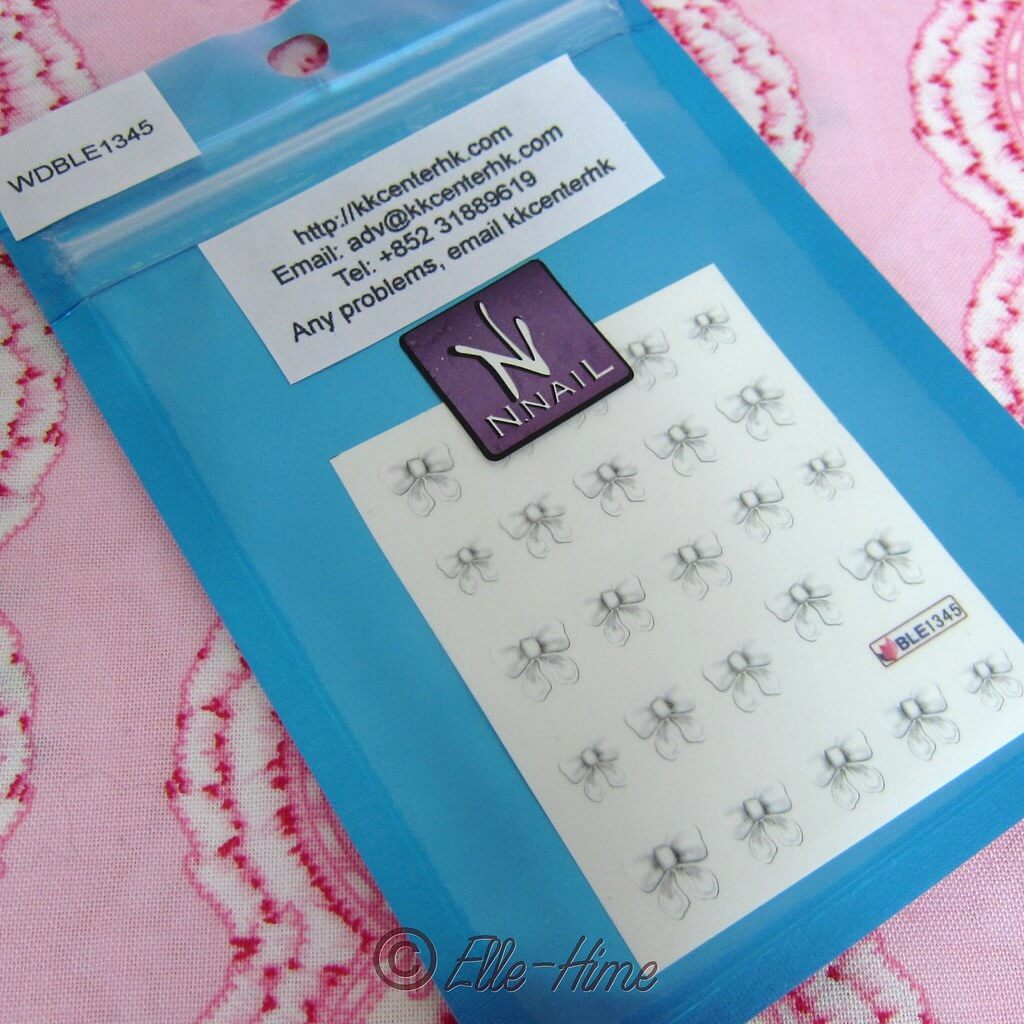
They don't have included instructions, but chances are if you're buying water decals you know how they work. They do put their contact information on the packaging if you need help. The codename for the design is a sticker on the upper corner of the baggie.
In case you don't know how nail decals work, here's a rundown: You'll need scissors, tweezers, a cotton bud/Q-tip, a small dish/cup of water, and a gentle touch. You cut the decal sheet so you have just the one you want to use loose. Use the tweezers to dip the decal into the water for 5 seconds. Gently slide the decal from the sheet onto your dry nail. Position carefully, and then use the cotton bud to gently tamp down the decal, smoothing it out and removing excess water. Let it dry for a short time and protect it with a top of nail polish. Admire and enjoy! Removal is easy, it will come right off with your polish remover.
Here, I'll walk you through how I did this mani!
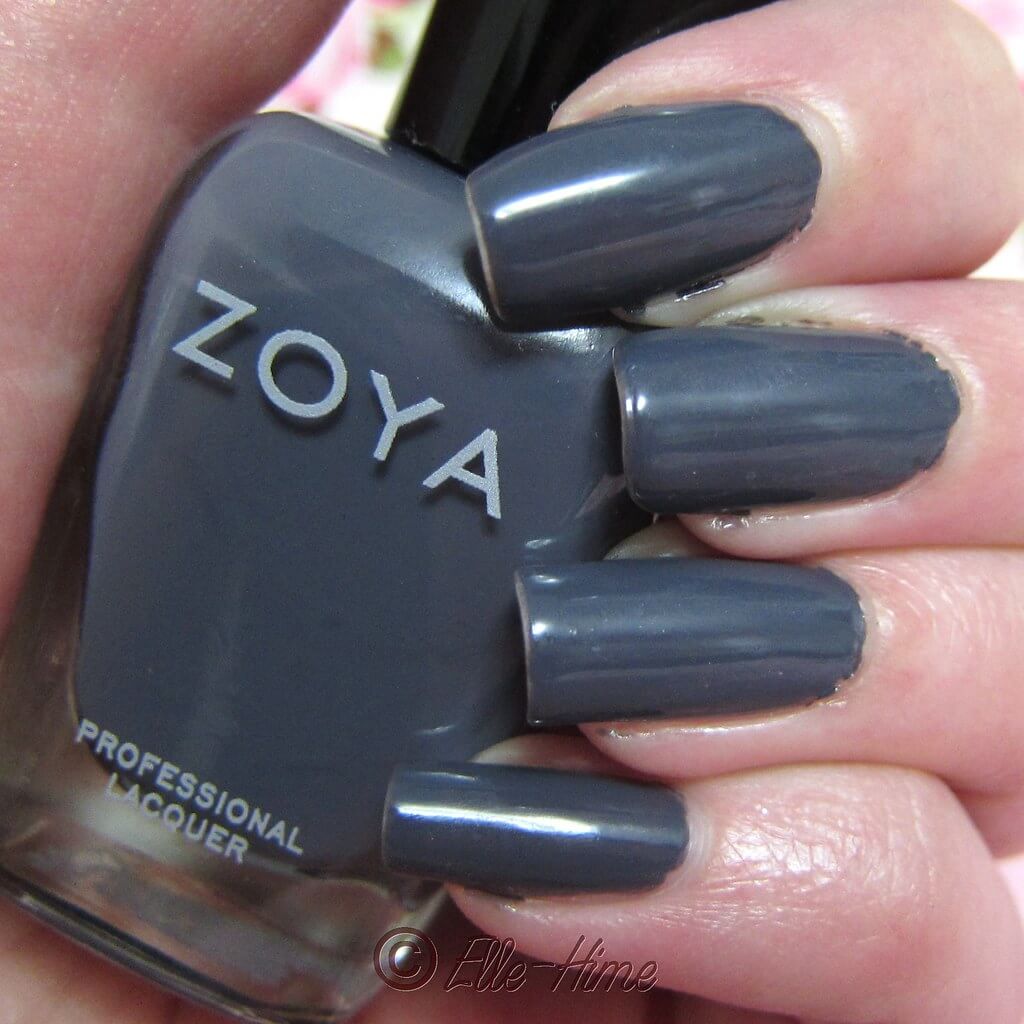
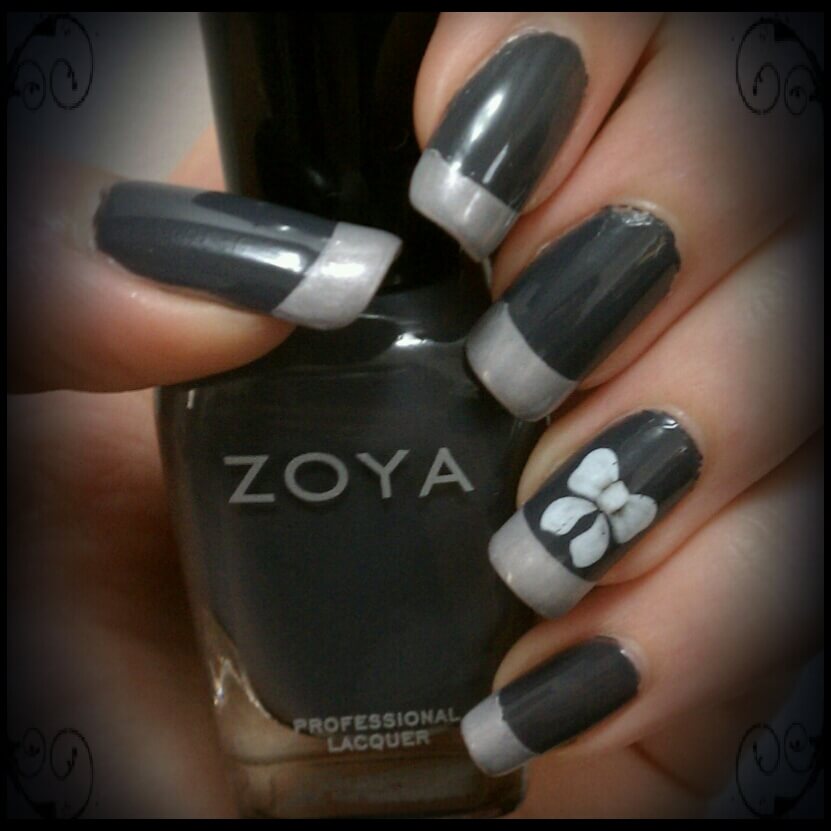
I started off with Zoya Kelly, a wonderful cool-toned grey polish. I didn't bother wrapping my tips, no need to yet, but I did wait for it to be completely dry!
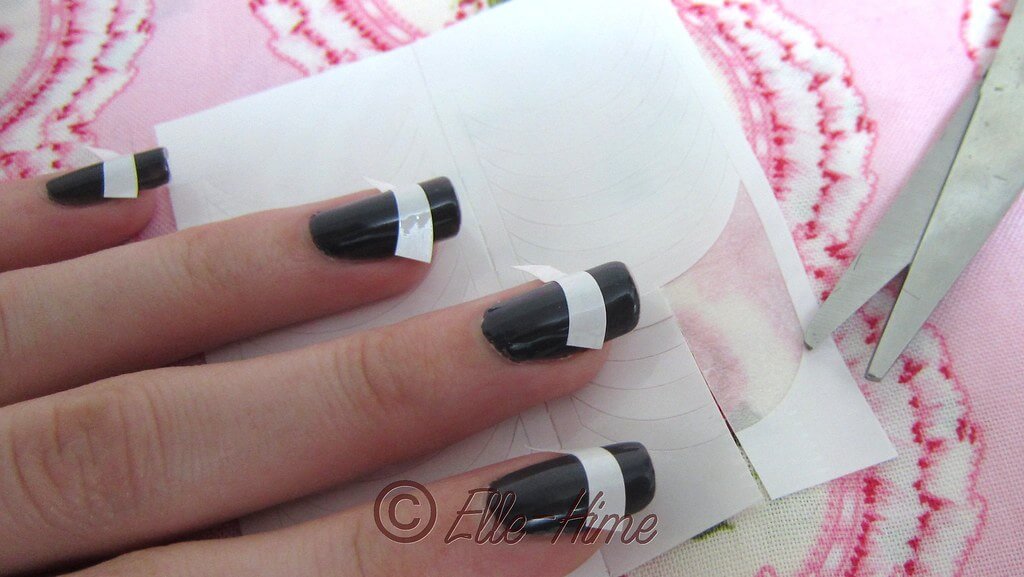
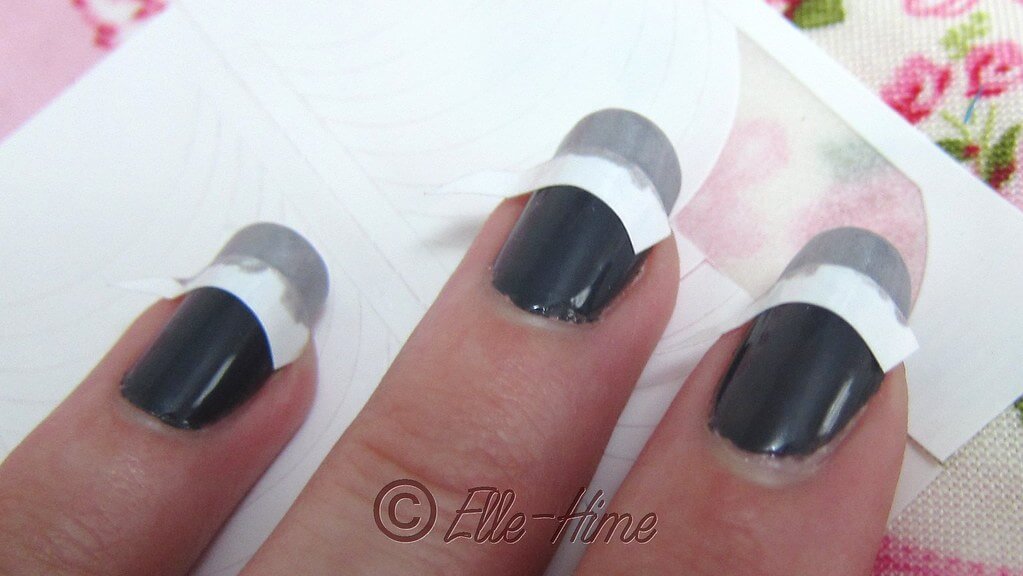
I used french tip guides to paint my tips with Zoya Harley, a slightly metallic, pearly silver-grey. I wrapped my tips with this polish!
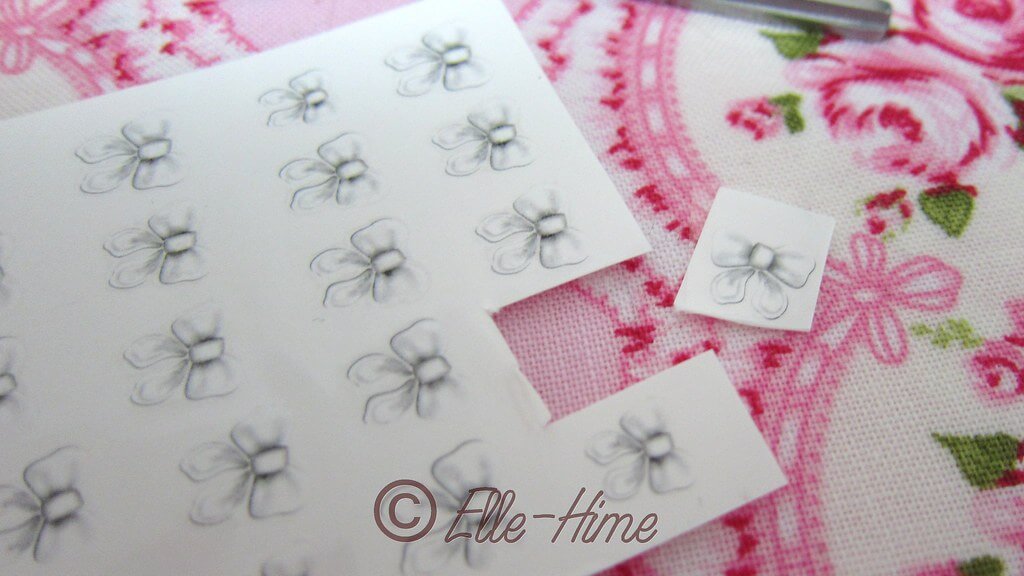
While I let that dry a bit I snipped out one of the bows from the decal sheet:
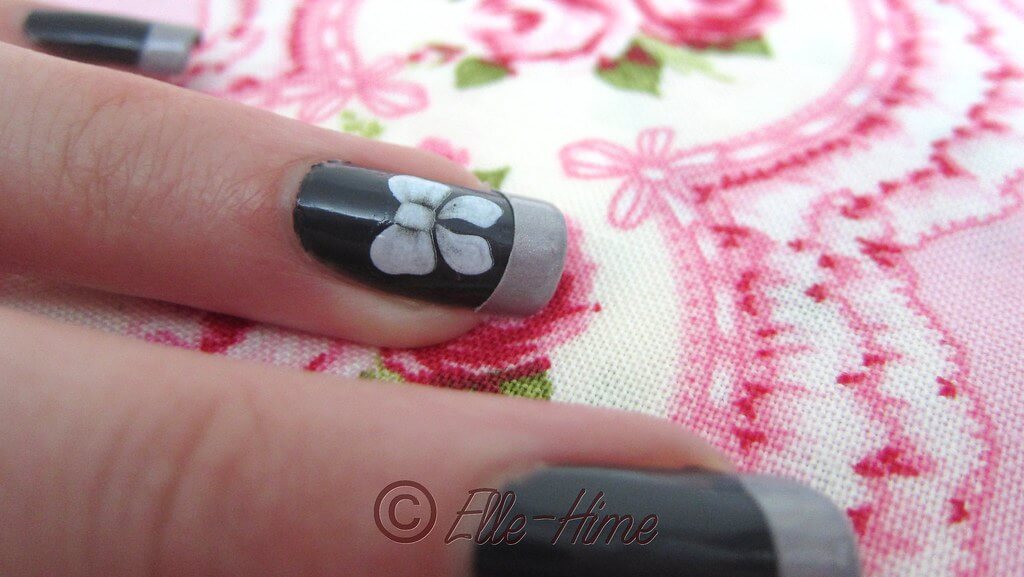
After removing my tip guides I took my tweezers, dipped the decal into water by the corner of the sheet, and counted to five. I then slid the wet decal onto my nail ever-so-gently using my finger. It was really easy to move and position! I dabbed it with a cotton bud and that was basically it... Here it is before top coat:
Later I posted this manicure to Instagram because I was so happy with it! I have to admit, using the decal was way easier than I expected. I'll be more adventurous now that I know the process is so simple and do more than one nail next time, haha. Now I can't wait to try the other design they sent me! Look for that design to be featured in the near future. =)


Beautiful!!!
ReplyThanks! ^-^
ReplyGorgeous! I have a sheet of these at home that are still waiting to be used, thanks for the tips! :)
ReplyYou're welcome! Can't wait to see what you make with some!
Reply