
Hello, everyone!
Rochelle here, with some exciting news. (And a coupon code, keep reading!) You may have noticed the extreme lack of updates around here. During the time I've been away, we've moved, done home improvements, and so much more. Now Princessly Polished is making a comeback, as a brand new independent nail brand! I'm so excited to share my creations with you, and even though this has been two years in the making it still doesn't feel quite real.
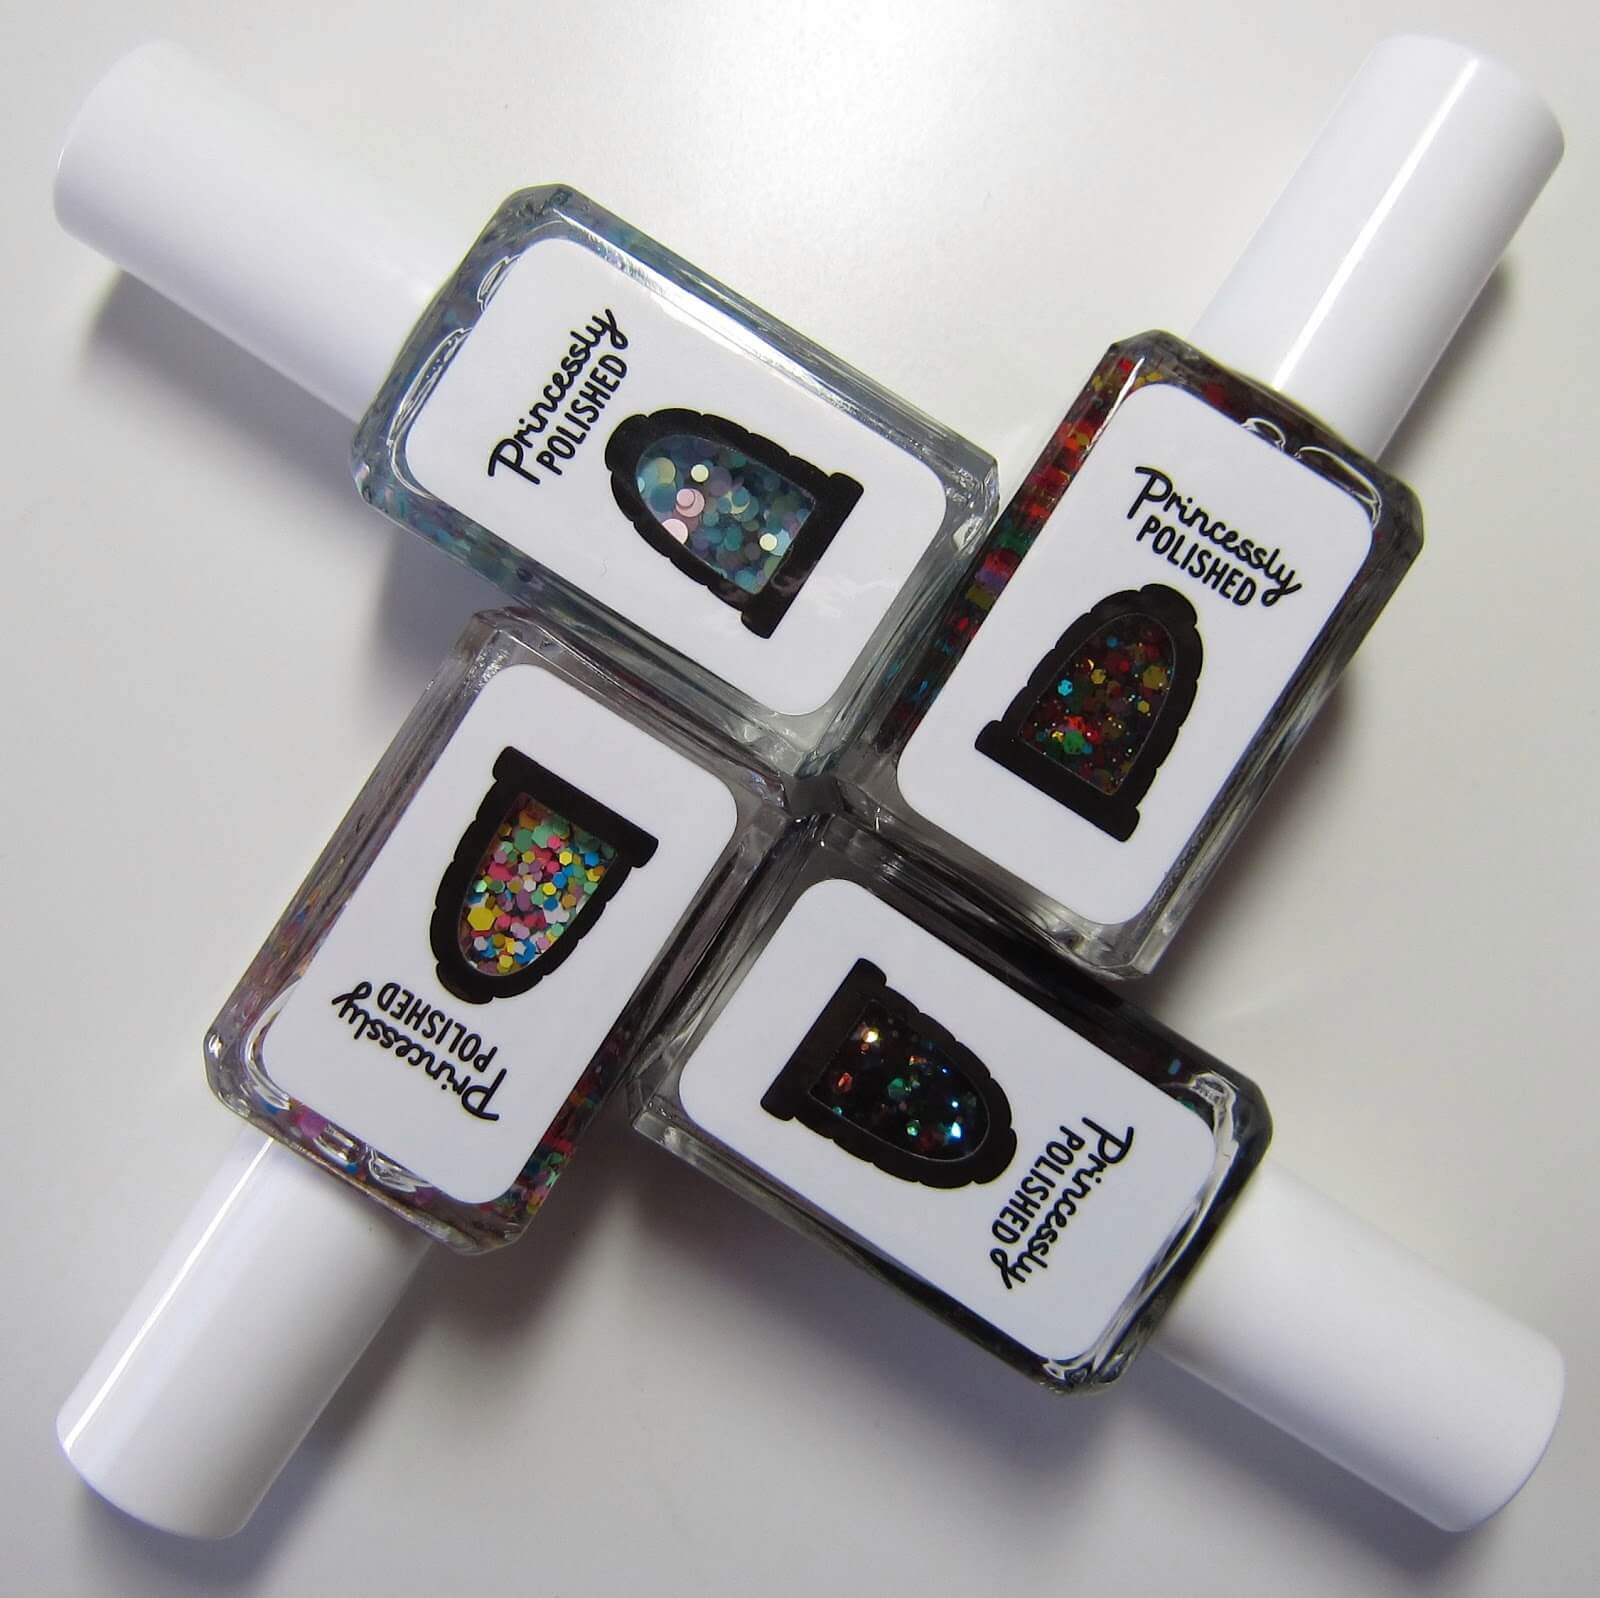
I plan to revive the blog as well, this time with swatches and nail art using
my own nail polishes, and news about new collections. I've just launched my first collection of rainbow-themed glitter toppers, so be sure to check them out in the shop. While you're there, take advantage of this discount code: 15OFF - Use that for 15% off everything in the entire shop until Nov 30th!